DIY GUIDE · PLUMBING & HEATING · CHECKED OCTOBER 2026
How to fix a running or slow-filling toilet yourself
An hour. €3–€68 for a washer, or a new fill valve and flush valve if the old ones are past saving.
Find which valve is at fault, isolate, replace the washer or the valve, set the level, test. Leave the pan, the soil pipe and the supply in the wall alone.
- Every step, start to finish
- Checked October 2026 — sources at the end
- Honest about when to call a pro
FIRST, THE HONEST ANSWER
Do it yourself, or get a fitter?
Do it yourself if…
- The toilet works but runs on, refills slowly or trickles into the bowl
- There is an isolating valve on the pipe to the cistern, or you can turn the water off elsewhere
- The cistern sits on the pan or on the wall where you can lift the lid and reach inside
- The pan, the seat and the soil pipe are sound and not leaking
Get a pro if…
- The cistern is concealed behind a panel with no access hatch you can open
- Water is leaking from under the pan or from the soil pipe joint at the wall
- The cistern or the pan is cracked
- The toilet is being replaced, moved or connected to a new soil pipe
Safety first
- A ceramic cistern lid is heavy and brittle. Lift it with both hands, set it on a folded towel on the floor and keep it away from where you kneel.
- Kneeling in a cramped space by the pan strains knees and back. The HSA's manual handling guidance counts awkward posture and twisting as risks alongside weight; use a kneeling pad and work in short spells.
- The water in a cistern is clean, but the bowl, the seat and the floor round the toilet are not. Wear gloves and wash your hands before you eat.
- Never stand on a toilet pan or a closed seat to reach anything. Pans crack under point loads and the edges are sharp.
- Keep water away from any light, shaver socket or fan in the room, and turn off an electric shower if it is next to the toilet before you lay out wet parts.
Stop here: Stop here: the soil pipe, the supply in the wall and the public side
Work on the soil pipe and the drain behind the pan is a plumber's job, because a bad joint lets sewer gas and dirty water into the house. The supply pipe in the wall is yours to maintain, but cutting into it is pipework, not a valve repair. If you suspect the leak is outside, between your boundary and the house, the CRU explains that Uisce Éireann's First Fix Free scheme can investigate and repair a leak on the external supply pipe at no cost; any leak inside the house is the owner's responsibility under Irish law and must be repaired privately. How to hire a toilet fitter →
| MATERIAL | COVERAGE | FOR THIS JOB |
|---|---|---|
| Fill valve washer or diaphragm | To suit the make of the existing valve | One |
| Replacement fill valve | Side or bottom entry to match, suitable for your pressure | One, only if the old one is beyond repair |
| Flush valve seal or siphon washer | To suit the existing flush mechanism | One |
| Fibre or rubber connector washer | For the supply connection under the cistern | One |
How much water a running toilet wastes
Water lost = trickle rate × hours it runs. A trickle that half-fills a 250 ml cup in a minute is about 7.5 litres an hour, or 180 litres a day.
Time it with a cup under the overflow outlet or against the back of the bowl. Even a faint trickle adds up to a bath's worth of water every day or two.
Take the lid off and watch a full flush and refill. If water keeps running into the overflow pipe, or out of a pipe on the outside wall, the fill valve is not shutting off. If water runs down the back of the bowl with the cistern level steady, the flush valve or siphon is letting it through. The CRU's leak advice suggests a strip of toilet paper on the back of the bowl: if it soaks, water is getting past.
Many Irish homes feed the cistern from the tank in the attic at low pressure, and others from the mains. Fill valves are made for one or the other, or adjustable for both. A high-pressure valve on a tank-fed cistern fills painfully slowly; a low-pressure one on the mains hisses and may not shut off. Look at what is fitted now and where the pipe comes from.
The fill valve's pipe comes in either through the side of the cistern near the top, or through the base. Buy the same type as the one you are replacing. Measure the tail length too, so it reaches through the cistern wall with room for the nut.
Older cisterns flush with a siphon worked by a lever: a worn diaphragm washer inside it makes the flush weak. Newer ones use a drop valve worked by a button: a worn seal at its base lets water trickle into the bowl. Look at which you have before you buy anything.
A new washer costs a few euro and often cures it. If the valve body is cracked, the float sticks, or the plastic has gone brittle, replace the whole valve. A modern fill valve is quieter and quicker than the old ball-arm type.
THE PART THAT DECIDES THE FINISH
Before you start — what is in your cistern
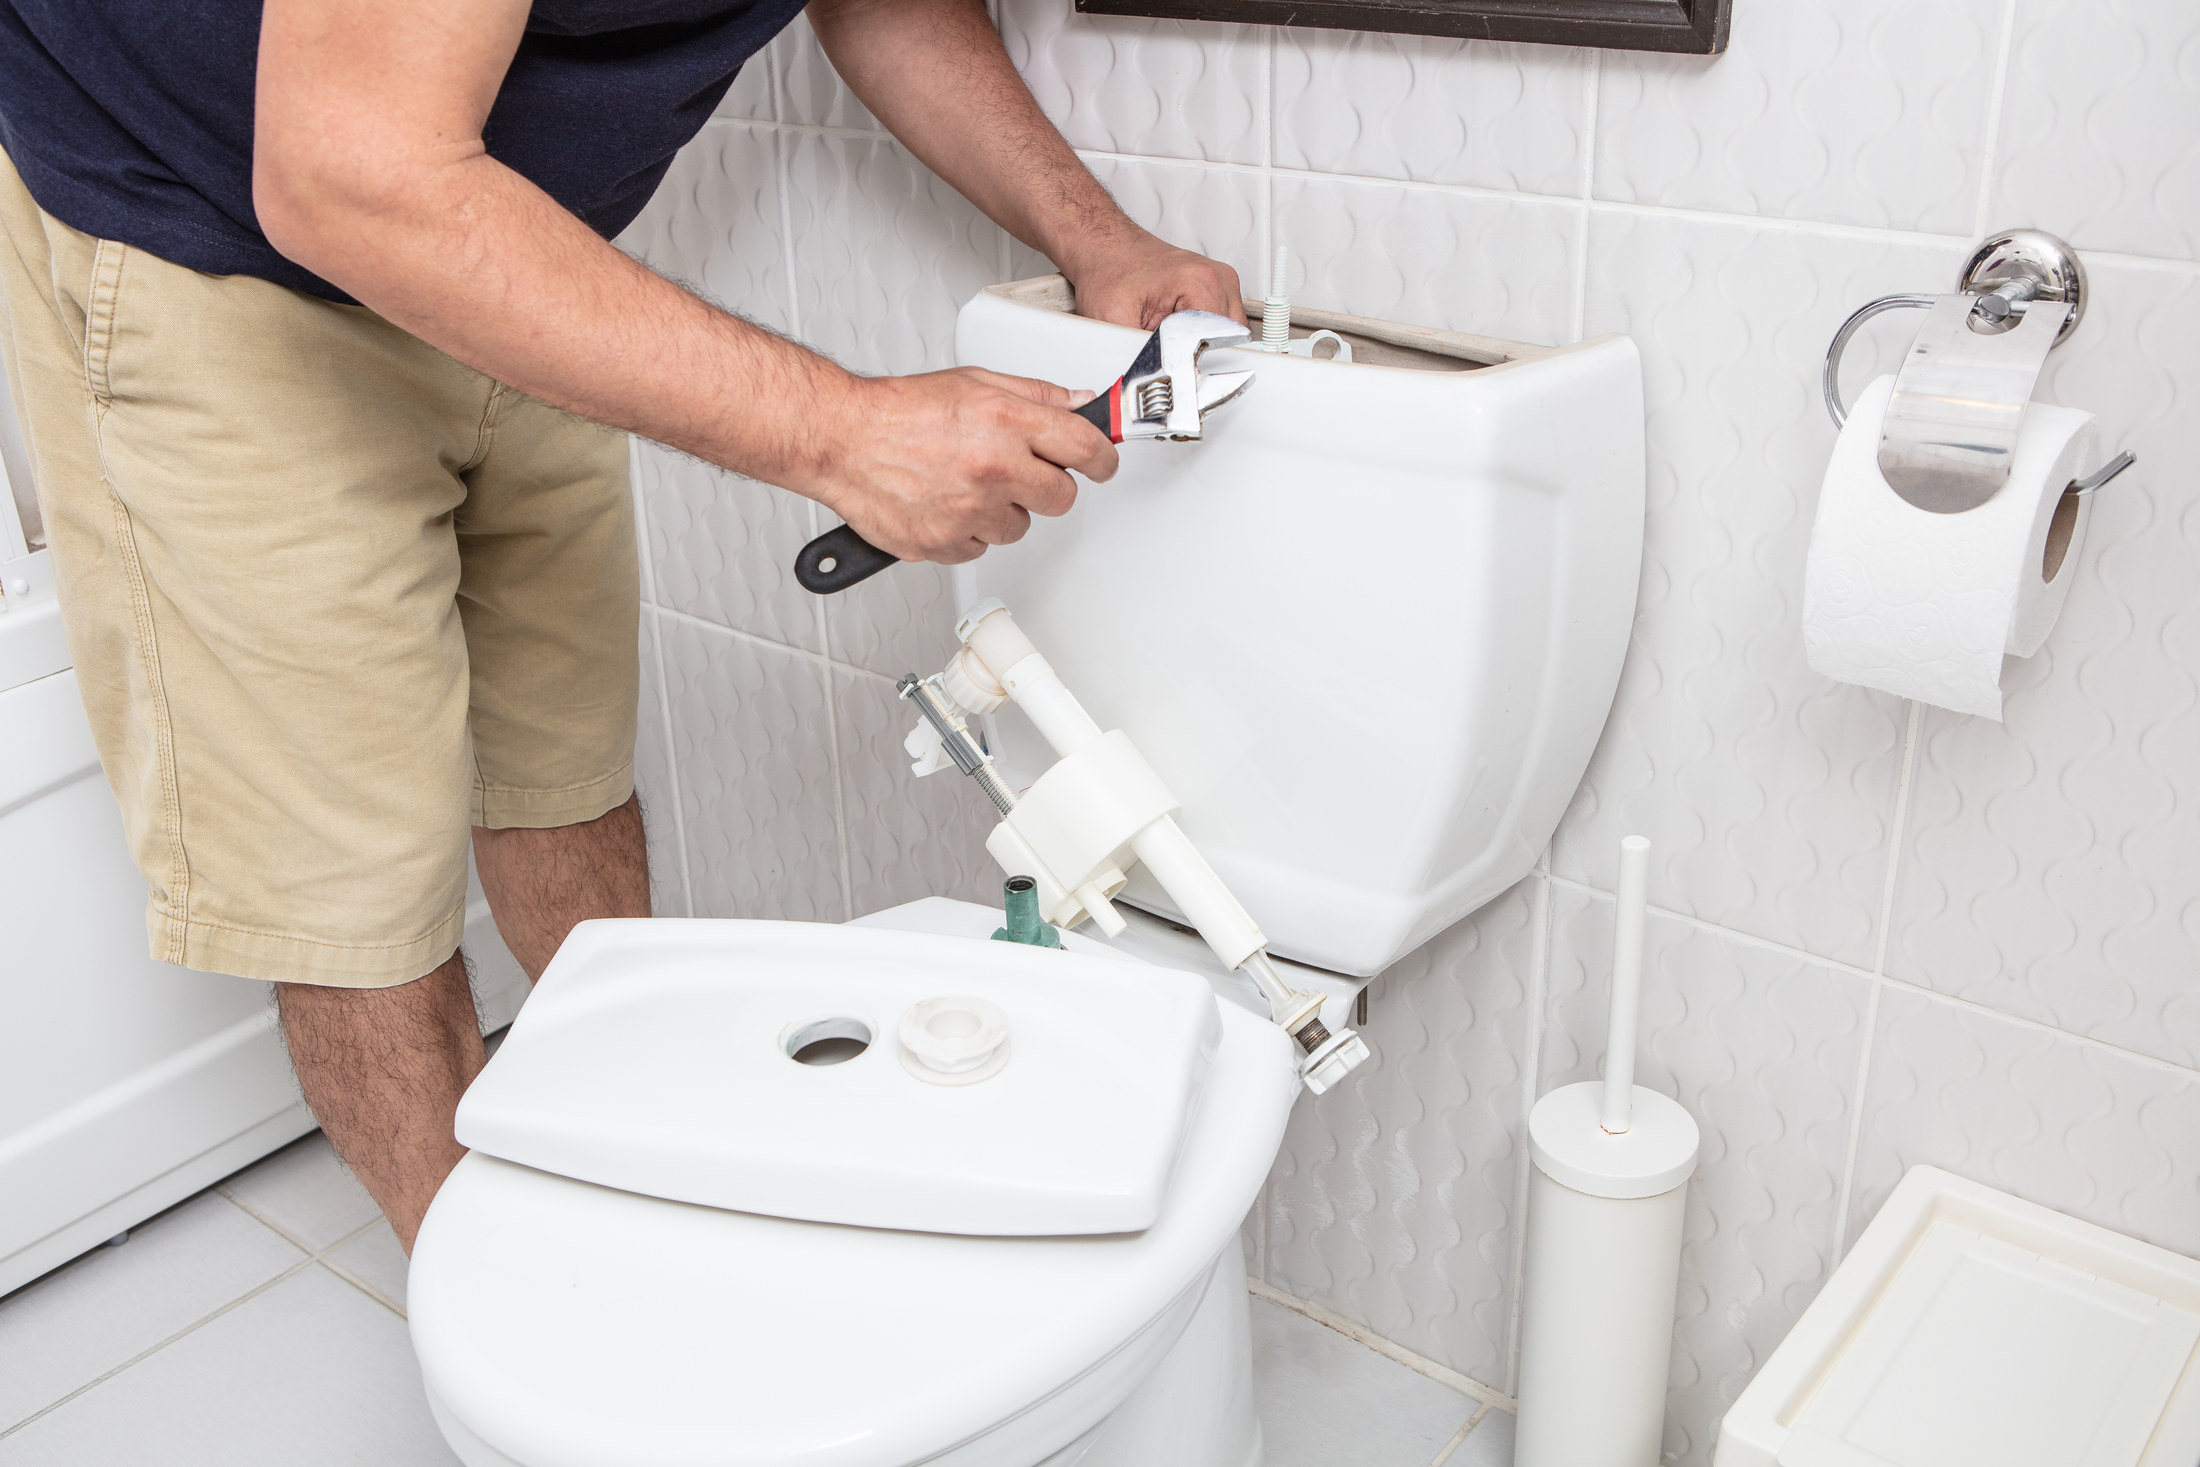
Lift the lid carefully, set it down on a towel, and look inside. Match what you see to one of these and do its prep first.
Modern fill valve and button flush
A tall plastic fill valve with a float that rides up and down it, and a drop valve worked by a button.
- Close the isolating valve on the supply, or the stop valve if there is none, and flush to empty the cistern
- Sponge out the water left in the bottom into the bucket
- Look for a model name on the valve to buy the right washer
- Check the button cable or rod is not kinked or catching on the cistern wall
Old ball-arm valve and lever siphon
A brass or plastic valve with a float on a long arm, and a siphon worked by a lever on the cistern front.
- Isolate and empty the cistern as above
- Lift the float arm by hand: if the water stops, the valve works and the level is the problem
- Look at the float for water inside it, which makes it sit low
- Note how the lever's link wire hooks into the siphon before you touch it
Close-coupled cistern on the pan
The cistern sits directly on the back of the pan, joined by bolts and a large seal.
- Check for water on the floor behind the pan before you start; it shows whether the joint between cistern and pan is leaking
- Leave the bolts that hold the cistern to the pan alone unless the guide below says so
- If the flush valve must come out, plan to separate the cistern from the pan carefully
- Have a helper to hold the cistern if it has to be lifted
Concealed cistern behind a panel
Only the flush plate shows on the wall.
- Look for an access hatch behind the flush plate; most concealed cisterns open that way
- Follow the maker's instructions to lift the plate off without breaking its clips
- If there is no way in, stop: this is a job for a plumber
- Photograph the plate fixing before you remove it
THE JOB
How to fix the toilet
Set up and isolate
10 minClose the isolating valve on the pipe into the cistern with a flat screwdriver, or close the stop valve for the house if there is no valve. Flush the toilet to empty the cistern and hold the handle down to let it all out. Sponge the last of the water into the bucket. Put the lid somewhere it cannot fall.
- A cistern lid is heavy and breaks easily; set it on a folded towel on the floor
- Test the isolation by lifting the float: no water should come in
- Lay old towels round the base of the pan
Mistake to avoid: Resting the ceramic lid on the seat or the edge of the bath. One knock and it cracks, and matching lids are hard to find.
Diagnose which valve is at fault
15 minTurn the water back on briefly and watch. If the level rises past the mark and spills into the overflow, the fill valve is not shutting off: either the level is set too high or its washer is worn. If the level stays steady but water runs into the bowl, the flush valve or siphon is leaking. Then isolate again.
- Push the float down by hand: if it shuts off firmly, only the level needs setting
- A faint ripple on the bowl water shows a slow flush-valve leak
- Listen: a hiss is usually the fill valve
Mistake to avoid: Replacing both valves to be sure. Diagnose first and you will usually spend a few euro instead of the price of two valves.
Set the water level
10 minIf the fill valve shuts off properly but too late, lower the level. On a modern valve, turn its adjustment screw or slide the float down its rod. On an old ball-arm valve, use the adjusting screw if there is one, or bend the arm gently down. The water should stop well below the top of the overflow pipe.
- Make small adjustments and test each one with a flush
- Too low a level gives a weak flush; aim just below the mark on the cistern
- On a ball-arm valve, bend the arm with both hands, not by twisting the float
Mistake to avoid: Leaving the level a hair below the overflow. Any change in pressure tips it over, and the toilet starts running again overnight.
Replace the fill valve washer
20 minWith the water isolated, open the top of the fill valve as its maker describes: on many modern valves you turn the top part a quarter turn and lift it off. Take out the old washer or diaphragm, rinse grit from the seat, fit the new one the same way up and reassemble. Turn the water on and check it shuts off.
- Grit on the seat is as common as a worn washer; clean it
- Fit the washer exactly as the old one came out
- Flush and watch the valve shut off at least twice
Mistake to avoid: Putting a washer in upside down or with grit under it. The valve still leaks, and you assume the new washer is faulty.
Replace the whole fill valve if needed
30 minIf the valve body is cracked or the float sticks, change the valve. Undo the supply connector under the cistern into the bucket, then the backnut that holds the valve. Lift it out. Fit the new valve with its washer inside the cistern, run the backnut up by hand until it touches the ceramic, and give it no more than the extra quarter turn its maker allows. Reconnect the supply.
- Set the new valve's height before you fit it, as its sheet explains
- The maker we read says no sealing paste or compound on its washers
- Hold the valve body still from inside while you tighten the backnut below
Mistake to avoid: Overtightening the backnut on a ceramic cistern. The plastic thread strips or the cistern cracks; hand tight plus a little is the rule.
Fix a leaking flush valve or siphon
30 minFor a button-operated drop valve, the seal at its base is usually the problem. Many lift out with a twist from their base so you can change the seal without touching the cistern bolts. For a lever siphon, the flap washer inside wears; replacing it means taking the siphon out of the cistern, which on a close-coupled toilet may mean separating cistern and pan. Work slowly and follow the part's own instructions.
- Clean the seat the seal sits on as well as fitting the new seal
- Note how the link wire or cable connects before you take it off
- If the cistern must come off the pan, fit a new cistern-to-pan seal and bolts while it is apart
Mistake to avoid: Forcing a siphon out of a close-coupled cistern without separating it. The cistern cracks at its base, and the job becomes a new toilet.
Turn on, refill and check for leaks
15 minOpen the isolating valve slowly. Watch the cistern fill and the valve shut off. Look under the cistern with the torch at the supply connector and the backnuts, and run a dry tissue round each. Then flush a few times and check the bowl for a trickle afterwards.
- Put the toilet paper test back on the bowl for an hour
- Check the overflow outlet outside for drips
- Feel under the cistern for dampness after an hour
Mistake to avoid: Refitting the lid straight away. Leave it off for an hour so you can see the valve shut off and the water stay still.
Finish and tidy
10 minReplace the lid gently. Check the flush button or lever returns fully after each press. Clean the area, bag the old parts and wash your hands and the tools.
- A button that stays down holds the flush valve open; adjust its rod length
- Keep spare washers in a bag with the cistern's paperwork
- Note what you changed and when
Mistake to avoid: Leaving a button that sticks. It holds the valve open just enough to start the trickle again.
The mistakes that show
- Replacing parts before working out which valve is at fault
- Overtightening plastic backnuts against a ceramic cistern
- Using sealing paste where the maker says not to
- Fitting a fill valve that does not suit the supply pressure
- Setting the water level so close to the overflow that it creeps over
Stop here and get a plumber
- The cistern is concealed with no access, or it is cracked
- Water leaks from the joint between the pan and the soil pipe
- The isolating valve or the supply pipe in the wall is leaking
- The whole toilet needs replacing or moving
| WHAT YOU SEE | WHY, AND THE FIX |
|---|---|
| Toilet keeps running into the overflow | The fill valve does not shut off. Lower the level first; if it still runs, change the washer or the whole valve. |
| Water trickling into the bowl all the time | The flush valve seal or siphon washer is worn, or grit is under it. Clean the seat and fit a new seal. |
| Cistern takes ages to refill | A high-pressure valve on a tank-fed supply, a blocked filter at the valve, or a part-closed isolating valve. Open the valve fully, clean the filter, or fit a low-pressure or adjustable valve. |
| Weak flush | The water level is set too low, or the siphon diaphragm is worn. Raise the level slightly or change the diaphragm. |
| Fill valve hisses or hammers | A low-pressure valve on a mains supply. Fit a valve suited to high pressure, or an adjustable one. |
| Drip under the cistern | A loose supply connector or a backnut washer not seated. Isolate, remake the joint and tighten modestly. |
| Flush button stays down | The button rod is too long or the cable is kinked. Adjust the rod length or free the cable. |
| Water on the floor behind the pan | The cistern-to-pan seal or the pan connector to the soil pipe is leaking. The first you can change with care; the second is a plumber's job. |
WHAT YOU SAVE
What it costs to do it yourself
| Diaphragm washer for a float valve | €3.19 |
|---|---|
| Replacement flush valve washer | €10.99 |
| Side or bottom entry float valve | €14.99–€20.99 |
| Dual flush valve, cable operated | €36.59 |
| Brass-tail filling valve | €30.99 |
| Total | €3–€68 |
| DIY total | €3–€68 |
Guide prices compiled by the Locufy team from published Irish and UK provider price lists and 2026/27 cost guides. Updated 2026.
Most running toilets are cured at the bottom of that range with a washer or a level adjustment. A new fill valve and a new flush valve together is the top.
RATHER NOT?
Toilet fitters near you, with prices shown
The ones who cover your area, nearest first, with one score from every review. No account needed to look.
Or post the job free and let them come to you.
Most overflow pipes run out through the wall above a window or door. A drip there tells you the fill valve is creeping again. Look at it whenever you pass.
Put a spare washer for the fill valve in a bag with the cistern's leaflet. The next fix takes five minutes.
Old plastic valve parts and washers go in your general waste bin. A whole old toilet or cistern is construction waste: mywaste.ie explains that bathroom suites go to a skip or to the civic amenity sites that accept them.
In a hard-water area, scale builds up on valves and seals. Wipe them when you have the lid off and the valves will last longer.
Fixing a running or slow-filling toilet: questions people ask
Either the fill valve is not shutting off, so water spills into the overflow, or the flush valve is letting water through into the bowl. Lift the lid and watch: the level and the overflow tell you which.
Yes. Isolate the supply, empty the cistern, undo the connector and backnut, fit the new valve hand tight plus a little, reconnect and test. The pan and soil pipe are not touched.
Usually a valve made for mains pressure on a cistern fed from the attic tank, a blocked filter, or a part-closed isolating valve. Check those in that order.
Put a strip of toilet paper on the back of the bowl, as the CRU suggests. If it soaks after a while with nobody using the toilet, water is getting past the flush valve.
If the leak is on the external supply pipe between your boundary and the house, ask Uisce Éireann about its First Fix Free scheme, which can repair it at no cost. Leaks inside the house are the owner's to repair.
Locufy's Irish price guide puts toilet repair and installation at €120–€450 per job, typically €250. A washer or valve swap is usually at the low end.
MORE GUIDES
More DIY guides
Sources — checked October 2026
- Siamp — installing the float valve and flush mechanism: hand tight plus a quarter turn, no sealing compound
- HSA — guide to the manual handling of loads (General Application Regulations 2007)
- CRU — water leaks in the home and the First Fix Free scheme
- MyWaste.ie — bathroom suites
- Woodie's — toilet spares (price check)