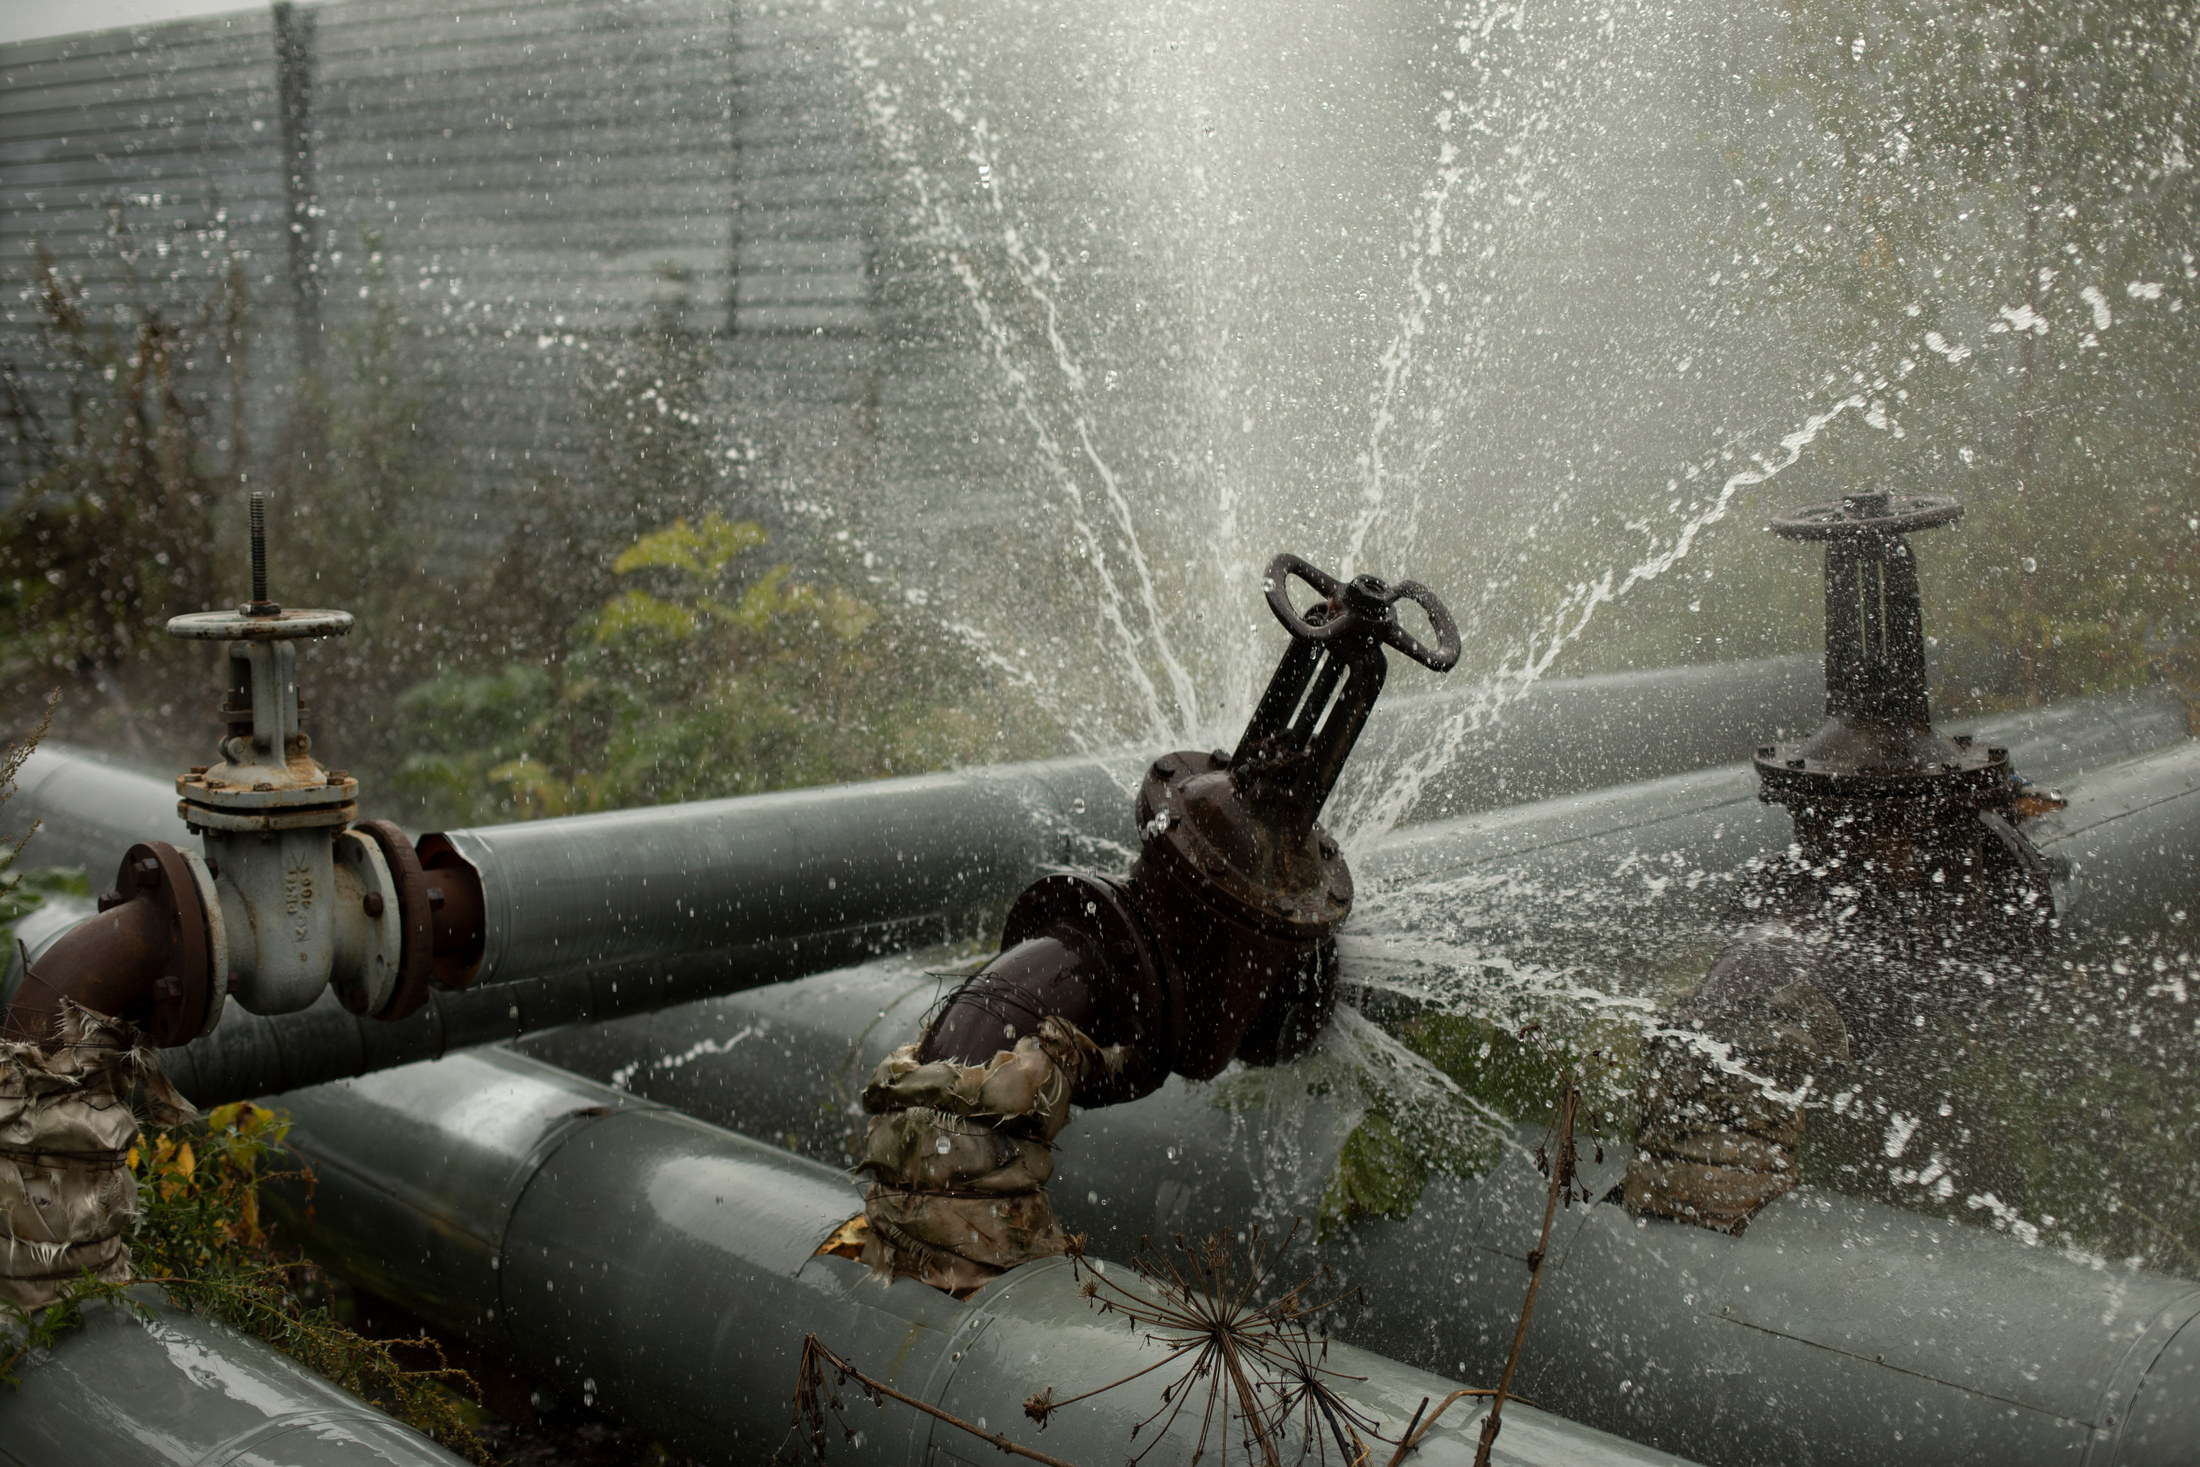
DIY GUIDE · PLUMBING & HEATING · CHECKED OCTOBER 2026
How to fix a dripping tap or a weeping joint yourself
An hour. €4–€21 for washers, O-rings or a ceramic disc set.
If you can see the drip and reach the fitting, isolate, open it, change the washer, disc or olive, and test. If you cannot see where it comes from, stop.
- Every step, start to finish
- Checked October 2026 — sources at the end
- Honest about when to call a pro
FIRST, THE HONEST ANSWER
Do it yourself, or get a repairer?
Do it yourself if…
- The drip is from a tap spout or handle, or from a joint you can see and reach under a sink or bath
- There is an isolating valve near the leak, or you can turn the water off at the stop valve
- The fitting is a standard tap, a compression joint or a push-fit joint
- The leak started recently and has not damaged the floor or ceiling below
Get a pro if…
- Water is coming through a ceiling, down a wall or up through a floor and you cannot see where
- The leak is at a soldered joint, which needs heat and skill to remake
- The leaking joint is on the boiler, the hot cylinder, the immersion or a sealed heating system
- The stop valve will not turn off, or it is the stop valve itself that leaks
Safety first
- Isolate the water before you open any tap head or joint. A fitting opened under mains pressure sprays and soaks electrics nearby.
- Hot taps can scald. Switch off the immersion and any boiler heating the water first, and let the hot side run cold.
- If water has reached a light fitting, a socket or the board, do not touch them. Switch off at the board only if you can do it from a dry place.
- Kneeling and reaching into cupboards strains the back. The HSA's manual handling guidance counts posture and twisting as risks as well as weight; use a kneeling pad and take breaks.
- Junior hacksaw blades and olive splitters slip. Cut away from your hand and wear gloves.
Stop here: Stop here: hidden leaks, heat, gas and the public side
A leak you cannot see the end of, a soldered joint and anything inside a wall or floor need a plumber's tools and experience. If the leak is anywhere on a gas boiler or its pipework, Irish law restricts any work on it to a Registered Gas Installer, and the CRU prosecutes unregistered gas work. Leaks inside your home are your responsibility, as the CRU explains, but if a leak is on the external supply pipe between the boundary and the house, Uisce Éireann's First Fix Free scheme can investigate and repair it. How to hire a leak repair plumber →
| MATERIAL | COVERAGE | FOR THIS JOB |
|---|---|---|
| Tap washers | The right size for the tap, half-inch for most basin and sink taps | One per tap, or a mixed pack |
| O-ring kit | For the spindle seals and spout seals that cause leaks round a handle or spout base | One kit |
| Ceramic disc valve or cartridge | Matched by size, spline and make | One per tap side, or one cartridge for a mixer |
| Olive | Same size as the pipe, usually brass, for remaking a compression joint | One per joint remade |
What a drip costs in water
Water lost = drips per minute × drop size × minutes in a year. At one drip a second and about 0.05 ml a drop, that is 3 ml a minute, or about 1,580 litres a year.
Count the drips for a minute with your phone timer. A drip every few seconds still wastes a bath's worth of water a month.
An older tap that takes several full turns to open and shut. Inside the head is a jumper with a rubber washer that presses on a seat. When the washer hardens or splits, the tap drips from the spout. A new washer of the right size cures it, and if the seat is badly worn a plumber can recut it.
A tap that goes from off to full on in a quarter turn. It has two ceramic discs that slide over each other. These do not wear like a washer, but grit or scale on them causes a drip. The usual fix is to clean the disc unit, or swap the whole cartridge for one of the same size and spline.
One lever for hot and cold. The mixing is done in one cartridge inside the body. One maker's sheet we read shows the cartridge held by two screws under a cap, under a lever fixed by a small set screw. A drip from the spout or round the lever usually means a new cartridge, bought by make and model.
A brass nut on a pipe, with a damp patch or a green crust round it. Often it needs only a small nip with two spanners. If it still weeps, the olive inside is distorted and the joint has to be remade with a new olive.
A white or grey plastic fitting that the pipe pushes into. If it weeps, the pipe is usually not fully home, is scored, or has been cut at an angle. Remaking the joint with a clean, square pipe end and the right insert cures most of them.
THE PART THAT DECIDES THE FINISH
Before you start — where the leak is
Dry everything round the leak with a towel, then watch with a torch to see exactly where the water appears first. Match it to one of these.
Drip from the spout
Water drips from the tap outlet when it is fully off.
- Close the isolating valve for that tap, or the stop valve, and open the tap to empty it
- Put the plug in the sink and lay a towel in the bowl
- Work out which side drips by feeling whether the drip is warm or cold
- Take a photo of the tap head before you dismantle it
Leak round the handle or spout base
Water appears round the spindle or at the base of a swivel spout when the tap runs.
- Isolate as for a spout drip
- Expect a worn O-ring rather than a worn washer
- Have the O-ring kit ready, because the size is only clear once it is out
- Clean any limescale from the area before you take the tap apart
Weep at a joint under a sink or bath
A damp patch or crust round a nut or fitting.
- Dry it completely and watch for a minute to see which side of the joint the water comes from
- Find the nearest isolating valve, or the stop valve, and know how to close it before you touch the nut
- Check whether it is a compression nut, a push-fit collar or a soldered joint
- If it is soldered, stop here; this guide does not cover heat
Drip from a tap tail or flexible hose
Water runs down a braided tail or drips from its nut.
- Check the braid for fraying or a bulge; a damaged tail must be replaced, not tightened
- Isolate before you touch it
- Note the tail length and both thread sizes for the replacement
- Look at the crimp at each end for rust or a split
THE JOB
How to fix the leak
Set up and isolate
10 minClose the isolating valve for the tap or joint with a flat screwdriver, or close the stop valve and open the cold tap downstairs to drain the pipe. For a hot tap, switch off the immersion and any boiler heating the water and let the hot run cold. Open the leaking tap to release the pressure. Put the plug in and lay a towel in the sink.
- Test the isolation by opening the tap: nothing should come out after the pipe empties
- Put a bowl under the joint before you open it
- Tell everyone not to use water until you are done
Mistake to avoid: Opening a tap head under pressure. Water sprays out round the spindle and the small parts shoot into the sink.
Prepare the fitting
10 minThis is the prep from the cards above. Wrap a cloth round any chrome so the spanner does not mark it. On a tap, prise off the cover cap on the handle to find the screw, or the grub screw on a mixer lever. On a joint, clean the nut and fitting so you can see the edge of the olive or the collar.
- A thin blade under the cap's edge lifts it without chipping it
- Put each part on a towel in the order it came off
- Spray an old, stiff tap head with penetrating oil and wait
Mistake to avoid: Gripping a chrome tap body with bare pliers. The plating scars instantly and the scratches never polish out.
Change a rubber tap washer
20 minTake off the handle and the cover, then unscrew the head of the tap with a spanner while you hold the tap body still with your other hand or a second spanner. Lift the head out. The washer is on the jumper at the bottom; prise it off, or undo the small nut that holds it, and fit the new one. Wipe the seat in the tap body clean and screw the head back in.
- Hold the tap body firmly so it cannot turn on the basin
- Take the old washer to compare sizes if you are not sure
- A seat that feels rough or pitted is worn; a new washer will help only for a while
Mistake to avoid: Turning the tap head without holding the body. The whole tap twists in the basin and loosens its own backnut underneath.
Clean or change a ceramic disc valve
20 minOn a quarter-turn tap, take off the handle and unscrew the disc unit. Look at the discs: if there is grit or scale, rinse them and wipe them with a cloth. If a disc is chipped or the drip continues, fit a new unit of the same size and spline. Note which way the old one sat, because hot and cold units turn in opposite directions.
- Count the splines on the spindle and match them on the new unit
- Fit the new rubber seal at the base of the unit, not the old one
- Mark hot and cold units if you take both out at once
Mistake to avoid: Fitting a ceramic unit for the wrong side. The tap still works but turns the wrong way to open, which confuses everyone.
Change a mixer cartridge
30 minLever off the cap, undo the set screw with a hex key and lift off the lever, as the tap's sheet shows. Take off the cover, undo the screws or nut holding the cartridge and pull it straight out. Fit the new cartridge the same way round, with its seals in their grooves, and tighten its screws evenly. Reassemble in reverse.
- Buy the cartridge by tap make and model, or take the old one in
- The tap maker we read asks you to tighten the cartridge screws evenly, in turn
- A little of the right grease on the seals makes the lever smoother
Mistake to avoid: Tightening one cartridge screw fully before the other. The cartridge sits crooked, the seal does not bed, and it leaks inside the body.
Nip up a weeping compression joint
10 minDry the joint. Hold the fitting body with one spanner and turn the nut a small amount clockwise with the other, no more than a sixth of a turn. Dry it again, turn the water on and watch. Many weeps stop there. If it still weeps, do not keep tightening; the olive is the problem.
- Always hold the body with the second spanner
- Turn in tiny steps; a compression joint is easily overtightened
- Look at the joint again an hour later, when it has warmed or cooled
Mistake to avoid: Overtightening a weeping joint. The olive crushes, the pipe distorts, and the small weep becomes a steady leak.
Remake a compression joint
30 minIsolate and drain. Undo the nut and pull the pipe out. Cut the old olive off carefully with a junior hacksaw or an olive splitter, without scoring the pipe, or cut the pipe end back past it. Slide on the nut and a new olive, push the pipe fully into the fitting, run the nut up by hand and then turn it with a spanner while you hold the body still, as the fitting maker allows.
- Clean the pipe end and check it is round and free of scratches
- Push the pipe fully home to its stop before tightening
- A thin smear of jointing compound on the olive helps; tape does not
Mistake to avoid: Reusing the old olive. It has already set to the shape of the old joint and will not seal in the same place twice.
Remake a push-fit joint
20 minIsolate and drain. Release the collar as the fitting's maker shows and pull the pipe out. Check the pipe end: it must be cut square, smooth and free of score marks, with an insert pushed fully in if it is plastic. Push it firmly back into the fitting until it reaches the stop, then pull back on it to check it has locked.
- Mark the insertion depth on the pipe with a pen so you can see it has gone fully home
- Cut plastic pipe with a proper cutter, never a hacksaw
- Replace a fitting whose O-ring you have damaged
Mistake to avoid: Pushing a pipe in only as far as the first grip. It holds for a while and then lets go under pressure.
Turn on and test
15 minOpen the valve slowly. Run the tap fully on and off several times. Wipe every joint you touched with a dry tissue and watch it for a few minutes. Check again after an hour and the next morning.
- Put dry kitchen paper under the joint overnight
- Turn the immersion and boiler back on only when the hot side runs freely
- If a joint still weeps after one careful remake, stop and call a plumber
Mistake to avoid: Declaring it fixed after one look. Many weeps show only after the pipe has gone through a full hot and cold cycle.
The mistakes that show
- Using one spanner on a joint and twisting the pipe
- Overtightening a compression nut to stop a weep
- Reusing an old olive
- Wrapping PTFE tape round an olive
- Taping up a damaged flexible tail instead of replacing it
- Assuming a leak through a ceiling is a joint you can reach
Stop here and get a plumber
- Water is coming through a ceiling, wall or floor and you cannot see the source
- The leak is at a soldered joint or a fitting inside a wall
- The leak is on the boiler, the hot cylinder, the immersion or a sealed heating system
- A joint still weeps after one careful remake
| WHAT YOU SEE | WHY, AND THE FIX |
|---|---|
| Tap still drips after a new washer | The seat in the tap body is worn or pitted. A plumber can recut it, or you can fit a new tap or a ceramic conversion kit. |
| Leak round the handle when the tap runs | The spindle O-ring is worn. Isolate, take the head apart and fit a new O-ring from the kit. |
| Quarter-turn tap drips after cleaning | A ceramic disc is chipped. Fit a new disc unit of the same size and spline. |
| Mixer lever is stiff after a new cartridge | The cartridge seals are dry or the screws are uneven. Take it out, grease the seals lightly and tighten the screws evenly. |
| Compression joint still weeps after a nip | The olive is distorted or the pipe is scored. Remake the joint with a new olive on a clean pipe end. |
| Push-fit joint drips | The pipe is not fully home, is scored, or has no insert. Remake it with a square, clean end and the right insert. |
| Braided tail weeping along its length | The tail is damaged. Replace it; never tape or tighten a damaged tail. |
| Damp ceiling below the bathroom | The leak is hidden in the floor or behind a bath panel. Turn the water off and call a plumber. |
WHAT YOU SAVE
What it costs to do it yourself
| Half-inch tap washer | €4.19 |
|---|---|
| Pack of assorted washers | €5.99 |
| O-ring kit | €6.29 |
| Single ceramic disc valve | €10.79 |
| Pair of ceramic disc valves | €20.59 |
| Total | €4–€21 |
| DIY total | €4–€21 |
Guide prices compiled by the Locufy team from published Irish and UK provider price lists and 2026/27 cost guides. Updated 2026.
Most drips cost a single washer to fix. The top of the range is a pair of ceramic disc units for a quarter-turn tap.
RATHER NOT?
Leak repair plumbers near you, with prices shown
The ones who cover your area, nearest first, with one score from every review. No account needed to look.
Or post the job free and let them come to you.
Put spare washers, O-rings and the tap's leaflet in a labelled bag under the sink. The next drip is a ten-minute job.
Check the joint you remade once a day for a week, with a dry tissue. A weep that appears after a few days is caught before it damages the cupboard.
Old brass headgear and fittings are metal and go to the metal skip at your local civic amenity site; mywaste.ie shows which centre accepts what. Old rubber washers and O-rings go in your general waste bin.
Scale is the main enemy of ceramic discs. Wipe taps with a mild descaler now and then, and clean the aerators.
Fixing a dripping tap or a weeping joint: questions people ask
Isolate the water, take off the tap head and change the washer, or clean or replace the ceramic disc or cartridge. Which one depends on whether the tap turns several times, a quarter turn, or works with a single lever.
The CRU puts the loss from one dripping tap at over 1,500 litres a year. Fixing it is usually a matter of a few euro.
A small nip with two spanners often cures a weep. If it does not, the olive is distorted; remake the joint with a new olive rather than tightening more.
No. A compression joint seals on the olive. Tape stops it bedding evenly. A light smear of jointing compound is better if anything.
A leak on the external supply pipe between your boundary and the house can be checked under Uisce Éireann's First Fix Free scheme. Leaks inside are yours to repair.
Locufy's Irish price guide puts leak repair at €90–€400 per job, typically €180. A visible drip at a tap is at the low end; a hidden leak costs more.
MORE GUIDES
More DIY guides
Sources — checked October 2026
- GROHE — kitchen mixer installation and maintenance instructions: replacing the cartridge
- HSA — guide to the manual handling of loads (General Application Regulations 2007)
- CRU — water leaks in the home: checks, the dripping tap and the First Fix Free scheme
- CRU — RGI and Safe Electric schemes
- MyWaste.ie — DIY equipment: metal items at civic amenity sites
- Woodie's — washers and sealants (price check)
- Woodie's — taps and replacements (price check)