DIY GUIDE · CLEANING · CHECKED OCTOBER 2026
How to clean mould yourself — and when to stop
An hour for a bathroom. €14–€20 in a mould spray, gloves, a mask and goggles.
Find the cause, clean small patches with a mould product, ventilate, and know when it is the landlord's or a pro's job.
- Every step, start to finish
- Checked October 2026 — sources at the end
- Honest about when to call a pro
FIRST, THE HONEST ANSWER
Do it yourself, or get a cleaner?
Do it yourself if…
- The patch is small — smaller than one bottle of mould remover will treat
- It is on a hard surface: tiles, grout, sealant, painted plaster, a window reveal
- You know the cause is condensation from cooking, showering, drying clothes or sleeping
- Nobody in the house has asthma, a lung condition or weakened immunity, or they can stay out of the room
Get a pro if…
- The mould covers a whole wall or ceiling, or keeps coming back after cleaning
- There is a leak, a damp patch that grows after rain, or a tide line low on the walls
- It is in soft materials — carpet, plasterboard, a mattress, the attic insulation
- You rent, and the landlord has not dealt with damp or a broken extractor fan
Safety first
- Never mix bleach with other cleaners. The HSA warns that bleach in contact with ammonia, toilet cleaners or drain cleaners produces a harmful gas that can seriously damage your health.
- Wear rubber or plastic gloves, goggles and a mask, and ventilate well during use, as the mould spray maker advises.
- Mould spores can trigger allergies and asthma. Keep anyone with asthma, a lung condition or weak immunity out of the room, and ask your GP or pharmacist if mould seems to be making someone's symptoms worse.
- Mould removers are biocides; read the label and its hazard warnings before use, and keep them away from children and pets.
- On a stepladder, stay off the top two steps and do not overreach, in line with HSA ladder guidance.
Stop here: Damp in a rented home, a leak, or a structural damp problem
In a rented home, keeping it free of damp is the landlord's legal duty. The 2019 rented-housing standards, S.I. No. 137 of 2019, say a rented house must be kept in good repair and not defective due to dampness, every habitable room must have adequate ventilation, and there must be ventilation to remove water vapour from the kitchen and bathroom, kept in working order. Local authority inspectors enforce the standards, and a landlord who does not comply can be prosecuted, with fines of up to €5,000. Report it to the landlord in writing with your dated photos, and to your local authority if nothing is done. Whoever owns the house, a leak, rising damp or mould inside walls and insulation is a building repair — a membrane, a roof or a pipe — and the risk of cleaning over it is that the damage spreads out of sight. How to hire a mould removal specialist →
| MATERIAL | COVERAGE | FOR THIS JOB |
|---|---|---|
| Mould remover spray | One 500 ml bottle treats 2 to 3m² of wall or 6 to 8m² of grout, by one maker's guide | One bottle for a bathroom |
| Mild detergent | For gaskets, soft sealant and anything the spray must not touch | A squeeze in warm water |
| Moisture absorber or small dehumidifier | For wardrobes and box rooms | One per problem space |
Is it a cleaning job? The bottle test
36 m² of wall → 28.8 L for 2 coats. Buy about 29 L.
Bottles needed ≈ patch area in m² ÷ 2.5 for painted walls, or ÷ 7 for tile grout, using one maker's coverage for a 500 ml bottle. Example: a 1.2 m × 0.6 m patch on a bedroom wall is 0.72 m², so 0.72 ÷ 2.5 ≈ 0.3 of a bottle — a cleaning job. A whole 3 m × 2.4 m wall is 7.2 m², about three bottles — that is a damp problem to investigate, not a patch to clean.
If the answer is more than one bottle, or the patch is back within a month, stop cleaning and find the cause.
According to the HSE, mould feeds on decaying material in damp spots and throws off spores when a moist room warms up quickly — the heating switching on in a damp house is its example. Everything it recommends is about moisture: a dry, aired home, the extractor or a window open while you cook or shower, inside doors kept shut, clothes dried outdoors, and condensation dealt with.
One maker of mould removers points out that home remedies such as vinegar and bleach have no official approval for mould, and its own spray is used at 3 to 5 cm from the surface and left for 30 minutes before rinsing with water and a sponge. Products like this are biocides: read the label, follow the time it gives, and do not improvise.
Bleach whitens the stain, so it looks as if it worked, but the same maker says it has never been proven against mould. It is also the product most likely to hurt you if mixed: the HSA warns that bleach must not come into contact with ammonia, toilet cleaners or drain cleaners because a harmful gas forms. If you do use a chlorine-based mould spray, use nothing else in that room that day.
Mould sprays bleach colour. The maker says to test first on an inconspicuous spot, not to treat coloured surfaces, and not to use its spray on ceilings because it can weaken the bond of plaster and paint there. It also rules out wood. Sealant, grout and tiles are the classic place to use it.
The same maker says one 500 ml bottle treats 2 to 3m² of wall or 6 to 8m² of tile grout. That gives you a practical size limit for doing it yourself: if one bottle would not cover the patch, it is past a cleaning job and you need to find out why.
Wear rubber or plastic gloves and ventilate well while you work, as the maker advises. Add safety goggles, because spray rebounds off tiles at face height. The HSA's cleaning guidance mentions disposable dust masks where substances create dust, and says to check section 8 of the product's safety data sheet for recommended protection.
THE PART THAT DECIDES THE FINISH
Preparing the surface — by where the mould is
Find the place your mould is growing and do its preparation first. If you see more than one of these, start with the cause, not the stain.
Tile grout and silicone sealant
Showers, bath edges, the back of the kitchen sink.
- Run the extractor or open the window and let the area dry for a day before treating
- Clean off soap scum with your usual bathroom cleaner and rinse well; do not let it meet the mould spray
- Dry the joints with a towel so the product is not diluted
- Look closely at the sealant: mould under the surface of old silicone usually means it needs cutting out and replacing
Painted walls and window reveals
Corners of bedrooms, behind furniture, round cold windows.
- Pull furniture a hand's width off the wall and look behind it
- Test the mould product on a hidden patch of the paint; it can bleach colour
- Lay a dust sheet or old towel below the patch
- Feel the wall: cold and dry is condensation, damp to the touch after rain is a leak or penetrating damp
Bathroom and kitchen ceilings
Grey or black speckling above the shower or hob.
- Do not use a mould spray overhead; the maker we checked warns it can weaken the bond of ceiling plaster and paint
- Set up a stepladder on firm, level floor, without standing on the top two steps
- Plan to wipe with a cloth barely damp with the product, rather than spraying
- Check the extractor fan works: hold a sheet of tissue to it and see if it is pulled in
Window frames, sills and seals
uPVC or timber frames, rubber gaskets, the glass edge.
- Wipe off condensation first and let the frame dry
- Keep mould sprays off rubber gaskets unless the label allows it; wash them with mild detergent
- Clear the drainage slots at the bottom of uPVC frames
- Timber frames: look for soft or dark wood, which is rot and needs a joiner
Wardrobes, presses and the back of furniture
Musty clothes, spots on the back panel, a cold external wall.
- Empty it and take the clothes outside to air before washing them
- Move the furniture off the external wall
- Wipe the hard surfaces with the product as its label allows; most are not for wood
- Put a moisture absorber in and keep it a little open; the HSE advises against packing clothes too tightly or storing them in damp cupboards
Soft materials: carpet, plasterboard, mattresses, insulation
Mould that has grown into the material rather than sitting on it.
- Do not try to clean it; spores are deep in the material
- Close the door to the room and ventilate it to the outside
- Find the water source first
- This is a removal and repair job — see the stop card below
THE JOB
How to clean mould, in order
Find the cause before you clean
20 minUse the surfaces section above to identify where the mould is and why. Mould in corners, on cold external walls, round windows and above the shower is almost always condensation. A patch that grows after rain, a tide line low on the wall or a brown stain on a ceiling under a bathroom is water getting in, and cleaning it is pointless until that is fixed. Check that extractor fans run and that wall and window vents are open.
- Look behind furniture and inside wardrobes on external walls
- Note whether the patch is damp to the touch or just cold
- Photograph it with a coin for scale, and date it
Mistake to avoid: Spraying the stain and moving on. Without fixing the moisture, the mould is back in weeks and you have only bleached it.
Prepare the room and yourself
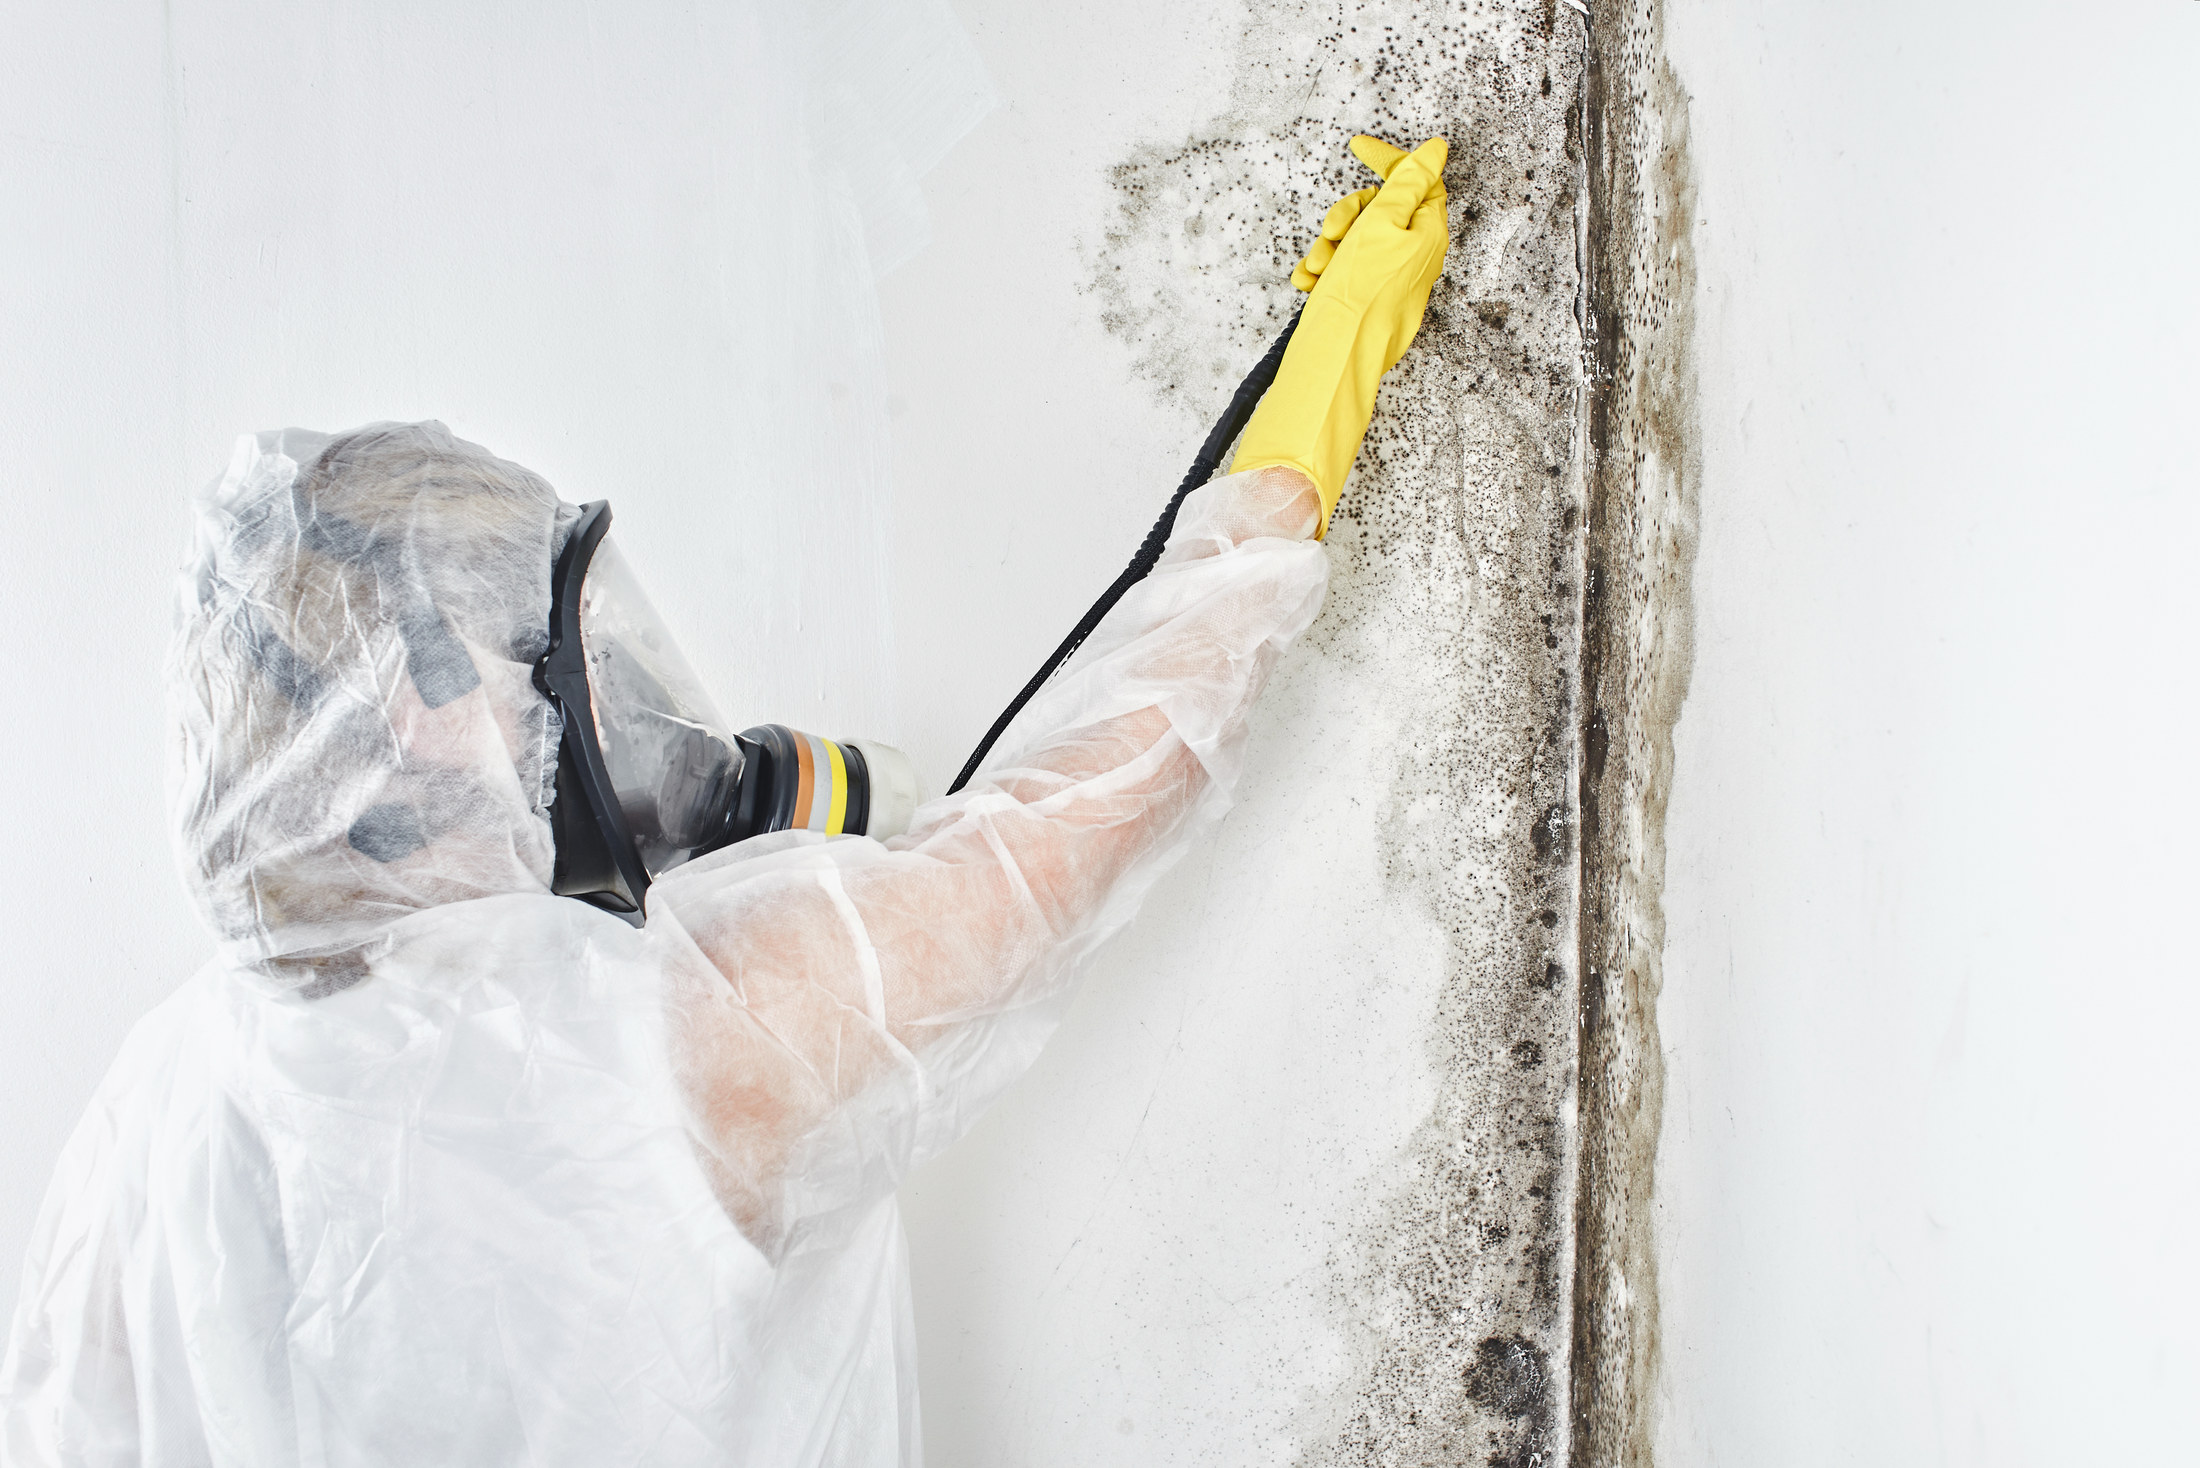
10 minOpen the window and close the internal door, which stops spores and fumes spreading through the house. Lay old towels below the patch. Put on gloves, goggles and a mask. Keep children, pets and anyone with asthma out of the room. Remove anything else from the room's shelves and sills, and put all other cleaning products out of the room so nothing gets mixed.
- Run the extractor fan as well as opening the window
- Tie long hair back; you will be looking up
- Have the bin bag open and ready
Mistake to avoid: Cleaning with the door open to the rest of the house. Spores and spray drift into the hall and bedrooms.
Dry the surface, then test
15 minWipe off any condensation with a towel and let the surface dry; the product works best undiluted. Then test it on a hidden spot of the same surface — the bottom of the tile run, the inside of the reveal — and wait. The maker warns that its mould spray has a bleaching effect, so look for any change in colour of paint, grout or sealant before you treat the visible area.
- Coloured grout and painted walls are the ones most likely to lighten
- Never test on wood, a ceiling or a rubber seal
- If it bleaches the test spot, use a different product or call a professional
Mistake to avoid: Treating a dark painted wall without testing. The mould goes, and so does a pale patch of paint around it.
Apply the product without spreading spores
10 minDo not brush or scrub dry mould first; that throws spores into the air. Spray the product evenly onto the mould from a short distance — the maker of one spray says 3 to 5 cm — covering the patch and a margin around it. On grout, work along the joint lines. On a ceiling, apply with a cloth barely damp with the product rather than spraying upwards.
- Short bursts, close to the surface, so it does not mist
- Keep it off timber, rubber seals and coloured fabric
- Step back and let the room air while it works
Mistake to avoid: Scrubbing dry mould with a brush before treating it. You release the spores straight into the air you are breathing.
Leave it for the time on the label
30 minLeave the product to work for the time its label gives — 30 minutes for the spray we checked — and leave the room with the window open while it does. Do not shorten the time to get it done; the product needs contact time to kill the growth, not just bleach it.
- Set a timer and go out of the room
- Keep the internal door closed
- Rinse sealant and grout thoroughly once the time is up
Mistake to avoid: Wiping it off after a couple of minutes because the stain has already faded. The colour goes first; the growth needs the full time.
Rinse and wipe clean
15 minSponge the area with clean water to remove the product and the dead growth, working from the top down and rinsing the sponge often in fresh water. The maker says to clean the sprayed surface with water and a sponge after the contact time. Rinse grout and sealant thoroughly. Wipe dry with a clean towel.
- Change the rinse water as soon as it looks grey
- Do not use the same sponge for anything else afterwards
- If metal fittings got sprayed, rinse them at once
Mistake to avoid: Leaving the product on the surface to keep working. It can mark paint and fittings and leaves a residue that feels tacky.
Bag the cloths and wash your hands
5 minPut the sponges, cloths and the mask into the bin bag and tie it. Take off your gloves by turning them inside out, put them in too if they are disposable, and wash your hands and face. Wash the towels you laid down on a hot wash on their own. Take the bag straight out to the general waste bin.
- Do not shake the towels indoors
- Rinse the goggles under the tap
- Wash your clothes if they got sprayed
Mistake to avoid: Rinsing the mouldy sponge and keeping it for the next job. It carries spores to the next surface you wipe.
Dry the room and ventilate it
DailyThis is the step that stops it coming back. Ventilate after cooking, showering and sleeping: the HSE advises using an extractor fan or opening a window when you shower or cook, keeping internal doors closed so damp air does not spread, and avoiding drying clothes indoors. Leave the extractor running for a while after a shower, wipe the shower walls and the window glass, and keep vents and trickle vents open.
- Wipe condensation off windows every cold morning
- Dry clothes outside or in a vented dryer, not on radiators
- Heat the home steadily rather than in short bursts
Mistake to avoid: Closing the vents because the room feels cold. That traps the moisture, and the mould is back in a fortnight.
Watch it and act on what you see
10 min a weekCheck the treated area weekly for a month. Compare it with your dated photo. If it stays clean, the cause was condensation and your new habits are working. If it returns quickly, spreads, or the wall feels damp, there is more moisture than ventilation can handle — a leak, penetrating damp or a failed extractor — and it is time to stop cleaning and get the cause investigated.
- Keep the photos; they are evidence if you rent
- A hygrometer shows whether the room is still very humid
- Replace sealant that stays stained after treatment
Mistake to avoid: Cleaning the same patch every month for a year. Repeated return is the sign of a fault, not of bad cleaning.
The mistakes that make mould worse
- Cleaning the stain and ignoring the moisture causing it
- Brushing or scrubbing dry mould, which spreads spores
- Mixing bleach with another cleaner in the same room
- Painting over mould that has not been treated and dried
- Spraying mould remover on ceilings, wood or rubber seals
Stop here and get a damp specialist
- The mould covers more than one bottle of remover will treat, or comes back within weeks of cleaning
- There is a leak, a patch that grows after rain, a tide line low on the walls or a brown stain on a ceiling
- It has grown into carpet, plasterboard, insulation or a mattress
- Someone in the house has asthma or a weakened immune system and the mould is in their bedroom
| WHAT YOU SEE | WHY, AND THE FIX |
|---|---|
| The mould came back within weeks | The moisture source is still there. Check the extractor works, open vents, dry clothes outside and wipe condensation daily; if it still returns, look for a leak or penetrating damp. |
| Black spots inside the silicone will not shift | The mould is under the surface of old sealant. Cut the sealant out, clean and dry the joint, and reseal. |
| A pale patch appeared on the paint | The product bleached the colour. Touch up with the same paint once the wall is clean and dry; test first next time. |
| The wall feels damp even after cleaning | Water is coming through or up the wall. That is not condensation; stop cleaning and get the cause investigated. |
| The grout has gone lighter in patches | Coloured grout bleached under the spray. A grout pen restores the colour on small areas. |
| Musty smell but no visible mould | Check behind furniture, inside presses, under the bath panel and in the attic hatch. A hygrometer reading that stays high points to the room. |
| Mould on the ceiling above the shower | Steam with no way out. Run the extractor longer, check it pulls air, and clean the ceiling with a barely damp cloth rather than a spray. |
| Condensation streams down the windows every morning | The house is holding too much moisture. Ventilate after showers and cooking, open trickle vents, and wipe the glass each morning. |
WHAT YOU SAVE
What it costs to do it yourself
| Mould remover spray | €2.99–€9 |
|---|---|
| Disposable dust masks, pack of two | €6 |
| Safety goggles | €3.05 |
| Moisture absorber | €1.99 |
| Total, one room | €14–€20 |
| DIY total | €14–€20 |
Guide prices compiled by the Locufy team from published Irish and UK provider price lists and 2026/27 cost guides. Updated 2026.
The goggles last, and one bottle usually does a bathroom. The bigger saving is in the habits — the extractor, open vents, clothes dried outside — which cost nothing and stop the next outbreak.
RATHER NOT?
Mould removal specialists near you, with prices shown
The ones who cover your area, nearest first, with one score from every review. No account needed to look.
Or post the job free and let them come to you.
Ventilate after every shower and meal, keep internal doors closed, dry clothes outside, and wipe the windows on cold mornings.
Keep mould sprays upright, capped and out of children's reach, apart from bleach and acid cleaners.
Used cloths and sponges go in the general waste bin, bagged. Unwanted mould remover and other biocides are hazardous waste: bring them to your local civic amenity site or a local authority household hazardous waste day — mywaste.ie lists them.
Dated photos and copies of what you sent the landlord are your evidence if you need your local authority or the RTB later.
Cleaning small patches of mould and stopping them coming back: questions people ask
Bleach whitens mould but one maker of mould removers says it has never been proven to kill it. Use a product made for mould, follow its contact time, and never mix bleach with other cleaners.
As long as its label says. The spray we checked is left 30 minutes and then rinsed with water and a sponge; if staining remains, treat again only as the label allows.
With care. One maker advises against its spray on ceilings because it can weaken the plaster and paint bond; wipe with a barely damp cloth instead, from a stepladder used properly.
Under S.I. No. 137 of 2019, the landlord must keep a rented house free of defects due to dampness and keep ventilation working. Report it in writing; your local authority enforces the standards.
The Locufy price guide puts professional mould cleaning at €300–€2,500 per job, typically €800. The range reflects the size of the area and whether the cause needs repair.
Mould spores are a common allergen and can make asthma worse, according to the HSE. If someone's symptoms seem worse at home, talk to your GP, and keep them out of the room while you clean.
MORE GUIDES
More DIY guides
Sources — checked October 2026
- HG — mould spray: directions, contact time, surfaces
- HG — mould on walls: coverage, bleach and vinegar, ventilation
- Irish Statute Book — S.I. No. 137 of 2019, Housing (Standards for Rented Houses) Regulations 2019
- Cork County Council — standards for rented houses: enforcement and penalties
- HSE — preventing allergic rhinitis: mould spores and damp
- HSE — living with asthma
- HSA — Safety in Contract Cleaning: incompatible chemicals and protection
- HSA — using ladders safely
- MyWaste.ie — chemicals and household hazardous waste
- B&Q Ireland — price check: mould remover, October 2026
- B&Q Ireland — price check: dust masks, October 2026
- B&Q Ireland — price check: safety goggles, October 2026
- Mr Price — price check: mould sprays and moisture absorbers, October 2026