DIY GUIDE · TRADES & CONSTRUCTION · CHECKED OCTOBER 2026
How to tile a wall yourself
A weekend: tile one day, grout the next. £77–£151 in adhesive, grout, spacers and tools for a small wall; the tiles are extra.
Plan the cuts, fix a level batten, comb an even bed, work within the open time, and grout the next day.
- Every step, start to finish
- Checked October 2026 — sources at the end
- Honest about when to call a pro
FIRST, THE HONEST ANSWER
Do it yourself, or get a tiler?
Do it yourself if…
- It is a splashback, a kitchen wall or a bathroom wall away from the shower
- The wall is sound, flat and dry, or can be made so with a skim of filler
- The tiles are a manageable size — standard ceramic or porcelain, not large-format slabs
- You can measure carefully and are prepared to plan the layout before fixing a single tile
Get a pro if…
- It is a shower enclosure or wet room that needs a waterproofing system behind the tiles
- The tiles are large-format, heavy natural stone or glass, which need different adhesives and handling
- The wall is out of plumb or flat by more than a skim can fix, or the old plaster is loose
- It is a floor over a timber deck that flexes, where the base needs overboarding and the right flexible adhesive
Safety first
- Cut tiles wet or outside, and wear an FFP3 mask when you cut, grind or drill them. Tiles, grout and adhesive contain crystalline silica, which the safety regulator links to silicosis, lung cancer and chronic lung disease, and the damage from it does not reverse.
- Wear safety glasses for every cut and every snap. Tile edges and chips are as sharp as glass.
- Wear gloves and avoid getting wet cement-based adhesive or grout on your skin; it is alkaline and can burn and cause dermatitis. Wash splashes off at once.
- Switch off and isolate the power to any socket or switch you are tiling around before you loosen its faceplate, and use a cable and pipe detector before you drill.
- In a home built before 2000, do not sand or break up old textured coatings, old tiles or their adhesive without thinking first: some older building materials contain asbestos, and disturbing them releases the fibres.
- Lift full bags of powder adhesive with your knees bent, and mix on the floor rather than at waist height on a wobbly surface.
| MATERIAL | COVERAGE | FOR THIS JOB |
|---|---|---|
| Tiles | Wall area plus a margin for cuts and breakages | 3 m² wall: about 3.3 m² |
| Wall tile adhesive | Read the bag for your trowel notch | 3 m²: one tub, or a part bag of powder |
| Grout | Depends on tile size and joint width | 3 m²: one small bag |
| Spacers | A bag of the right size | One bag |
| Primer and sanitary silicone | Wall area, and the perimeter joints | One small tin and one tube |
How many tiles
Wall area × (1 + your waste margin) ÷ the area of one tile, rounded up to whole boxes. A splashback 3 m long and 1 m high is 3 m²; with a 10% margin that is 3.3 m², and with 300 × 600 mm tiles at 0.18 m² each you need nineteen tiles.
Allow a bigger margin for patterned or diagonal layouts and walls full of sockets and corners. Box coverage is printed on the box.
Ceramic wall tiles are lighter, softer and easier to cut, and are the right choice for a first job. Porcelain is denser and harder wearing but harder to cut and heavier, and it needs an adhesive rated for it. Very large or heavy tiles change the job; check the weight against what the wall can take.
Ready-mixed tub adhesive is easy and suits small ceramic tiles on a dry wall. Powder adhesive mixed with water is stronger, copes with porcelain and damp areas, and comes in standard and rapid-setting versions. The rapid adhesive we looked at has 30 minutes of open time and 60 minutes of pot life, and can be grouted after 3 hours.
Cement adhesives are graded under the British and European standard: C1 is a normal adhesive and C2 an improved one, F means fast-setting, T means reduced slip on walls, E means extended open time, and S1 means it can flex a little. A C2 adhesive with T and S1 is the safe choice for most walls.
Choose a grout for the joint width you plan to leave. The flexible wall grout we looked at suits joints up to 5 mm, sets in 24 hours and has 2 hours of pot life once mixed. Flexible grout copes better where there is movement or water, such as around a bath.
Where the tiles stop on an outside corner or at the edge of a splashback, a plastic or metal trim gives a clean edge and protects the tile edge from chipping. It is fixed into the adhesive as you lay the edge tiles, so buy it before you start.
The joint where the tiles meet the bath, worktop or another wall moves, and grout there cracks. Leave those joints clear of grout and seal them with a sanitary silicone once the grout has set.
THE PART THAT DECIDES THE FINISH
Preparing the wall — by what you are tiling onto
Tiles are only as good as what they are stuck to. A dusty, painted, loose or crooked wall shows through every joint. Find your wall below and do its list before you mix any adhesive.
Painted plaster
The common kitchen and bathroom wall.
- Check the plaster is sound by tapping it: a hollow sound means loose plaster that has to be cut out and repaired
- Scrape off flaking paint and score glossy paint well, or the adhesive bonds to the paint rather than the wall
- Fill holes and cracks and sand them flush
- Prime with the primer your adhesive maker names, and let it dry
Plasterboard
Good for tiling, with a limit.
- Check the board is firmly fixed to its studs and does not flex when pushed
- Do not soak it; prime it as the adhesive maker says rather than wetting it
- Check the combined weight of tile and adhesive against the board maker's limit for tiling; heavy tiles may need a cement board instead
- Behind a shower, use a waterproofing system or a tile backer board, not bare plasterboard
Old tiles
You can tile over them, if they are sound.
- Tap every tile and remove any that are loose or hollow; refill the gap
- Clean off grease and soap with a degreaser and rinse
- Abrade the glaze with a coarse abrasive or use a primer made for tiling over tiles
- Check the extra thickness still works at sockets, worktops and window reveals
Bare new plaster
Usually ideal, once it is dry.
- Let new plaster dry fully; it changes from dark to an even pale colour when ready
- Prime it so it does not suck the water out of the adhesive
- Check for flatness with a straight edge and fill any hollows
- Never tile onto wet or dusty plaster
A floor instead of a wall
The same rules, stricter.
- The base must be rigid: a timber floor that flexes needs overboarding with ply or tile backer board first
- Use a flexible floor adhesive and a floor trowel with deeper notches
- Check concrete is dry and level, and fill dips with a levelling compound
- Plan the layout from the centre of the room so the cuts are equal at the edges
THE JOB
How to tile a wall
Set up and protect the room
30 minClear the area, cover the worktop, bath or floor with dust sheets, and isolate the power to any socket or switch in the wall so you can loosen its faceplate. Set up a cutting station outside or by an open door, with a bucket of water for the sponge. Then go to the preparation section above and do the list for your wall.
- Lay a board over a bath to stand on and to protect the enamel
- Mark where pipes and cables run before you drill anything
- Keep tiles out of the way of the work, in their boxes
Mistake to avoid: Tiling round a socket with the faceplate still screwed tight. You cannot then fit the tile behind the plate edge, and the cut shows.
Prepare the surface
1–2 hoursWork through the list for your wall: cut out loose plaster, scrape and score paint, degrease old tiles, fill and sand, then prime with the primer your adhesive asks for and let it dry. Check flatness with a long straight edge and deal with any hollow now.
- Tap the whole wall; hollow sounds mean loose plaster
- Let primer dry fully before any adhesive goes on
- Vacuum the dust; adhesive does not bond to dust
Mistake to avoid: Tiling straight onto dusty plaster or gloss paint. The adhesive grips the dust or the paint film, and the tiles come off together a few months later.
Set out the layout
45 minMake a gauge rod: a straight batten marked with tile widths plus joints. Hold it against the wall horizontally and vertically to see where the cut tiles will fall. Shift the layout so the cuts at each end are equal and no thinner than about half a tile, and so the cut row sits where it is least seen — at the top under a cabinet, or in a corner.
- Centre the layout on a window or the hob if there is one
- Avoid thin slivers at the edges; move the whole pattern instead
- Mark the position of the first full row lightly in pencil
Mistake to avoid: Starting at one end with a full tile and finding a sliver at the other end. A thin cut is hard to make and draws the eye to the edge of the work.
Fix a level batten
15 minScrew a straight timber batten to the wall with its top edge on the level line for the bottom of your first full row. You tile upwards from the batten, and fill the row below it with cut tiles once the adhesive has set and the batten comes off.
- Never trust the worktop or bath to be level
- Fix the batten with a few screws into the wall; it must not move
- Check the batten with the level again once it is fixed
Mistake to avoid: Starting the first row on the bath or worktop edge. They are rarely level, and every row above inherits the slope.
Mix and spread the adhesive
15 min a batchMix powder adhesive with the water quantity on the bag using a paddle on a drill, until smooth and lump-free. Spread a small area at a time — no more than you can tile within the adhesive's open time — with the flat edge of the trowel, then comb it with the notched edge held at a steady angle, all in one direction, to leave even ridges.
- Spread only as much as you can tile before it skins over
- Comb in one direction so air can escape as you press the tile
- Touch the adhesive: if it no longer sticks to your finger, scrape it off and spread fresh
Mistake to avoid: Spreading the whole wall at once. The adhesive skins over before you reach the far end, and those tiles never bond properly.
Fix the full tiles
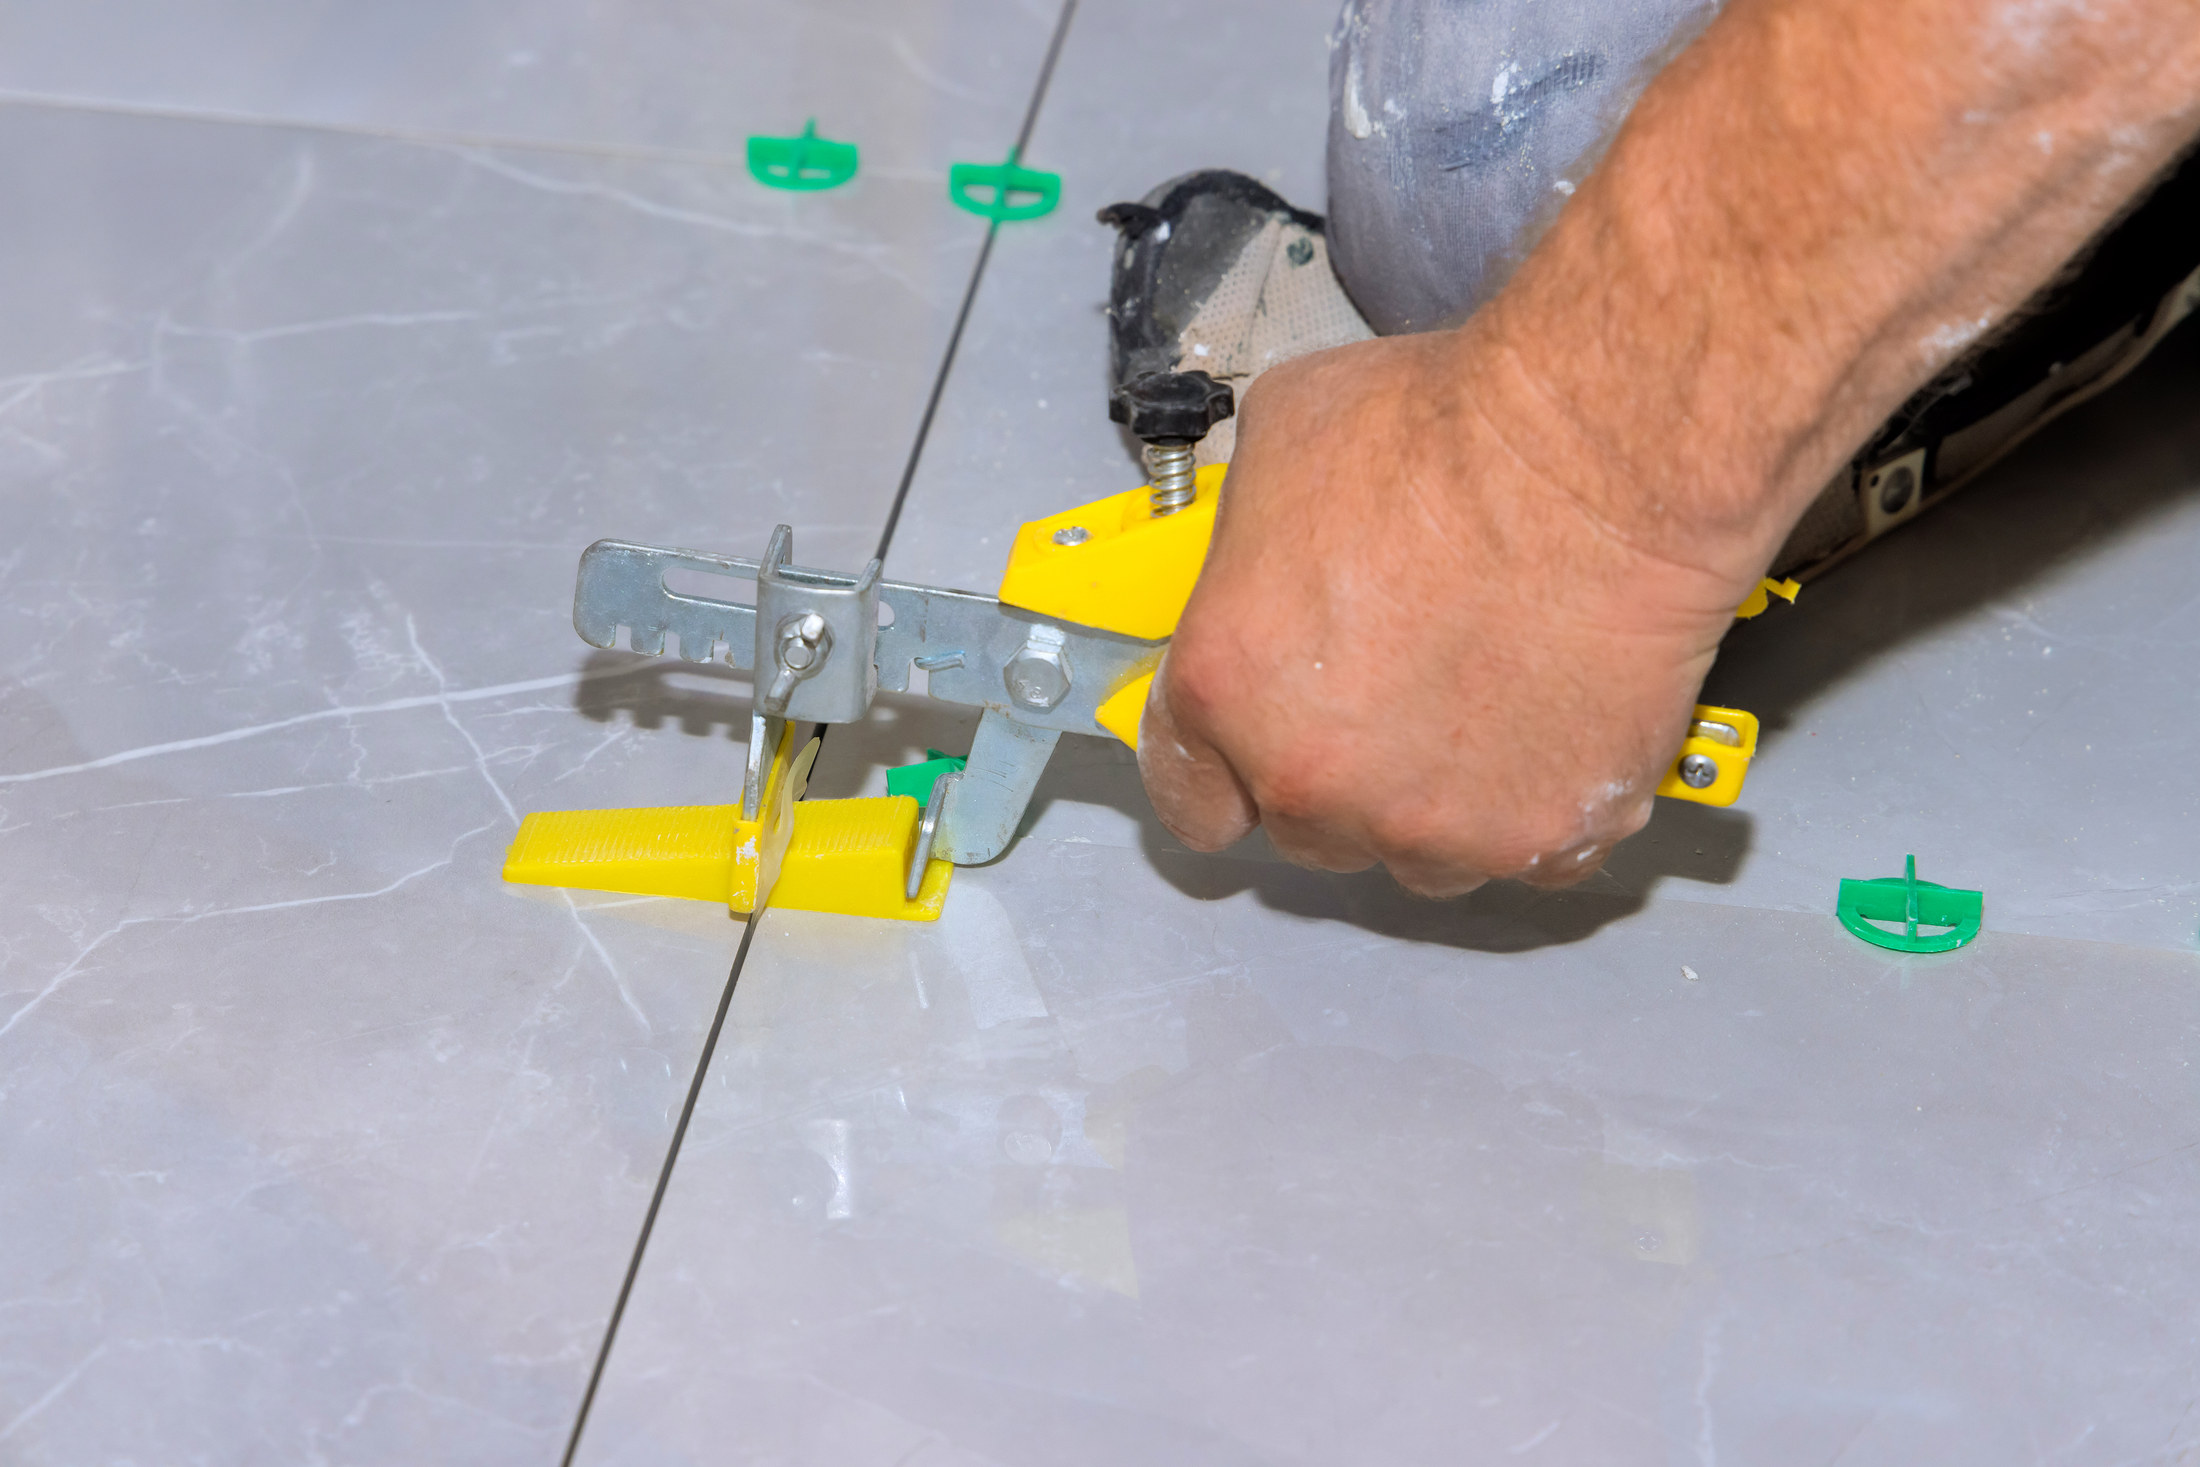
2–3 hoursPress each tile onto the combed bed with a slight twist, then push it flat. Place spacers at every corner or on the edges, and check the rows with the level and the faces with the straight edge as you go. Lift a tile now and then to see the back is fully covered; if not, comb a deeper bed.
- Twist and press, do not slide the tile
- Clean adhesive out of the joints and off the faces as you go, before it sets
- Check level every row; small errors add up fast
Mistake to avoid: Dabbing adhesive on in five spots. The hollow back cracks under pressure, lets water in behind, and the tile sounds hollow when tapped.
Cut and fit the edge tiles
1–2 hoursMeasure each cut tile individually, because walls are seldom straight, and subtract a joint. Score once, firmly, on the manual cutter and snap; use nippers or a wet cutter for notches round pipes and sockets. Smooth sharp cut edges with a tile file, and put the cut edge where it will be hidden by a trim, a corner or a faceplate.
- Score once only; going over the line twice causes a ragged break
- Cut outside or wet, wearing a mask and glasses
- Once the adhesive has set, take off the batten and fit the cut row beneath
Mistake to avoid: Dry cutting porcelain with a grinder indoors. It fills the room with fine silica dust that stays in the air long after you stop.
Let the adhesive set
3 hoursLeave the tiles alone until the adhesive has set to the time on its bag before grouting; the rapid adhesive we looked at can be grouted after 3 hours, while standard adhesives usually need longer. Remove the spacers that sit proud of the surface, and rake out any adhesive left in the joints.
- Leave flush spacers in only if the grout maker allows it
- Rake joints clean to an even depth
- Keep the room warm; cold slows the setting
Mistake to avoid: Grouting too soon. Pressure from the float moves tiles that have not set and pushes them out of line.
Grout the joints
1 hourMix the grout to the consistency on its bag. Load the rubber float and drive the grout diagonally across the joints, pressing it in firmly, then scrape off the surplus by drawing the float diagonally with its edge. Work an area at a time.
- Work diagonally across the joints so the float does not drag grout out
- Pack the joints full; voids crack and let water in
- Leave the joints at the bath, worktop and corners empty for silicone
Mistake to avoid: Leaving grout to dry on the tile faces. It sets hard as a haze that has to be scrubbed off with an acid cleaner.
Clean, tool and seal
45 minOnce the grout has firmed slightly, wipe the faces with a damp, well-wrung sponge in a circular motion, rinsing it often. Run a rounded tool or your finger along the joints for an even finish. When dry, buff off the haze with a dry cloth. Seal the corner and perimeter joints with sanitary silicone once the grout has set — the flexible grout we looked at sets in 24 hours.
- A barely damp sponge; too wet and it washes grout out
- Rinse the sponge in clean water every few wipes
- Seal grout in showers with a grout sealer once it has cured
Mistake to avoid: Using a soaking sponge. It drags the grout out of the joints and leaves them low and sandy.
The mistakes that show
- Starting the first row on the bath or worktop instead of a level batten
- Not setting out, so thin slivers end up at one edge
- Spreading more adhesive than can be tiled within its open time
- Dabbing adhesive on in spots so the backs are hollow
- Grouting the movement joints at the bath and corners instead of using silicone
Stop here and get a tiler
- It is a shower enclosure or a wet room, where a waterproofing system has to go behind the tiles and fail-safe detailing matters
- The tiles are large-format, heavy stone or glass that need specialist adhesive, handling and levelling systems
- The wall is badly out of true or the plaster is loose over a large area and needs replastering
- The floor is a timber deck that flexes and would need overboarding before tiling
| WHAT YOU SEE | WHY, AND THE FIX |
|---|---|
| A tile sounds hollow when tapped | Not enough adhesive behind it, or it was pressed into adhesive that had skinned. Rake out the grout round it, lift it with care, scrape off the old adhesive, and refix with a full bed. |
| The grout has cracked | Movement at that joint, grout mixed too wet, or grouting before the adhesive set. Rake it out and regrout; if the crack is at a corner or the bath, use silicone there instead. |
| A white haze on the tiles | Grout residue left to dry on the faces. Buff with a dry cloth; if it will not shift, use a grout haze remover suitable for your tiles. |
| The grout looks patchy or two colours | Different batches, uneven water in the mix, or a sponge that was too wet. Use a grout colourant pen or rake out and regrout the worst areas. |
| Lines that wander or tiles out of level | The first row was not set from a level batten, or the level was not checked every row. Small errors can be hidden by the grout; large ones mean lifting and refixing. |
| Tiles have lipped edges | The wall was not flat or tiles were not pressed in evenly. Check with a straight edge while the adhesive is still soft; once set, the tile has to come off. |
| Mould in the corner joints | Grout used where silicone was needed, or the silicone has failed. Cut out the old joint, clean and dry it, and reseal with a sanitary silicone. |
| A tile has cracked after a few weeks | A hollow back, a flexing wall, or a screw fixed through the tile too tightly. Cut out the grout, break the tile out carefully, and fit a spare with a full bed. |
WHAT YOU SAVE
What it costs to do it yourself
| Wall tile adhesive | £10.99–£23.99 |
|---|---|
| Grout | £9.49–£19.99 |
| Spacers | £1.29–£1.89 |
| Notched trowel, grout float and sponge | £20.97 |
| Tile cutter, manual or wet | £29.99–£53.99 |
| FFP3 mask | £4.48 |
| Edge trim, if needed | £0–£25.19 |
| Total, excluding the tiles | £77–£151 |
| DIY total | £77–£151 |
Guide prices compiled by the Locufy team from published Irish and UK provider price lists and 2026/27 cost guides. Updated 2026.
Tiles vary from a few pounds a square metre to many times that, and are usually the largest cost. A tiler's price per square metre, from the price guide, is shown alongside for comparison.
RATHER NOT?
Tilers near you, with prices shown
The ones who cover your area, nearest first, with one score from every review. No account needed to look.
Or post the job free and let them come to you.
Keep water off the new tiling until the grout has set to the time on its bag, and longer for showers. Seal grout in wet areas once it has cured.
Wash adhesive and grout off the trowel, float, bucket and paddle before they set. Rinse into a bucket and let the solids settle; never pour the slurry down a sink or drain.
Broken tiles, set adhesive and old plaster are DIY rubble. Take them to your council's household waste and recycling centre, where hardcore, rubble and plasterboard are accepted under specific DIY-waste rules that can include limits or charges; check your council's page before you go.
Store a few tiles from the same batch and a note of the adhesive and grout used, so a cracked tile can be replaced invisibly.
Tiling a wall: questions people ask
As long as your adhesive's bag says. The rapid adhesive we looked at can be grouted after 3 hours; standard-setting adhesives usually need overnight. Grouting too soon moves the tiles.
Usually, if every old tile is firmly stuck and the surface is clean and keyed or primed for tiling over tiles. Check the extra thickness at sockets, worktops and window reveals first.
Whatever joint suits your tiles and your grout. The flexible wall grout we looked at is made for joints up to 5 mm; wider joints need a wide-joint grout.
Not for a small ceramic splashback; a manual score-and-snap cutter is enough. A wet cutter is quicker for porcelain or lots of cuts, and keeps the silica dust down.
Silicone. The joints where tiles meet the bath, worktop or another wall move slightly, and grout there cracks. Leave them empty when you grout and seal them with a sanitary silicone afterwards.
The Locufy UK price guide puts tiling at £30–£100 per m², typically £55 — the same three figures as the strip at the top of this page. That is usually labour; the tiles are on top.
MORE GUIDES
More DIY guides
Sources — checked October 2026
- HSE — silicosis: causes and risk controls (crystalline silica in stone, clay and ceramic work)
- HSE — construction dust (COSHH, silica, lung disease)
- BAL Adhesives — Rapid XP Plus technical data: C2FTES1, open time 30 minutes, pot life 60 minutes, grout after 3 hours
- BAL Adhesives — Grout-Flex technical data: CG2, joints up to 5 mm, setting time 24 hours, pot life 2 hours
- North Northamptonshire Council — what can be recycled at household waste recycling centres (hardcore, rubble, plasterboard under DIY-waste rules)
- UKHSA on gov.uk — asbestos general information: homes built before 2000
- Toolstation — tiling tools price check: cutters £29.99–£53.99, trowel £8.99, grout float £8.99, sponge £2.99, spacers £1.29–£1.89, trim £25.19
- Toolstation — tile adhesive and grout price check: adhesive £10.99–£23.99, grout £9.49–£19.99
- Toolstation — face masks price check: FFP3 £4.48