DIY GUIDE · TRADES & CONSTRUCTION · CHECKED OCTOBER 2026
How to lay click laminate flooring yourself
A day of laying after two days of waiting. £143–£177 in underlay, trims and tools for a four-by-four-metre room; the planks are extra.
Acclimatise for 48 hours, flatten the subfloor, keep the movement gap open everywhere — and never fix the floor down.
- Every step, start to finish
- Checked October 2026 — sources at the end
- Honest about when to call a pro
FIRST, THE HONEST ANSWER
Do it yourself, or get a floorer?
Do it yourself if…
- The subfloor is sound, dry and close to flat, or you are willing to level it first
- The packs can sit in the room for two full days before you open them
- You can measure carefully and cut straight with a jigsaw or a hand saw
- You are happy to lift the skirting, or to finish the edge with beading afterwards
Get a pro if…
- The floor is uneven enough to need a screed or a new ply deck
- A solid floor shows signs of damp, or is a new screed that has not dried
- The floor is going over underfloor heating and the plank's own sheet does not settle the underlay and temperature
- The floor runs through several rooms and doorways, where the movement joints need planning
Safety first
- Wear a dust mask rated FFP3 when you cut with a power saw or grind a high spot: the laminate core and any screed both make fine dust, and the safety regulator expects a mask of that class for most sanding and cutting indoors.
- Wear eye protection on every cut. A jigsaw throws hard, sharp chips of the wear layer upwards, towards your face.
- Hold the plank firmly on a stable surface and keep your free hand behind the line of the blade, never in front of it.
- If you lift old floor tiles or sheet vinyl in a home built before 2000, stop and get them checked first: older floor tiles and their adhesive can contain asbestos, and breaking them up releases fibres.
- Use knee pads. A full day kneeling on a hard floor is where the real injuries on this job come from.
- Lift full packs with your knees bent and the pack close to your body, and carry one at a time up stairs.
| MATERIAL | COVERAGE | FOR THIS JOB |
|---|---|---|
| Laminate or click vinyl planks | Room area plus a margin for offcuts | Four-by-four room: 16 m² plus margin, rounded up to whole packs |
| Damp-proof underlay or underlay board | Room area; joints taped | 16 m²: two packs of board |
| Polythene foil | Only over concrete or a sealed old covering | 16 m²: one roll |
| Scotia beading, or the original skirting | Room perimeter plus offcuts | 16 m perimeter: seven lengths |
| Door threshold trims | One per doorway | Two doorways: two trims |
How much flooring
Floor area × (1 + your waste margin) ÷ the area per pack, rounded up. A 4 × 4 m room is 16 m²; with a 10% margin that is 17.6 m², and at 2 m² a pack you need nine packs.
The area per pack is printed on the pack and differs between ranges. Allow a bigger margin for bays, alcoves or a diagonal lay.
Laminate is graded by how hard-wearing its top layer is, and the grade on the pack matters more than the board's thickness. A bedroom can take a lower grade; a hall, a kitchen or a room people walk straight into from outside needs the toughest grade you can find. An under-specified floor shows a worn path at the doorway within a year or two.
Thicker boards sound more solid underfoot and bridge very small undulations a little better. They do not make the floor waterproof, and they do not excuse an uneven subfloor. Check the extra height still lets the doors swing before you choose the thickest board on the shelf.
Water-resistant laminate copes with a spill wiped up quickly. It does not cope with standing water, and a swollen joint never shrinks back. For a bathroom, a laundry room or anywhere that gets wet regularly, click vinyl is the right product rather than a better laminate.
One maker's sheet says always to use a damp-proof underlay, and to add a separate polythene foil when you lay over sealed coverings such as old vinyl, so moisture cannot migrate up into the boards. Another maker says most European manufacturers want an underlay of 1–3 mm. Over concrete a damp barrier is never optional.
The gap is set by the product, not by habit. One major maker's current laminate sheet asks for an average of 5 mm at every wall, pipe and threshold, dropping to 3 mm when laying in a very dry winter and rising to 8 mm in humid conditions; another gives 8–10 mm as typical. Read your own sheet before you buy beading, because the beading has to hide whatever gap you leave.
Taking the skirting off and refitting it over the new floor gives the cleanest edge and hides the gap completely. Scotia beading is quicker. Either way, the trim is fixed to the wall or the skirting and never to the floor, because a pin through the floor stops it floating.
THE PART THAT DECIDES THE FINISH
Preparing the subfloor — by what you are laying over
A floating floor copies whatever is underneath it. Every bump, dip, creak and patch of damp comes straight through the planks, so the preparation is where the finished floor is really made. Find your starting point below and do its list before you open a single pack.
Concrete or a sand and cement screed
The commonest ground-floor case, and the one that needs a damp barrier.
- Check the slab is properly dry. One maker wants a cement screed below 2.5% CM, and says a new screed needs at least a week of drying per 1 cm of depth up to 4 cm, and twice that rate beyond
- Lay a damp-proof underlay, or polythene foil under a standard underlay, with the joints taped
- Run a long straight edge across the floor in several directions; one maker treats more than 4 mm over 2 m, or 1 mm over 20 cm, as a dip or hump that must be smoothed
- Fill dips with a levelling compound and grind or scrape any ridges and old adhesive
- Vacuum twice: a single grain of grit under the underlay turns into a click you hear every time you walk over it
Timber floorboards or chipboard
Usually fine, and usually needs fixing down first.
- Walk every board and screw down any that move or creak; a floating floor makes a creak louder, never quieter
- Punch down raised nail heads and plane or sand any proud board edges
- Check the boards are dry and free of rot or insect damage; one maker sets a limit of 10% moisture in a timber subfloor
- If the boards are badly cupped, over-board with ply or hardboard rather than hoping the underlay will hide it
- Lay the new planks at right angles to the old boards where the room allows
Over existing vinyl, lino or old floor tiles
Often allowed, with one condition and one warning.
- Leave sound, stuck-down vinyl or lino in place and lay polythene foil or a damp-proof underlay over it, as the makers ask for over sealed coverings
- Cut out and re-stick any lifting edges or bubbles so the surface is firm everywhere
- In a home built before 2000, do not break up or sand old thermoplastic or vinyl tiles: older floor tiles can contain asbestos, and the safe choice is to leave them intact and cover them
- Never lay over carpet, foam-backed vinyl or anything soft; the click joints flex and fail
Over underfloor heating
Possible, and the most rule-bound case.
- Confirm the plank is approved for heated floors and find the maximum surface temperature in its sheet; one maker's limit is 27°C at the surface
- Use the low-resistance underlay the plank's maker names; a thick acoustic underlay insulates the heat away from the room
- Follow the system's warm-up and cool-down routine from the instructions, before and after laying
- Where this guide and the plank's own instructions differ, follow the instructions
A floor that is out of level
Decide this now, not after the first three rows.
- Measure in several directions with a long straight edge and mark the worst dips and humps in pencil
- Fill dips with levelling compound and let it cure fully to the time on its bag
- Grind or plane high spots down rather than packing the low ones up with extra underlay
- Recheck the whole floor with the straight edge before the underlay goes down
Acclimatising the planks
Not a surface, but the step people skip.
- Lay the packs flat and unopened in the middle of the room for 48 hours, not stacked against a cold outside wall
- Keep the room at normal living conditions; one maker gives 15–22°C and 30–75% relative humidity as ideal
- Outside that humidity range the same maker advises a week with the packs opened
- Put the heating on its normal setting during those two days, not after the floor is down
THE JOB
How to lay a click laminate floor
Acclimatise the packs and set up the room
48 hoursClear the room completely and take the doors off their hinges if they open inwards. Lay the unopened packs flat in the middle of the floor, in a single layer if you have the space, and leave them for 48 hours at normal room temperature with the heating set as it will be once you live on the floor. Use the time to do the preparation for your subfloor, which is the next step and the list in the section above.
- Flat, unopened and away from outside walls and radiators
- Write the batch numbers down now; mixed batches show as stripes
- Open one pack only to check the colour and the click profile are what you ordered
Mistake to avoid: Laying the floor the day it arrives. A plank fitted cold and dry takes on moisture and grows, and a floor with nowhere to grow lifts in the middle of the room.
Prepare the subfloor for what it is
1–4 hoursGo back to the subfloor section and work through the list for your floor: screw down loose boards, fill and grind until the straight edge sits flat, deal with old coverings, and check for damp. Then vacuum the whole floor, walk on it, and vacuum again, paying attention to the edges where grit collects against the skirting.
- Slide the straight edge across the floor and look for daylight under it
- Mark problem spots with a pencil circle so you come back to every one
- Treat damp as a separate problem; a membrane controls vapour, it does not dry a wet floor
Mistake to avoid: Laying over a board that creaks and planning to live with it. The floating floor magnifies the noise, and the only cure afterwards is lifting everything.
Undercut the door linings
30 minStand a piece of underlay and an offcut of plank against each door lining as a height gauge. Rest your saw flat on the offcut and cut through the lining and architrave, so the finished floor slides underneath with its gap hidden. Clear out the sawn piece with a chisel and vacuum the slot.
- Keep the same offcut as your gauge for every doorway
- Check the door will still open over the new floor before you rehang it
- Take a little off the bottom of the door if it binds
Mistake to avoid: Scribing planks around the moulding instead. It is slow, it never looks crisp, and it pins the floor at exactly the point it needs to move.
Lay the underlay
30–45 minRoll out the underlay in the same direction you will lay the planks, one strip at a time ahead of the boards rather than covering the whole room at once. Join the strips exactly as the underlay's own instructions say, overlapping the built-in flap or butting the edges, and tape every seam. Over concrete or old vinyl, put the polythene foil down first with generous taped overlaps turned a little way up the wall.
- Trim the underlay at the walls with the utility knife; do not let it ride up the skirting
- Keep shoes off it and kneel on a board while you work
- Tape seams fully so nothing shifts as you push planks across
Mistake to avoid: Carpeting the whole room in underlay first and then trampling it for hours. It tears, slides and bunches into ridges that show through the finished floor.
Plan the rows and set the gap
30 minMeasure the width of the room in three places and divide by the width of a plank to see how wide the last row will be. If it comes out as a sliver, cut the first row narrower so both edge rows are a sensible width; one maker wants the last row at least 5 cm wide. Lay out the first two rows dry, without clicking, to check the joints and the look. Put spacers against every wall at the size your product's sheet gives.
- Run the planks along the longest wall, or towards the main window
- Stagger end joints so they never line up; one maker recommends at least 30 cm between joints in neighbouring rows
- Never take the first row straight off the wall — walls are rarely straight, so check it with a string line
Mistake to avoid: Starting with a full-width plank against the wall and discovering at the end of the day that the final row is a strip you cannot click. Ten minutes with a tape measure prevents it.
Lay the first three rows
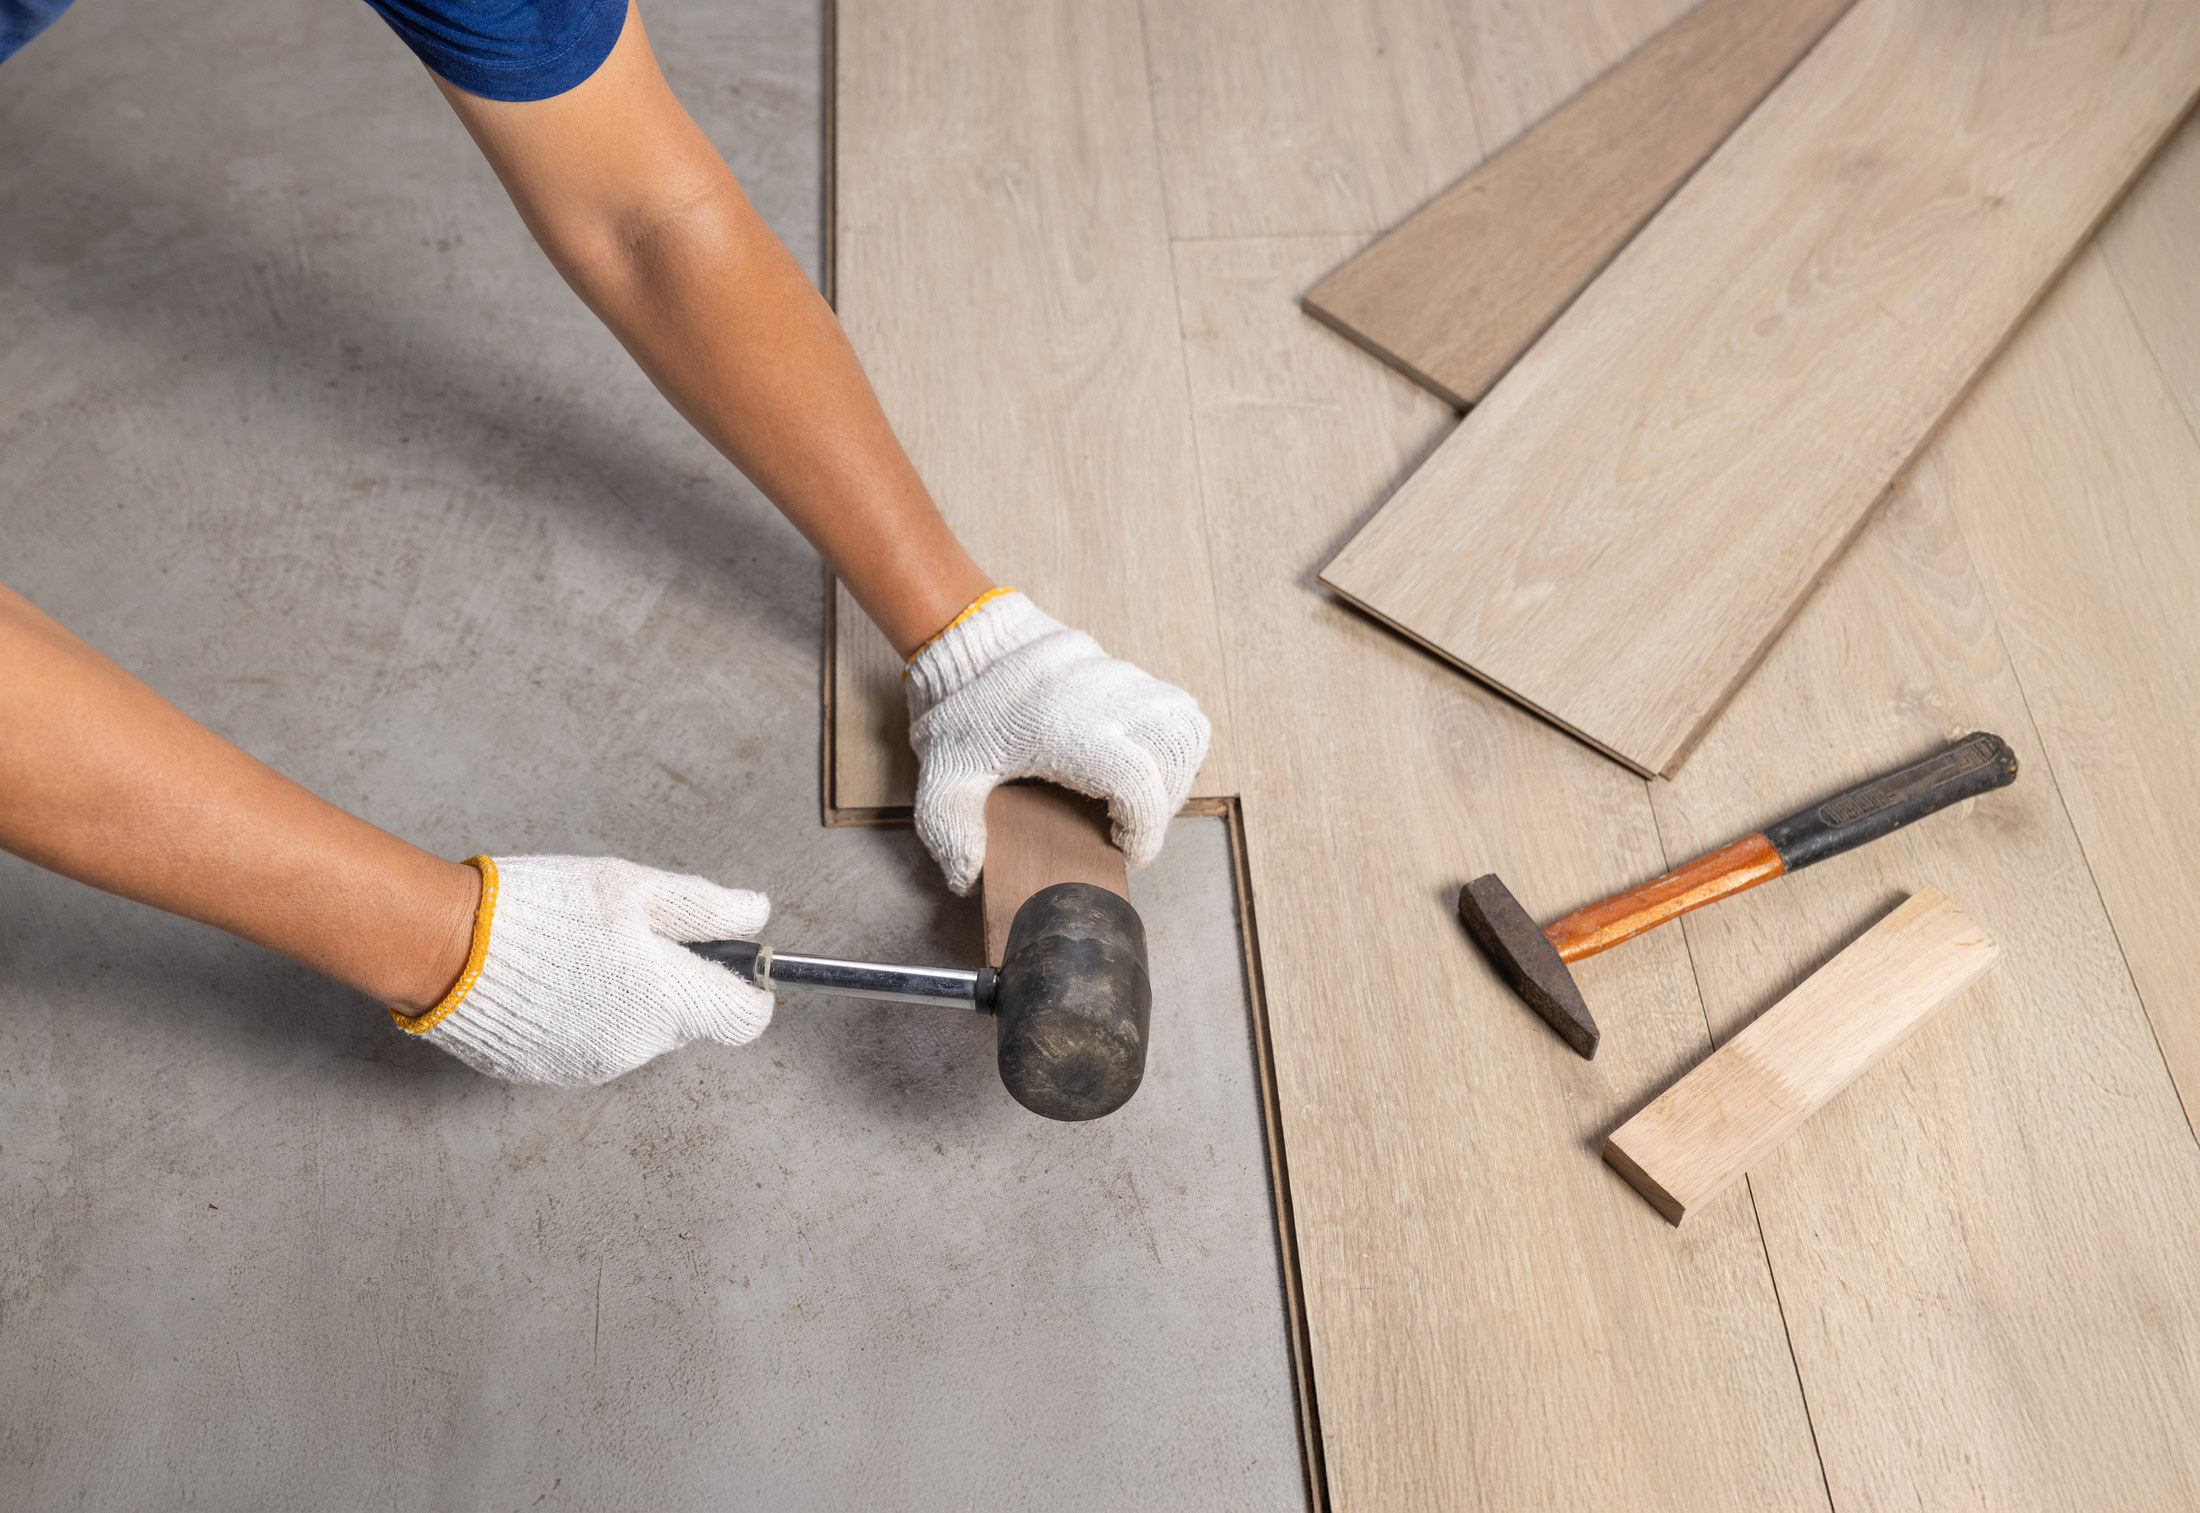
1 hourClick the first row together end to end, tongue side to the wall, with spacers behind it. Start the second row with a part plank so the joints stagger, angle its long edge into the first row and lower it until it locks, then close the end joint with a few light taps on the tapping block. Check the first three rows for straightness before going any further, because every row after copies them.
- Tap the block, never the plank; a crushed tongue looks fine and opens weeks later
- Use the pull bar for the last plank in a row against the wall
- Re-check the spacers after every row; they creep as you tap
Mistake to avoid: Hitting the board edge with the mallet. It deforms the locking profile out of sight, and the joint springs open after the floor has been lived on.
Work across the room
2–4 hoursCarry on row by row, pulling planks from three or four packs at once so any colour variation spreads evenly. Use the offcut from the end of one row to start the next if it is long enough to keep the stagger. At pipes, drill a hole wider than the pipe by your full gap on every side, cut a wedge out to the plank edge, fit the plank and glue the wedge back behind the pipe.
- Look along the rows every so often to check they are still parallel to the first
- Keep offcuts sorted by length so you can find a starter piece quickly
- Leave the movement gap around pipes and door frames as well as at the walls
Mistake to avoid: Cutting a tight hole around a radiator pipe. The floor needs room to move there just as much as at the walls, and one pinched pipe can make a whole floor buckle.
Cut and fit the last row
45 minMeasure the remaining width at both ends and in the middle of the wall, because rooms are rarely square. Mark each plank individually, subtract the gap, and rip it to width along its length. Angle it into place and draw it home with the pull bar.
- Lay a plank on top of the last full row and scribe the wall line onto it if the wall wanders
- Keep the gap at this wall as well; it is the one most often lost
- A narrow last row can have its long joint glued to the row before for strength, if the maker allows
Mistake to avoid: Jamming the last row tight to the wall to make up for a gap you lost somewhere else. Both sides of the room need the gap; go back and find where the floor drifted.
Take out the spacers and fit the trims
45 minRemove every spacer. Refit the skirting over the floor edge, or pin scotia beading to the skirting with panel pins angled into the skirting board. Fit a threshold trim at each doorway, fixed to the subfloor through its own track and not through the planks.
- Pin into the skirting only, never down into the floor
- Leave the gap empty — no silicone, caulk or adhesive in it
- Walk the perimeter pressing the floor edge; anything pinched shows up as a hard spot
Mistake to avoid: Running a bead of silicone along the edge to make it look neat. It glues the floor to the wall, and one maker's sheet is clear the gap must stay open and the floor must never be fixed.
Clean, protect and settle
20 minVacuum the floor, then wipe it with a cloth or mop wrung out until it is barely damp. Put felt pads on every chair and table leg before the furniture goes back, and a mat at every outside door to catch grit. Rehang the doors and check they clear the new floor.
- Barely damp means a cloth you could not wring a drop out of
- Felt pads before the furniture goes back, not after the first scratch
- Keep two spare planks from the same batch in a dry cupboard
Mistake to avoid: Mopping a new laminate floor with a wet mop or a steam mop. Water sits in the joints, the core swells, and swollen laminate does not recover.
The mistakes that ruin a laminate floor
- Skipping the 48 hours of acclimatising, so the planks grow after they are down
- Losing the movement gap at a wall, at the last row or around a pipe
- Pinning beading or trims through the planks so the floor can no longer float
- Laying over a subfloor that dips or creaks and hoping the underlay will hide it
- Wet-mopping or steam-cleaning it, which swells the joints for good
Stop here and get a floor fitter
- A solid floor is damp, or a new screed has not had its drying time — laying over it seals the moisture in and the floor fails
- The subfloor needs a new screed or a ply deck to come within tolerance — that is a separate trade with its own curing times
- You find old floor tiles you suspect contain asbestos and they would have to come up — that needs testing and possibly a licensed contractor, not a scraper
- The floor is going over underfloor heating and the plank's sheet does not settle the underlay or the temperature limit
| WHAT YOU SEE | WHY, AND THE FIX |
|---|---|
| The floor has lifted or peaked in the middle | The floor has no room to expand: the gap was too small, lost at the last row, pinched at a pipe, or the trim was pinned through the planks. Take off the beading, find the tight spot and trim the planks back to restore the gap; pull out any pins that go through the floor. |
| Gaps have opened at the end joints | Either the planks went down before they acclimatised and have since shrunk, or a joint was never fully closed. Close single joints with the pull bar from the wall side; widespread small gaps after a dry spell of heating often close again as the air becomes damper. |
| The floor clicks or creaks when you walk on it | Grit under the underlay, a loose board below, or a dip the floor is flexing into. It means lifting back to that area from the nearest wall, cleaning, fixing or filling, and relaying. |
| A joint will not click shut | The tongue or groove is damaged, usually from a mallet used on the plank, or there is debris in the groove. Clean the groove; if it still will not lock, replace the plank rather than forcing it. |
| The edges of some planks have swollen and feel rough | Water has got into the joints from wet mopping, a leak or a spill left standing. Swelling in laminate is permanent, so the affected planks have to be replaced from your spares. |
| The last row is a thin strip | The first row was not planned to the room width. A thin row can be glued along its long joint for stability, but the real fix is planning the width before the first plank goes down. |
| There is a band of darker or lighter planks | The packs were laid one after another rather than mixed. It cannot be corrected without lifting; next time, draw from several packs at once. |
| One area feels springy | A dip in the subfloor was bridged rather than filled. Lift back to the area, fill with levelling compound, let it cure and relay the planks. |
| The door now catches on the floor | The extra height of underlay and planks was not checked against the door. Take the door off and trim the bottom with a fine saw. |
WHAT YOU SAVE
What it costs to do it yourself
| Underlay board, two packs of 9.75 m² | £50.98 |
|---|---|
| Scotia beading, one pack of 2.4 m lengths | £42.99 |
| Two door trims, reducer or laminate-to-carpet joiner | £15.98–£21.00 |
| Fitting kit and pull bar | £32.98 |
| Levelling compound, if the floor needs it | £0–£28.99 |
| Total, excluding the planks | £143–£177 |
| DIY total | £143–£177 |
Guide prices compiled by the Locufy team from published Irish and UK provider price lists and 2026/27 cost guides. Updated 2026.
The planks themselves are the biggest cost and vary hugely by range and wear grade. A fitter's price per square metre, from the price guide, is shown alongside for comparison.
RATHER NOT?
Laminate and vinyl fitters near you, with prices shown
The ones who cover your area, nearest first, with one score from every review. No account needed to look.
Or post the job free and let them come to you.
Two whole planks from the same batch, stored flat and dry. A damaged plank in a few years can only be swapped if you have a match.
Dry vacuuming most of the time, and a barely damp mop or the maker's own cleaner when it needs more. Never a steam mop.
Laminate offcuts, packaging and old underlay go to your council's household waste and recycling centre; many sites take wood in a separate container but treat DIY waste under their own rules, with limits or charges, so check your council's page before you load the car.
Range, colour, batch number and the number of packs, taped inside a cupboard door, so a repair or an extra room can match.
Laying click laminate: questions people ask
One major maker asks for 48 hours in unopened packs at normal room temperature in the middle of the room, with 15–22°C and 30–75% relative humidity as ideal. If the room's humidity is outside that range, it advises a week with the packs opened.
Whatever your product's sheet says. One major maker's current laminate sheet asks for an average of 5 mm, reduced to 3 mm in a very dry winter and increased to 8 mm in humid conditions; another gives 8–10 mm as typical. The same gap applies at pipes, door frames and thresholds as at the walls.
Over sound, stuck-down vinyl or lino, usually yes, with polythene foil or a damp-proof underlay on top. If the old tiles are in a home built before 2000, do not break them up: older floor tiles can contain asbestos, and covering them intact is safer than lifting them.
No. A click floor is designed to float, and fixing it with nails, screws, adhesive or silicone is what makes it buckle. Fix trims and beading to the wall or skirting, and fix door trims through their own track.
Use click vinyl instead. Water-resistant laminate copes with a spill wiped up promptly, but standing water at the joints swells the core and the swelling does not go down.
The Locufy UK price guide puts laminate and vinyl fitting at £17–£60 per m², typically £30 — the same three figures as the strip at the top of this page. That is usually labour; the planks and underlay are on top.
MORE GUIDES
More DIY guides
Sources — checked October 2026
- HSE — construction dust: cutting and sanding wood (FFP3 for most cutting and sanding indoors)
- Quick-Step — laminate installation instructions: 48 h acclimatising at 15–22°C and 30–75% RH; flatness 4 mm over 2 m and 1 mm over 20 cm; average 5 mm clearance, 3 mm dry, 8 mm humid; 27°C heated-floor limit; never fasten the floor
- Quick-Step — how to install laminate: last plank at least 5 cm, 30 cm between end joints
- EGGER — common mistakes when laying laminate flooring: 48 hr acclimatising, 8–10 mm typical gap, 1–3 mm underlay
- UKHSA on gov.uk — asbestos general information: floor tiles, homes built before 2000
- North Northamptonshire Council — what can be recycled at household waste recycling centres (wood, DIY waste rules)
- Toolstation — flooring tools price check: fitting kit £12.99, pull bar £19.99
- Toolstation — flooring price check: underlay board £25.49 for 9.75 m², scotia £42.99, reducer £10.50, levelling compound £14.99–£28.99
- Toolstation — carpet and metal edging price check: laminate-to-carpet joiner £7.99