DIY GUIDE · GARDEN & OUTDOOR · CHECKED OCTOBER 2026
How to put up a shed yourself
A day for two people, after the base. £92–£166 in base, treatment and kit, on top of the shed.
Check planning, build a level base, assemble in order, felt the roof, treat the timber.
- Every step, start to finish
- Checked October 2026 — sources at the end
- Honest about when to call a pro
FIRST, THE HONEST ANSWER
Do it yourself, or get a fitter?
Do it yourself if…
- You have bought a flat-pack shed and have a second person for the build
- The site is reasonably level, with room to work all round
- You can use a drill-driver and read assembly drawings
- The shed is a simple garden store with no electrics or plumbing
Get a pro if…
- The base needs a concrete slab on sloping or soft ground
- The building is large, heavy, or has a felt roof you would need a ladder to reach
- You want power, lighting or sockets in the shed
- You are replacing an old shed whose roof or cladding might contain asbestos
Safety first
- Build with two people; the shed maker recommends it for larger products, and wall and roof panels are awkward, heavy and catch the wind.
- Lift panels using HSE's good handling technique: plan the lift, keep the load close to your waist and turn with your feet, not your back.
- For the roof, use a stepladder set level and facing the work; HSE says not to stand on the top three steps unless there is a suitable handhold, and never to overreach.
- Do not build on a windy day; a wall panel standing on its own acts like a sail.
- Wear gloves when handling treated timber and avoid breathing sawdust; the maker's leaflet gives the same advice.
- Before taking down an old shed, look at its roof and cladding; HSE notes that buildings from before 2000 may contain asbestos, and sheds are no exception.
| MATERIAL | COVERAGE | FOR THIS JOB |
|---|---|---|
| Shed base kit or materials | Timber frame, plastic grid, slabs or concrete | Sized to the shed's footprint |
| Weed membrane | Under timber or grid bases | The base area plus a margin |
| Wood preserver or treatment | For dip-treated sheds and cut ends | One 5-litre tin covers a small shed |
| Clear silicone sealant | Round windows, applied inside | One tube |
Is the base level enough?
Lay a straight timber across the base, put the level on it near the middle, and lift the low end until the bubble centres. The gap under the timber is your error over that length. On a 2.4 m base, a 10 mm gap is acceptable; a 25 mm gap is not.
The maker's tolerance is no more than 15 mm from edge to edge. Check both diagonals of the base too; if they match, it is square.
Under the householder permitted development rules, a shed in the back garden usually needs no planning permission if it is single-storey, not forward of the front of the house, and no more than 2.5 m high within 2 m of a boundary. Further from the boundary the limits are 4 m for a dual-pitched roof and 3 m otherwise, with eaves no higher than 2.5 m. Listed buildings, designated land and covered ground above half the garden change that.
Wales, Scotland and Northern Ireland each set their own permitted development rules for outbuildings, and they differ in the detail. Check with your council, or the Scottish or Welsh government's planning guidance, before you buy a larger building.
In England and Wales, a detached single-storey building under 15 m² with no sleeping accommodation is exempt from building regulations. Between 15 and 30 m², it stays exempt if it is at least one metre from the boundary or built substantially of non-combustible material. Scotland and Northern Ireland have their own rules.
The shed maker lists four suitable bases: concrete, concrete slabs, a correctly sized timber base, or a plastic grid system. Concrete is the most stable. Soil alone, broken slabs or slabs laid loose on a lawn are all on their list of bases to avoid.
Pressure-treated timber has preservative forced into it and needs no treatment for rot protection. Dip-treated timber has a surface coat that fades and needs re-treating regularly to keep its guarantee and its colour.
THE PART THAT DECIDES THE FINISH
Before you build — by the base you have
The base is the job. Find your starting point below and get it level before the shed arrives.
An existing concrete or paved base
Already there, from an old shed or a patio.
- Check it is level with a long, straight timber and a spirit level, along the length and across the width
- The maker says it should not deviate by more than 15 mm from edge to edge
- Check it is at least the size of the shed's footprint and in one piece
- Fix any rocking slabs or high spots before building
Lawn or soil, using a timber base
The simplest new base.
- Lift the turf and level the ground under the base
- Lay a heavy-duty weed membrane under the frame
- Assemble the timber base frame and level it on stakes or packers as its instructions say
- Check level along and across before the shed floor goes on
Lawn or soil, using a plastic grid base
Interlocking grids filled with gravel.
- Lift the turf and level and firm the ground
- Lay the membrane, then clip the grids together to the shed's footprint
- Fill with gravel as the system instructs
- Check level; the grids follow the ground beneath them
A new concrete or slab base
The most durable, and the most work.
- Dig out the area, lay and compact hardcore, and add a dressing of sharp sand so water drains, as the maker advises
- Set slabs on a mortar bed with no large gaps, or cast a slab inside timber shuttering
- Make the base the same footprint as the shed so rain runs off rather than pooling against the walls
- Allow it to cure before building on it
Sloping ground
A noticeable fall across the site.
- A slight fall can be taken up by a levelled timber base on stakes
- A steeper slope needs digging into, or a built-up base with proper support
- Never prop one corner of a shed floor on loose bricks or offcuts
- If you would need to retain soil to level it, it is a groundworks job
THE JOB
How to put up a shed, in order
Check planning and prepare the site
1 hrWork through the planning and building regulation points above for your nation, then prepare the base for your case from the section before. Clear the site of plants, overhanging branches and anything in the 450 mm working space round the base.
- Photograph the boundary and measure the distance from it
- Store the delivered panels flat and covered, close to the site
- Check every part against the parts list before you start
Mistake to avoid: Building close to the boundary before checking the height limits. Moving a finished shed is far harder than measuring first.
Lay out the parts and read the instructions
30 minUnpack and lay out every part, grouping battens by length and thickness, and the screws and nails by size. Read the instructions right through before starting; steps early on affect later ones. Identify which way up and which way round each panel goes.
- Sort fixings into labelled pots
- Note any panel marked top, bottom, left or right
- Keep the instructions dry in a plastic sleeve
Mistake to avoid: Starting with step one before reading to the end. You fix a batten in the wrong place and have to unscrew half the shed.
Fit the floor to the base
30 minPlace the floor on the base, square and level, with an even overhang or none, as the instructions show. Check it with the spirit level in both directions. If the shed is on a timber base, make sure the floor bearers sit on the base joists.
- Measure both diagonals of the floor; equal means square
- Shim only with rot-proof packers, never with offcuts of untreated wood
- Keep the floor off the ground so air circulates beneath
Mistake to avoid: Accepting a floor that is a little out. Every wall above it will be out by more.
Stand and join the wall panels
1 hrWith your helper holding each panel, stand the walls on the floor and screw them together at the corners first, without fixing them to the floor. Drill a pilot hole for every screw, about 1–1.5 mm smaller than the screw thread, and a clearance hole through the first piece of timber. Check the walls are plumb and square.
- Start with the back wall, then the sides, then the front
- Line the corners up flush top and bottom before driving the screws
- Do not overtighten; it splits the timber
Mistake to avoid: Fixing each wall to the floor as you go. The last wall will not line up and you are forced to bend it into place.
Fix the walls to the floor
30 minOnce all four walls are joined, aligned and square, screw them down to the floor through the bottom framing into the floor bearers. Check the door frame is square by opening and closing the door before you fix the last screws.
- Use the screws the kit specifies, at the spacing shown
- Check the door swings freely now; it is easy to adjust before the roof goes on
- Keep the screws clear of the floor's edge to avoid splitting it
Mistake to avoid: Screwing the walls down before checking the door. If the frame is racked, the door will bind for the rest of the shed's life.
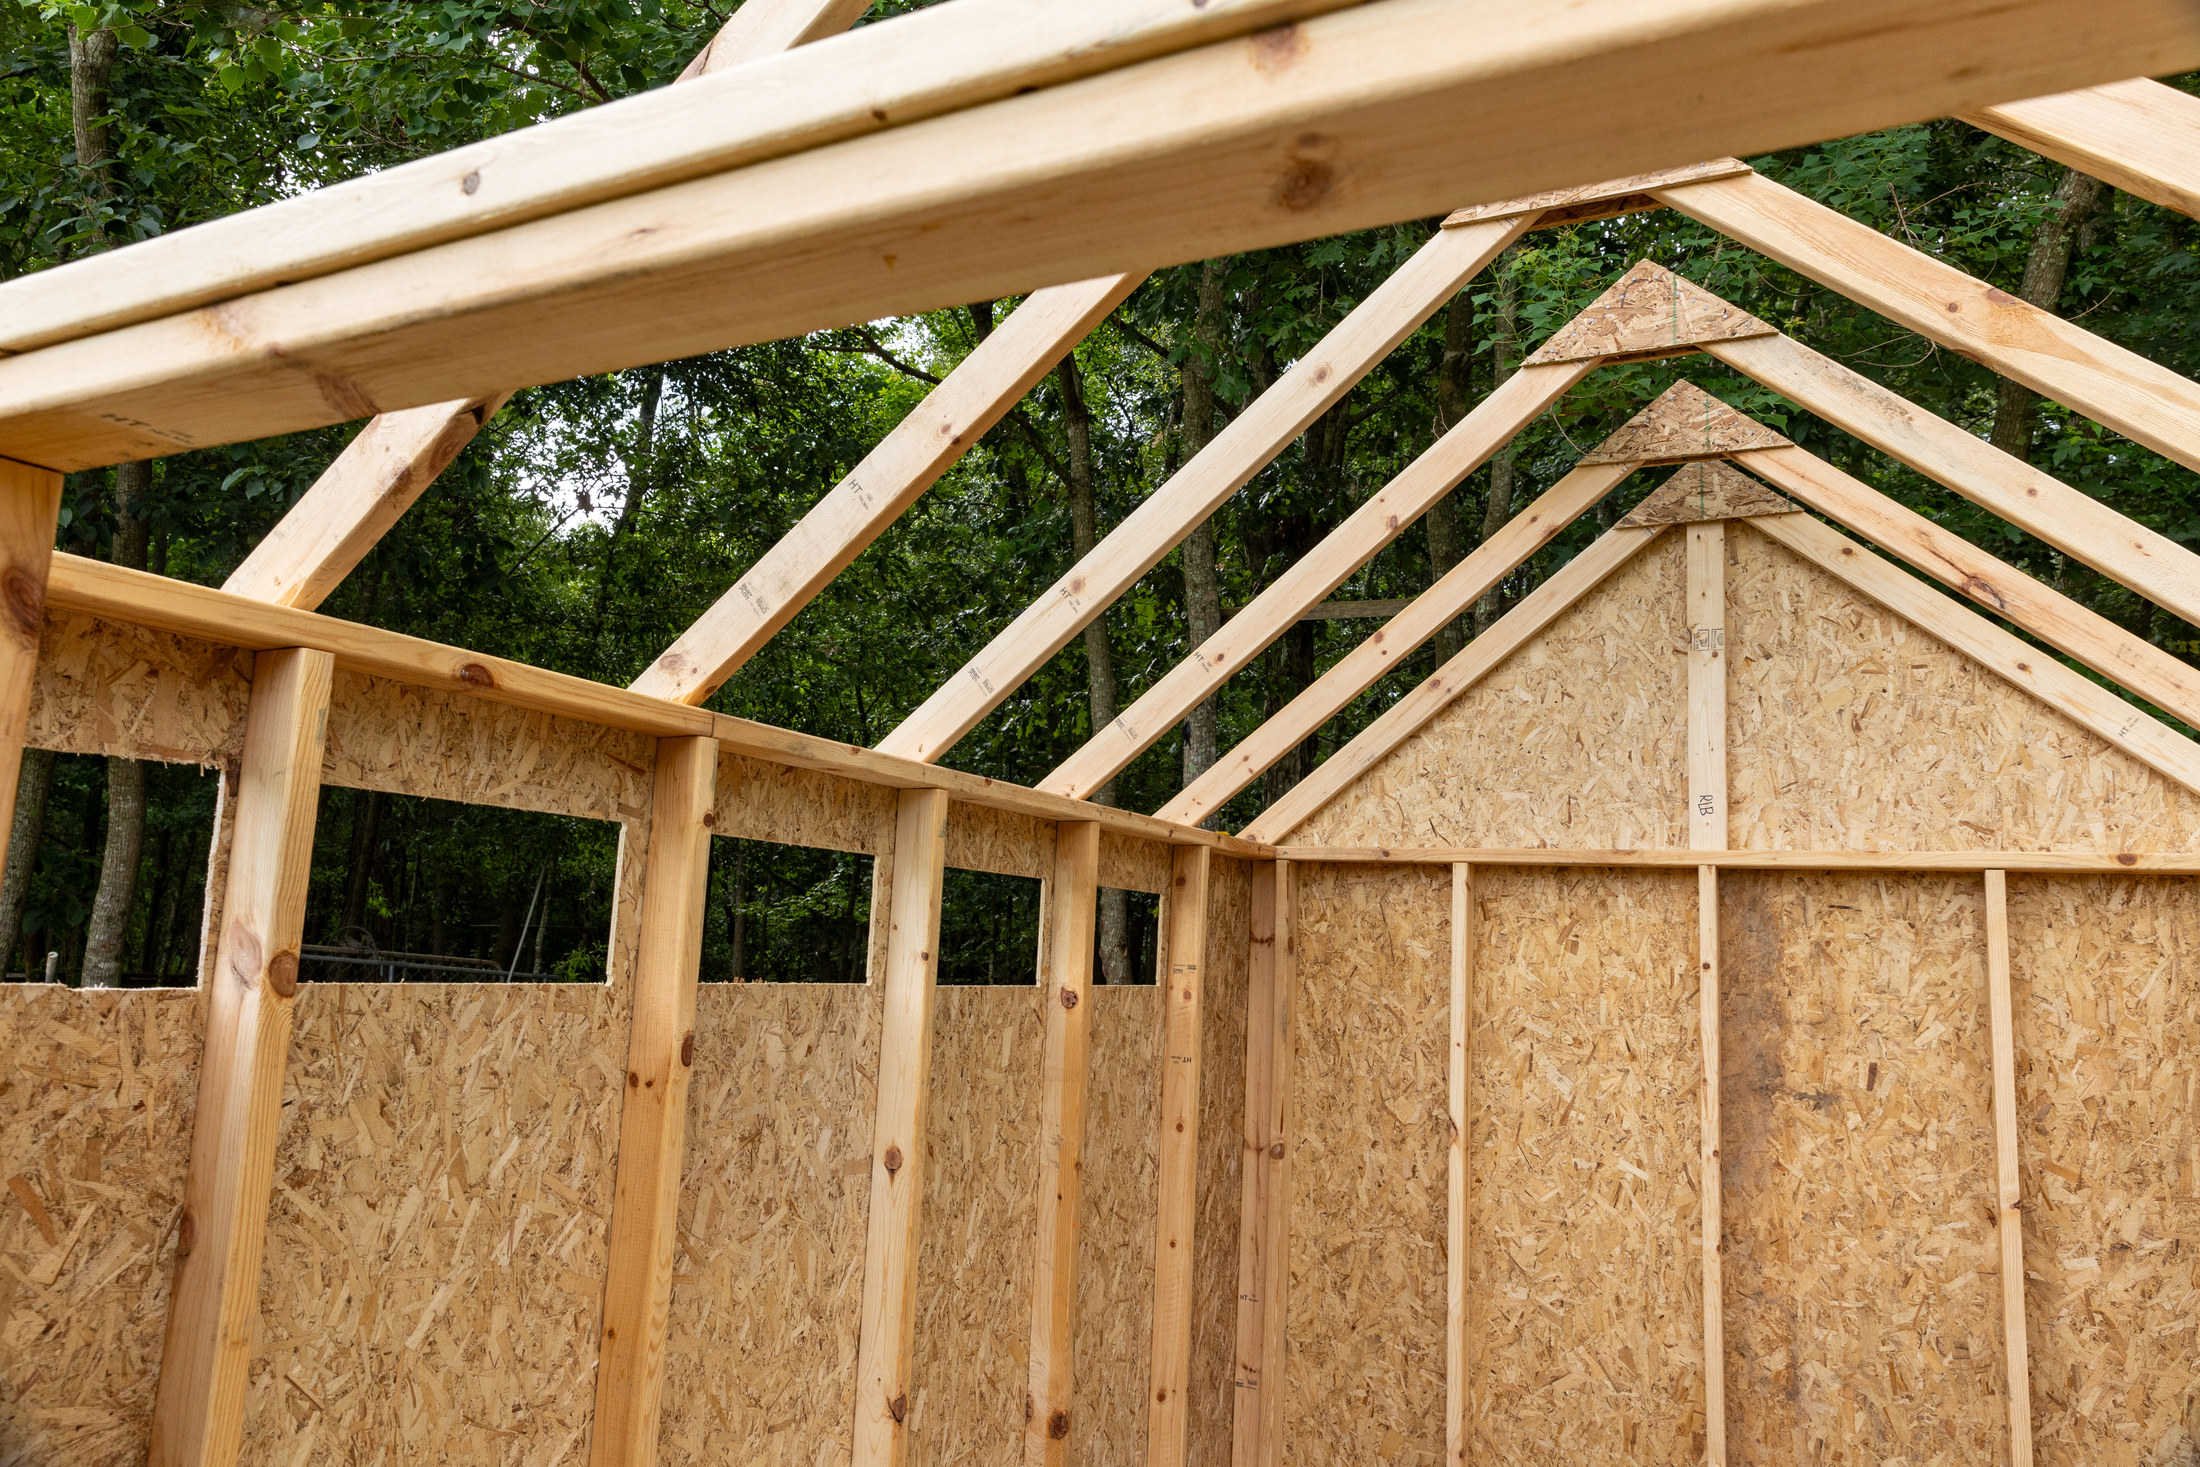
Fit the roof panels
1 hrLift the roof panels into place with your helper, align all of them before driving any screws, and then fix them to the walls and to each other. Work from a stepladder set on level ground facing the work, keeping to the steps below the top three.
- Align all roof panels first, then fix
- Have the helper steady the ladder and pass up parts
- Fit the roof on a calm day
Mistake to avoid: Fixing one roof panel fully before the other is in place. The second will not meet it and the ridge opens up.
Felt the roof
1 hrLay the felt in the order the instructions give, usually from the bottom edge up so each strip overlaps the one below and sheds water. Pull it smooth, fix it with felt tacks at the spacing shown, and fold it neatly round the edges. The maker notes felt is flexible above 5°C; in cold weather store it indoors above 10°C for 24 hours before use, and lift it rather than drag it.
- Overlap each strip over the one below
- Cut felt with a sharp craft knife against a straight edge
- Fit the fascia boards over the felt edges as shown
Mistake to avoid: Laying felt in cold weather straight from the delivery. It cracks at the folds and the roof leaks within a year.
Fit windows, door furniture and trims
45 minFit the windows, door hardware, corner trims and fascias. Run a bead of flexible silicone round the inside of the windows, as the maker suggests, and check the door closes and latches cleanly.
- Seal windows from the inside
- Fit the lock or hasp before the shed is filled with tools
- Fit end-grain protector to the corners and panel joins
Mistake to avoid: Leaving the windows unsealed. Rain blows in round the glazing and stains the floor.
Treat the timber
1 hrIf the shed is dip-treated, apply a wood treatment over all external surfaces, cut ends and the bearers that meet the base, on a dry day. Pressure-treated sheds need no treatment for rot, but any cut ends benefit from a coat. Let any green residue on pressure-treated timber disperse before painting or staining.
- Treat the underside and bearers before the shed is filled
- Two thin coats beat one heavy one
- Keep treatment off plants and out of ponds
Mistake to avoid: Skipping treatment on a dip-treated shed. The guarantee lapses and the boards grey and split within a couple of seasons.
The mistakes that show in a shed
- Building on a base that is out of level or out of square
- Fixing walls to the floor one at a time instead of joining them first
- Felting in the cold, or with strips overlapping the wrong way
- Building too close to the boundary for the height without checking the planning limits
Stop here and get a shed installer
- The site needs a concrete slab on sloping or soft ground, or soil retaining to level it
- You want electrics in the shed: in England new circuits outdoors fall under Part P of the Building Regulations, and Wales, Scotland and Northern Ireland have their own regulations
- The old shed coming down has roofing or cladding that might contain asbestos
- The building is a large garden room or log cabin rather than a store
| WHAT YOU SEE | WHY, AND THE FIX |
|---|---|
| Shed door sticking or not closing | The base is out of level or the frame racked during the build. Check the base level; pack or relevel it, and adjust the hinges once the frame is square. |
| Gaps between wall panels | Timber movement, which the maker says is normal in dry weather, or panels not drawn tight. Most close as the wood takes up moisture; refix screws if a panel has pulled away. |
| Roof leaking | Felt laid in the wrong order, too few tacks, or cracked felt from cold laying. Re-felt from the bottom up in mild weather. |
| Splits and cracks in the timber | Natural drying, which the maker says is not a fault and usually closes over time. Pre-drill every screw to avoid making it worse. |
| Mould on the inside walls | Poor ventilation and damp. Keep the shed ventilated, raise it clear of the ground, and treat with a preservative containing a mildewcide. |
| Water pooling round the base | The base is bigger than the shed, or sits in a low spot. Make the base the shed's footprint or add a gutter and a soakaway point away from the walls. |
| Floor feeling soft | Rot from water sitting under the floor. Lift the shed onto a base that drains, treat the bearers and replace rotten boards. |
| Green marks on pressure-treated timber | Treatment residue, which the maker says is normal. Let it fade before painting or staining. |
WHAT YOU SAVE
What it costs to do it yourself
| Shed base kit, 6 × 4 to 8 × 6 ft | £57–£95 |
|---|---|
| Wood treatment, 5 litres | £19–£37 |
| Spirit level | £13.50–£29 |
| Gardening gloves | £2–£5 |
| Total, on top of the shed | £92–£166 |
| DIY total | £92–£166 |
Guide prices compiled by the Locufy team from published Irish and UK provider price lists and 2026/27 cost guides. Updated 2026.
This assumes you have a drill-driver and basic tools. A concrete base costs more in materials and much more in time; a timber or grid base is cheaper and quicker. If you are replacing an old shed, budget for a trip or two to the recycling centre with the old timber and felt.
RATHER NOT?
Shed installers near you, with prices shown
The ones who cover your area, nearest first, with one score from every review. No account needed to look.
Or post the job free and let them come to you.
Dip-treated sheds need a fresh coat of treatment regularly, usually every year or two; check and seal the windows and joins at the same time.
Take cardboard, plastic wrap, offcuts and old timber to the household waste recycling centre or use your council's recycling collection; never burn treated timber, and leave any suspect asbestos sheeting for a licensed route.
Prop the door or window on dry days, keep stored items off the walls, and clear leaves from the roof and round the base.
Look at the felt, the door, the base and the bearers before winter, and fix small problems while they are small.
Putting up a garden shed: questions people ask
In England, usually not for a single-storey shed behind the house, no more than 2.5 m high within 2 m of a boundary, and within the other permitted development limits. Wales, Scotland and Northern Ireland have their own rules, and listed buildings and designated land differ.
In England and Wales, a detached single-storey building under 15 m² with no sleeping accommodation is exempt. Scotland and Northern Ireland have their own rules; check with the council for anything larger.
Concrete is the most stable; concrete slabs, a correctly sized timber base or a plastic grid base are also suitable. It must be level, within 15 mm edge to edge by the maker's figure, and the same footprint as the shed.
No. The maker lists a soil-only base and slabs laid loose on a lawn as unsuitable; the shed will twist and the floor will rot.
A typical flat-pack shed is a day's work for two people once the base is ready. A concrete base adds a weekend before, plus curing time.
The Locufy UK price guide puts shed installation at £200–£2,000 per install, typically £1,020. The base is usually what moves the price most.
MORE GUIDES
More DIY guides
Sources — checked October 2026
- Forest Garden — base preparation guide: suitable bases, 15 mm tolerance, felt handling
- Forest Garden — top tips for easy product assembly
- Forest Garden — caring for your products: movement, splits, treatment
- HSE — manual handling: good handling technique
- HSE — safe use of ladders and stepladders
- HSE — asbestos: buildings from before 2000
- Town and Country Planning (General Permitted Development) (England) Order 2015, Schedule 2 Part 1 — Class E outbuildings
- Building Regulations 2010, Schedule 2 — exempt buildings (England and Wales)
- GOV.UK — planning permission (England and Wales)
- mygov.scot — planning permission
- GOV.UK — Approved Document P: electrical safety in dwellings (England)
- GOV.UK — recycling collections and your council
- Wickes — price check: shed bases
- Wickes — price check: shed treatments
- Wickes — price check: spirit levels
- Wickes — price check: gardening gloves