DIY GUIDE · GARDEN & OUTDOOR · CHECKED OCTOBER 2026
How to prune a tree yourself
A few hours for a small garden tree. €85–€175 in tools you keep.
What you can cut from the ground, when, the three-cut method, and where it becomes tree surgery.
- Every step, start to finish
- Checked October 2026 — sources at the end
- Honest about when to call a pro
FIRST, THE HONEST ANSWER
Do it yourself, or get a gardener?
Do it yourself if…
- Every branch you want off can be reached with your feet on the ground, using a pole pruner at most
- The branches are thinner than your wrist and will fall somewhere clear
- The tree is not under a tree preservation order, in a conservation area or at a protected structure
- There is no electricity or phone line anywhere near the branches
Get a pro if…
- The work needs a ladder, a climb or a chainsaw
- A branch is large enough that its fall could damage a roof, a fence, a car or a person
- The tree is close to an overhead power line, or leans over a road or a neighbour's house
- The tree is protected, or you are not sure whether it is; ask the local authority first
Safety first
- Stay on the ground. The HSA's ladder guidance limits ladders to light work of short duration with three points of contact, and pruning with two hands from a ladder breaks every part of that.
- Never use a chainsaw above waist height, and never from a ladder; the tool maker's own advice is that a chainsaw belongs at waist level or lower.
- Keep well clear of overhead lines. Do not prune anything near a power line; ESB Networks or a qualified arborist deals with trees there. The HSA's chainsaw guidance warns that any cable brought down by a branch must be assumed live; never approach it, and call the network's emergency line.
- Wear safety glasses, gloves and a hard hat when cutting overhead; a falling branch or a piece of dead wood hurts even when it is small.
- Clear the drop zone before every overhead cut, and keep children, pets and helpers out of it.
- Cut with the saw or loppers in front of you, never towards your body or your other hand.
Stop here: A ladder, a chainsaw, a climb, a power line, or a protected tree
Under section 205 of the Planning and Development Act 2000 a planning authority can make a tree preservation order, and cutting or lopping a protected tree without consent breaks the law. Trees at a protected structure or in an architectural conservation area need the same check. Work from a ladder with a saw is the kind of work at height the HSA says a ladder is not for, and its chainsaw guidance treats the saw as a danger for trained hands only. Never prune near an overhead electricity line; that work is for ESB Networks or a qualified arborist. How to hire a tree pruning specialist →
| MATERIAL | COVERAGE | FOR THIS JOB |
|---|---|---|
| Garden waste bags | Heavy-duty bags | Two or three for a small tree |
| Disinfectant or alcohol wipes | For cleaning blades between trees | One small bottle |
| Tree tie and stake | Only for a young tree that needs support | One per young tree |
How much you can take off
Limit for one year = about a fifth of the live branches. Count the main side branches: if a young apple tree has 15, take out no more than 3 in a season, choosing the dead, crossing and inward-growing ones first.
If the tree needs more than that, spread the work over two or three years. Dead, diseased and broken wood can come off at any time and does not count against the limit.
Bypass secateurs cut like scissors and leave a clean wound on living wood. Anvil secateurs crush the stem against a flat plate and are better kept for dead wood. Use secateurs only up to about pencil thickness.
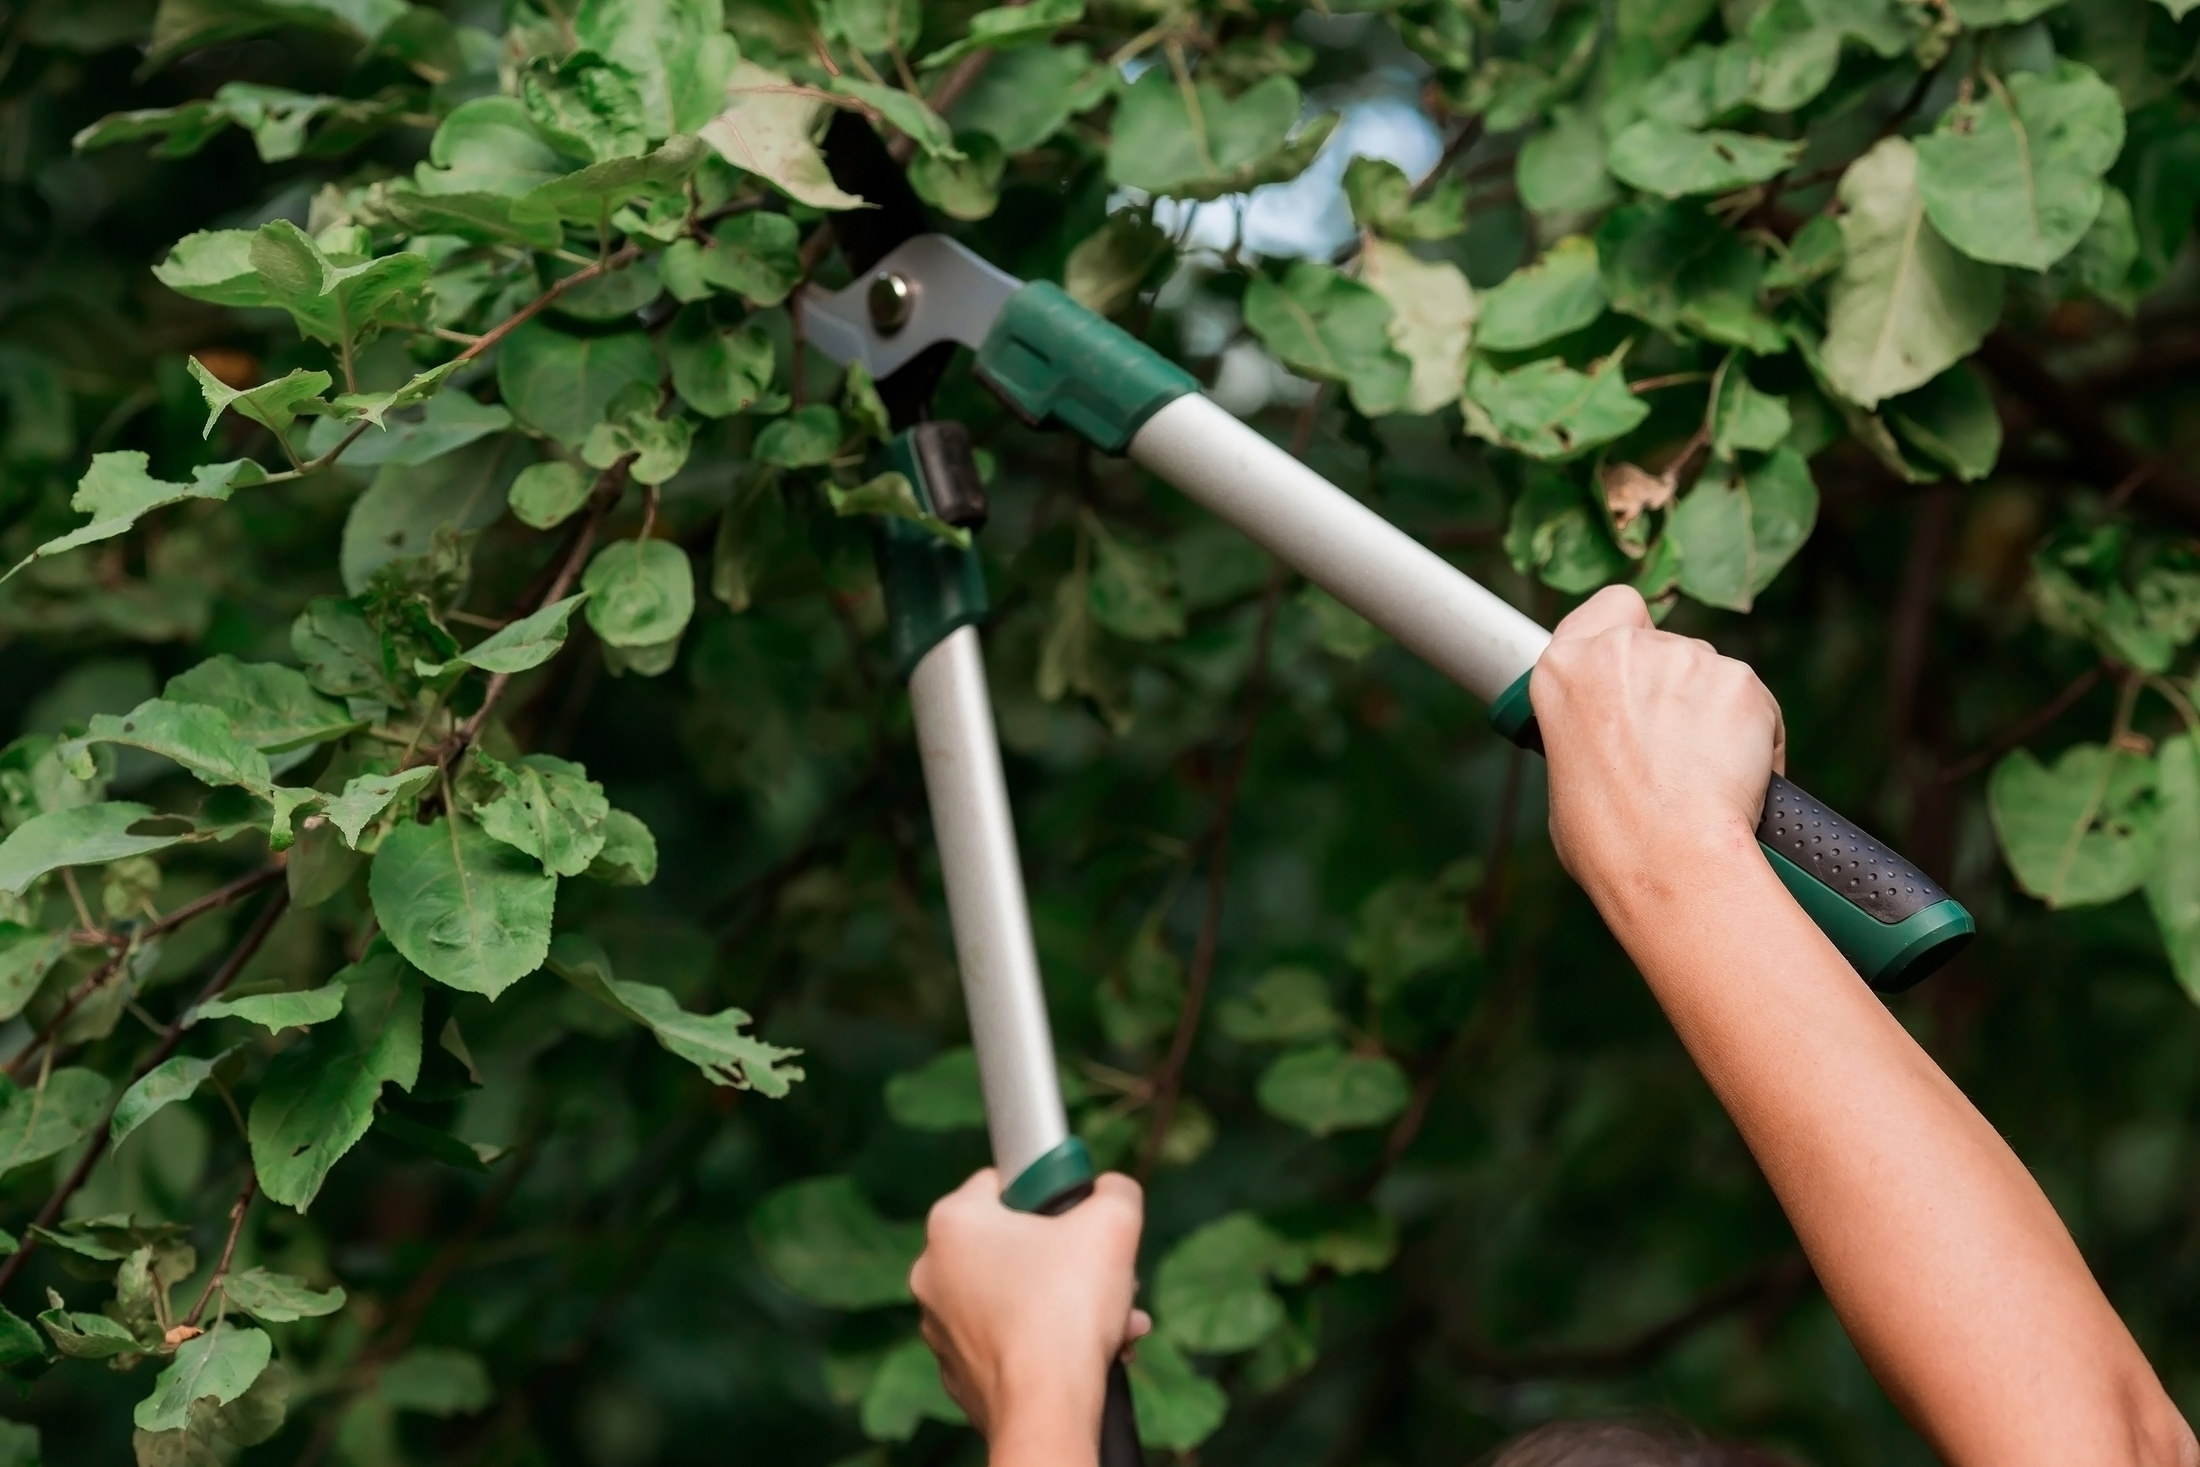
Long-handled bypass loppers take branches up to about thumb thickness with good control. Telescopic or long-reach loppers add reach from the ground, at the cost of some leverage. Do not twist loppers to finish a cut; use a saw.
A folding pruning saw with a curved, pull-cut blade is the right tool for branches from thumb to wrist thickness. It cuts on the pull stroke, so you can control it close to the trunk.
A manual pole pruner has a hooked blade worked by a cord or lever, and a manual pole saw has a saw blade on a long handle; either lets you take a branch that is out of reach while your feet stay on the ground. Use them only where the branch will fall clear of you. A powered pole saw is a chainsaw on a pole, and the HSA says anyone using one needs appropriate training first.
A blunt blade crushes and tears, and torn bark is an open door to disease. Wipe blades between trees, especially when one tree is diseased, and sharpen secateurs regularly.
THE PART THAT DECIDES THE FINISH
Before you cut — by the tree you have
When and how you prune depends on the tree. Find yours and do its checks first.
An apple or pear tree
A fruit tree you want to keep productive.
- Plan the main prune for the dormant months, late winter into early spring
- Stand back and decide on the shape: an open centre lets light and air in
- Mark the dead, diseased, crossing and rubbing branches first
- Leave the short fruiting spurs; cut back the long, whippy shoots instead
A cherry, plum or other stone fruit
Trees that are prone to silver leaf and canker through winter wounds.
- Prune in summer, in dry weather, not in winter
- Keep cuts few and small
- Clean your blades before you start
- Remove dead and diseased wood back to healthy growth
An ornamental garden tree
Birch, rowan, crab apple, cherry or similar.
- Most need little more than dead, damaged and crossing branches removing
- Prune flowering trees after they have flowered
- Raise the crown by removing a few low branches if they block a path
- Check whether the tree is protected before you touch it
A young, newly planted tree
In its first two or three years.
- Do formative pruning only: one clear leader, well-spaced side branches
- Remove any shoot competing with the main leader
- Check the tie and stake; loosen a tie that is cutting into the bark
- Cut very little; a young tree needs its leaves to grow roots
A tree that is too big
Its branches are high, heavy, or over a roof, road or line.
- Do not start: anything you cannot reach from the ground is for a tree surgeon
- Ask the local authority whether there is a tree preservation order
- Note anything near an overhead line and leave it to ESB Networks or an arborist
- Get the work quoted with the waste removal included
THE JOB
The steps, in order
Check the tree, the law and the timing
20 minStart with the checks above for your tree. Ask your local authority planning office whether the tree is under a tree preservation order or in an architectural conservation area, and check your house is not a protected structure. Look through the canopy for nests before you cut, and leave any active one well alone. Then decide what you are pruning for: shape, light, fruit, or simply removing dead wood.
- Write down the three or four branches you intend to remove before you pick up a tool
- Stand back from the tree, at the far side of the garden, and look at it whole
- Check for overhead lines over and near the tree
Mistake to avoid: Pruning a protected tree without permission; the liability falls on the owner, not the person holding the saw.
Set up the work area
10 minLay a tarpaulin under the tree to catch the cuttings and protect the lawn. Clear the area under the branches you will cut of pots, furniture and anything breakable. Put on glasses and gloves, and a hard hat if you are cutting overhead. Check that the ground you will stand on is firm and level, and that you can step back away from a falling branch.
- Mark the drop zone with a rope or canes so helpers stay out of it
- Keep the tools on the tarpaulin, not in the grass
- Work in good daylight and dry weather
Mistake to avoid: Standing directly under the branch you are cutting.
Take out the dead, diseased and damaged wood first
20–40 minStart with branches that are dead, broken, diseased or rubbing against another branch. Dead wood is easy to spot in summer by the lack of leaves and in winter by grey, brittle bark with no buds. Cut back into healthy wood, just outside the point where the branch joins a larger one. Wipe the blade after cutting anything diseased.
- Scratch the bark with a thumbnail: green underneath is alive, brown is dead
- Remove one of any two branches that cross and rub
- This step alone improves most neglected trees
Mistake to avoid: Cutting into a living branch first and running out of the season's allowance before the dead wood is gone.
Find the branch collar
5 minLook where the branch you want to remove joins the trunk or a larger branch. There is usually a slight swelling or ridge of wrinkled bark around the base of the branch: that is the branch collar. Your final cut goes just outside it, not flush with the trunk. The collar holds the tissue that seals the wound, so cutting into it leaves a bigger wound that heals slowly.
- The collar is easiest to see on the underside of the branch
- On a branch with no visible collar, cut just outside the bark ridge in the fork
- Never leave a long stub either; it dies back and rots
Mistake to avoid: Cutting flush with the trunk to make it look neat, and leaving a wound that never closes.
Use the three-cut method on anything heavy
10–20 minFor any branch heavy enough to tear as it falls, make three cuts. First, cut upwards from underneath, a short distance out from the collar, about a third of the way through. Second, cut down from the top a little further out than the first, right through; the branch drops and the first cut stops the bark peeling back down the trunk. Third, cut off the remaining stub just outside the collar, supporting it as you finish.
- Cut the stub from the top down, at a slight angle away from the trunk
- Hold the stub with your free hand for the last few strokes so it does not tear
- Let the saw do the work; pushing hard makes it jam
Mistake to avoid: Cutting a heavy branch in one go from the top and watching it rip a strip of bark off the trunk as it falls.
Shorten shoots back to a bud or a side branch
20–40 minTo shorten a shoot rather than remove it, cut just above an outward-facing bud or a side branch heading the way you want growth to go. Make the cut at a slight angle, sloping away from the bud, so water runs off. Do not leave a stub above the bud, and do not cut so close that you damage it. Shortening to a side branch is called reducing; the side branch should be at least a third of the thickness of the one you cut.
- Outward-facing buds give an open tree; inward ones crowd the centre
- On fruit trees, leave the short, stubby fruiting spurs
- Take the long, upright water shoots out at their base
Mistake to avoid: Cutting through the middle of a branch with no bud or side shoot below the cut; the stub dies back.
Use the pole pruner for higher branches
20–40 minFor branches out of reach, stand well to one side of the branch, never under it, with your feet firm and apart. Hook the pole pruner's blade over the branch close to where it joins the bigger limb, and cut in short, controlled strokes. Let the branch fall clear before you move. Lower the pole between cuts; it is heavy at full extension and your arms tire quickly.
- Work in short sessions and rest your shoulders
- Take long branches off in two pieces to control where they fall
- Do not use a pole tool anywhere near an overhead line
Mistake to avoid: Standing under the branch while you cut it from below; a falling branch follows the pole straight down.
Step back and check the shape
10 minAfter every few cuts, put the tools down and walk away from the tree. Look at it from the house and from the far end of the garden. It is far easier to take one more branch off than to wish one back. Stop when you reach the year's limit, even if there is more you would like to do.
- Photograph the tree before and after for next year's plan
- A balanced tree looks good from every side, not just the front
- Leave next year's work for next year
Mistake to avoid: Keeping going until the tree looks bald; heavy pruning provokes a thicket of vigorous water shoots.
Clear up and dispose of the cuttings
20–40 minGather the tarpaulin by its corners and bag the cuttings. Cut long branches into short lengths so they fit. Small twigs and leaves can go in your brown bin or on the compost; thicker branches cannot. Diseased wood should not go on the home compost heap, where the disease can survive.
- Shred or chop small twigs and they compost much faster
- Keep a few logs in a corner for wildlife
- Clean and oil the tools before you put them away
Mistake to avoid: Composting diseased wood and spreading the problem around the garden.
The mistakes that show
- Flush cuts that remove the branch collar and leave a wound that never seals
- Taking off far too much in one year and getting a forest of water shoots
- Pruning cherries and plums in winter and inviting silver leaf
- Tearing bark by cutting a heavy branch in one go
Stop here and get a tree surgeon
- Any branch you can only reach from a ladder, a climb or a platform
- A branch thick enough that you would reach for a chainsaw, or heavy enough to damage something when it falls
- The tree is near an overhead line, or leans over a road, a roof or a neighbour's house
- The tree is protected, or you cannot find out whether it is
| WHAT YOU SEE | WHY, AND THE FIX |
|---|---|
| Lots of upright shoots after pruning | Water shoots, the tree's response to heavy pruning. Rub out the young ones in summer and take out the rest at their base next winter; prune less next time. |
| Torn bark below a cut | The branch was cut in one go and its weight ripped the bark. Trim the torn edges cleanly with a sharp knife back to sound bark and leave it to heal. |
| Silvery sheen on plum or cherry leaves | Silver leaf, a fungus that enters through winter wounds. Cut affected branches back to clean wood in summer and prune stone fruit only in dry summer weather. |
| Stubs dying back | Cuts made too far from a bud or the collar. Trim the dead stub back to just outside the collar or to a live bud. |
| No fruit the year after pruning | Fruiting spurs were cut off, or the tree was pruned too hard. Leave the short spurs and shorten only the long new shoots next winter. |
| Sap weeping from cuts | Some trees, birch and maple especially, bleed if pruned in late winter or spring. It does little harm; prune these in late summer next time. |
| Fungus at the base of the trunk | Possibly decay in the roots or trunk. Have the tree inspected by an arborist; it can affect its safety. |
WHAT YOU SAVE
What it costs to do it yourself
| Bypass secateurs | €12.99–€25.99 |
|---|---|
| Bypass loppers | €34.99–€49.99 |
| Folding pruning saw | €21.99–€24.99 |
| Telescopic or long-reach lopper | €39.99–€54.99 |
| Gloves and safety glasses | €13.98–€19.98 |
| Total, first time | €84–€176 |
| DIY total | €85–€175 |
Guide prices compiled by the Locufy team from published Irish and UK provider price lists and 2026/27 cost guides. Updated 2026.
The secateurs and loppers are kit you will use every year. The telescopic lopper is only worth buying if you have branches just out of reach; for anything higher, the price of a tree surgeon is the price of not climbing.
RATHER NOT?
Tree pruning specialists near you, with prices shown
The ones who cover your area, nearest first, with one score from every review. No account needed to look.
Or post the job free and let them come to you.
A clean cut outside the collar seals itself. Do not paint it; wound paint can trap moisture and decay.
Light twigs and leaves go in the brown bin or the compost. Thicker branches go to a civic amenity site that takes garden waste; mywaste.ie's waste services locator lists them.
Water a young tree deeply in dry spells for its first few summers and mulch around the base, keeping the mulch off the trunk.
Clean sap off the blades, dry and oil them, and sharpen secateurs and loppers before next season.
Pruning a tree: questions people ask
Most deciduous trees in late winter or early spring, while they are dormant. Cherries, plums and other stone fruit in dry summer weather. Dead, broken or diseased wood can come off at any time.
Not normally, unless the tree is under a tree preservation order, in an architectural conservation area, or at a protected structure. Ask the local authority's planning department if you are not sure.
Talk to your neighbour first. Trimming overhanging branches back to the boundary is the usual approach, but the tree is theirs, so offer the cuttings back and never cut into the tree beyond the line.
No. A clean cut just outside the branch collar seals itself; wound paint can trap moisture under it and encourage decay.
As a guide, no more than about a fifth of the live branches in a year. Spread a big reshaping over two or three years.
The Locufy Irish price guide puts tree pruning at €150–€800 per tree, typically €350. Ask whether the quote includes taking the branches away.
MORE GUIDES
More DIY guides
Sources — checked October 2026
- Husqvarna — how to prune a tree: timing, the three-cut method, how much to remove
- HSA — using ladders safely information sheet
- HSA — guidance on the safe use of chainsaws
- Planning and Development Act 2000, section 205 — tree preservation orders
- Wildlife Act 1976, section 22 — nests and eggs of wild birds
- mywaste.ie — garden waste
- mywaste.ie — wood and timber
- Woodie's — price check: secateurs, loppers and saws
- Woodie's — price check: telescopic loppers
- Woodie's — price check: gloves
- Woodie's — price check: safety glasses