DIY GUIDE · VEHICLES & TRANSPORT · CHECKED OCTOBER 2026
How to fit a dash cam yourself
An hour or two. €100–€450 for a camera, a memory card and a hardwire kit.
Behind the mirror, out of your view, cable tucked round the glass, and a fuse tap rather than a cut wire.
- Every step, start to finish
- Checked October 2026 — sources at the end
- Honest about when to call a pro
FIRST, THE HONEST ANSWER
Do it yourself, or get a fitter?
Do it yourself if…
- You are happy with the camera powered from the 12-volt socket or the diagnostic socket, which needs no wiring at all
- For a hardwired fit, you can find the fuse box and its diagram in the handbook, and the kit uses a fuse tap rather than cutting any wire
- The cable can be tucked under the headlining and the edge of the pillar trim without removing trim that hides an airbag
- You have a test lamp or multimeter to tell a permanent live fuse from an ignition-switched one
- You can spend an hour with the car parked off the road
Get a pro if…
- The only way to power the camera is to splice into the car's wiring
- The cable route would mean removing a pillar trim marked airbag or SRS
- It is an electric or hybrid car and you are unsure which fuses are safe to use
- You want a rear camera run through the tailgate's rubber gaiter, which is fiddly and easy to damage
- The car already has electrical faults or warning lights
Safety first
- Keep the camera and its cable out of your view of the road. Irish road traffic regulations require that a driver can always see enough of the road ahead and to the sides to drive safely.
- Do not remove or route anything behind trim marked airbag or SRS, and never unplug a yellow connector. Curtain airbags deploy along the pillar and headlining with great force.
- Use only a fuse tap; never cut or splice the car's wiring. The safety regulator lists electrical faults and fire among the main hazards of vehicle work.
- Never tap a fuse that protects airbags, brakes, steering, engine management or lights.
- Work with the car parked off the road, the handbrake on and the key out of the ignition.
- Set the camera up before you drive and leave its screen and app alone while the car is moving.
Stop here: Anything spliced into the loom or behind an airbag
Splicing into the car's loom can short a circuit and start a fire, and opening trim that hides a curtain airbag is a danger to the person doing it and can stop the airbag deploying properly later. The camera maker we read advises that a qualified installer choose the fuse for a permanent fit if you are unsure. Book an installer for these parts. How to hire a dash cam installer →
| MATERIAL | COVERAGE | FOR THIS JOB |
|---|---|---|
| Dash cam | Front, or front and rear | One kit |
| High-endurance memory card | The capacity and speed class the camera's maker lists | One |
| Hardwire kit or diagnostic-socket lead | Matched to the camera | One, if not using the 12-volt socket |
| Fuse tap and a spare fuse | To match the fuse size in your fuse box | One tap and one fuse of the rating the kit asks for |
How long will parking mode run before cut-off?
36 m² of wall → 423.5 L for 2 coats. Buy about 424 L.
Hours ≈ usable battery capacity ÷ (camera draw + car's own draw). If a battery has about 10 Ah to spare before reaching the cut-off, a camera drawing 0.1 amps in standby and a car drawing 0.07 amps give 10 ÷ 0.17 ≈ 59 hours, or about two and a half days.
This is a rough guide only. Battery size, age and temperature change it, and the camera maker we read says no exact figure can be given. If the car sits for a week or more, unplug the camera.
A front camera records what happens ahead, which covers most claims. A rear camera adds a view of the road behind and of whoever runs into the back of you. Front-and-rear kits need a second cable run the length of the car, which roughly doubles the fitting time.
The 12-volt socket is the simplest supply but leaves a cable visible across the dashboard and usually means the camera switches off when you lock the car. A lead into the diagnostic socket under the dashboard is a tidy plug-and-play option; the camera maker we read describes it as better for quick or temporary fits than for a permanent job.
A hardwire kit with a fuse tap draws power from the fuse box. Fed from a permanent live fuse it powers parking mode, which records when the parked car is bumped. The kit we read cuts power when the car battery falls to 11.6V, to protect it. Fed from an ignition-switched fuse, the camera simply runs while you drive.
Dash cams write video constantly, which wears out ordinary cards. Use a high-endurance card of the speed class the camera's maker recommends, and format it in the camera, not on a computer.
Fuse boxes use different fuse sizes: standard, mini and the smaller micro types. Pull a fuse and compare it before buying the tap. Some camera makers use their own connector on the tap, and the maker we read recommends its own parts to keep the fit reliable.
THE PART THAT DECIDES THE FINISH
Before you start — your car and the space
The windscreen, the pillar trim and the fuse box decide how tidy and how safe the fit will be. Find your car below and do its list first.
Any car — choosing the camera position
Do this before anything is stuck down.
- Sit in your normal driving position and find the area behind the rear-view mirror that you cannot see through anyway
- Check the spot is inside the area the wipers clear, so the camera sees through clean glass
- Keep clear of the tinted band at the top of the screen and of any sensor housing for lane or rain sensors
- Hold the camera in place and check the live view before peeling the adhesive
Car with a 12-volt socket or a reachable diagnostic socket
A plug-in fit, with no wiring.
- Find the socket and check the camera's lead is long enough to reach it by the tidy route round the screen
- For a diagnostic-socket lead, check the socket is not one you plug a tester into regularly
- Plan a route that keeps the cable away from the pedals and the steering column
- Have a few cable clips ready for the dashboard end
Hardwiring into the fuse box
For parking mode or a hidden cable.
- Find the interior fuse box and its diagram in the handbook
- Pick a non-safety fuse such as the 12-volt socket or radio, never airbags, brakes, engine management or lights
- Find a bare metal bolt nearby for the earth
- Confirm the kit uses a fuse tap, so no wire is cut
Car with curtain airbags in the pillars
Most cars from the last twenty years.
- Look for airbag or SRS marked on the pillar trim or headlining
- Plan to tuck the cable into the rubber door seal along the pillar, not behind the trim
- Never route the cable across the face of the pillar trim, where an airbag would push it
- If the cable cannot reach without opening that trim, choose the plug-in route or book an installer
Fitting a rear camera
The second cable runs the length of the car.
- Plan the route along the headlining to the back of the car
- On a hatchback, decide whether the cable goes through the tailgate's rubber gaiter or the camera sits inside the rear glass
- Check the rear camera's field of view through the rear wiper's area
- Have extra cable clips for the long run
THE JOB
How to fit a dash cam
Set up and check the camera on the bench
15 minutesPark off the road with the key out. Before fitting anything, put the memory card in, power the camera from the 12-volt socket, format the card in the camera's menu, set the date and time and check it records. Then go to the section above and work through the lists for your car.
- Update the camera's firmware now if an update is offered
- Note the camera's settings for parking mode and cabin recording
- Keep the box; it holds the spare adhesive pad
Mistake to avoid: Sticking the camera up before checking it works. Faults are far easier to return when the camera is still in its box.
Clean the glass and position the mount
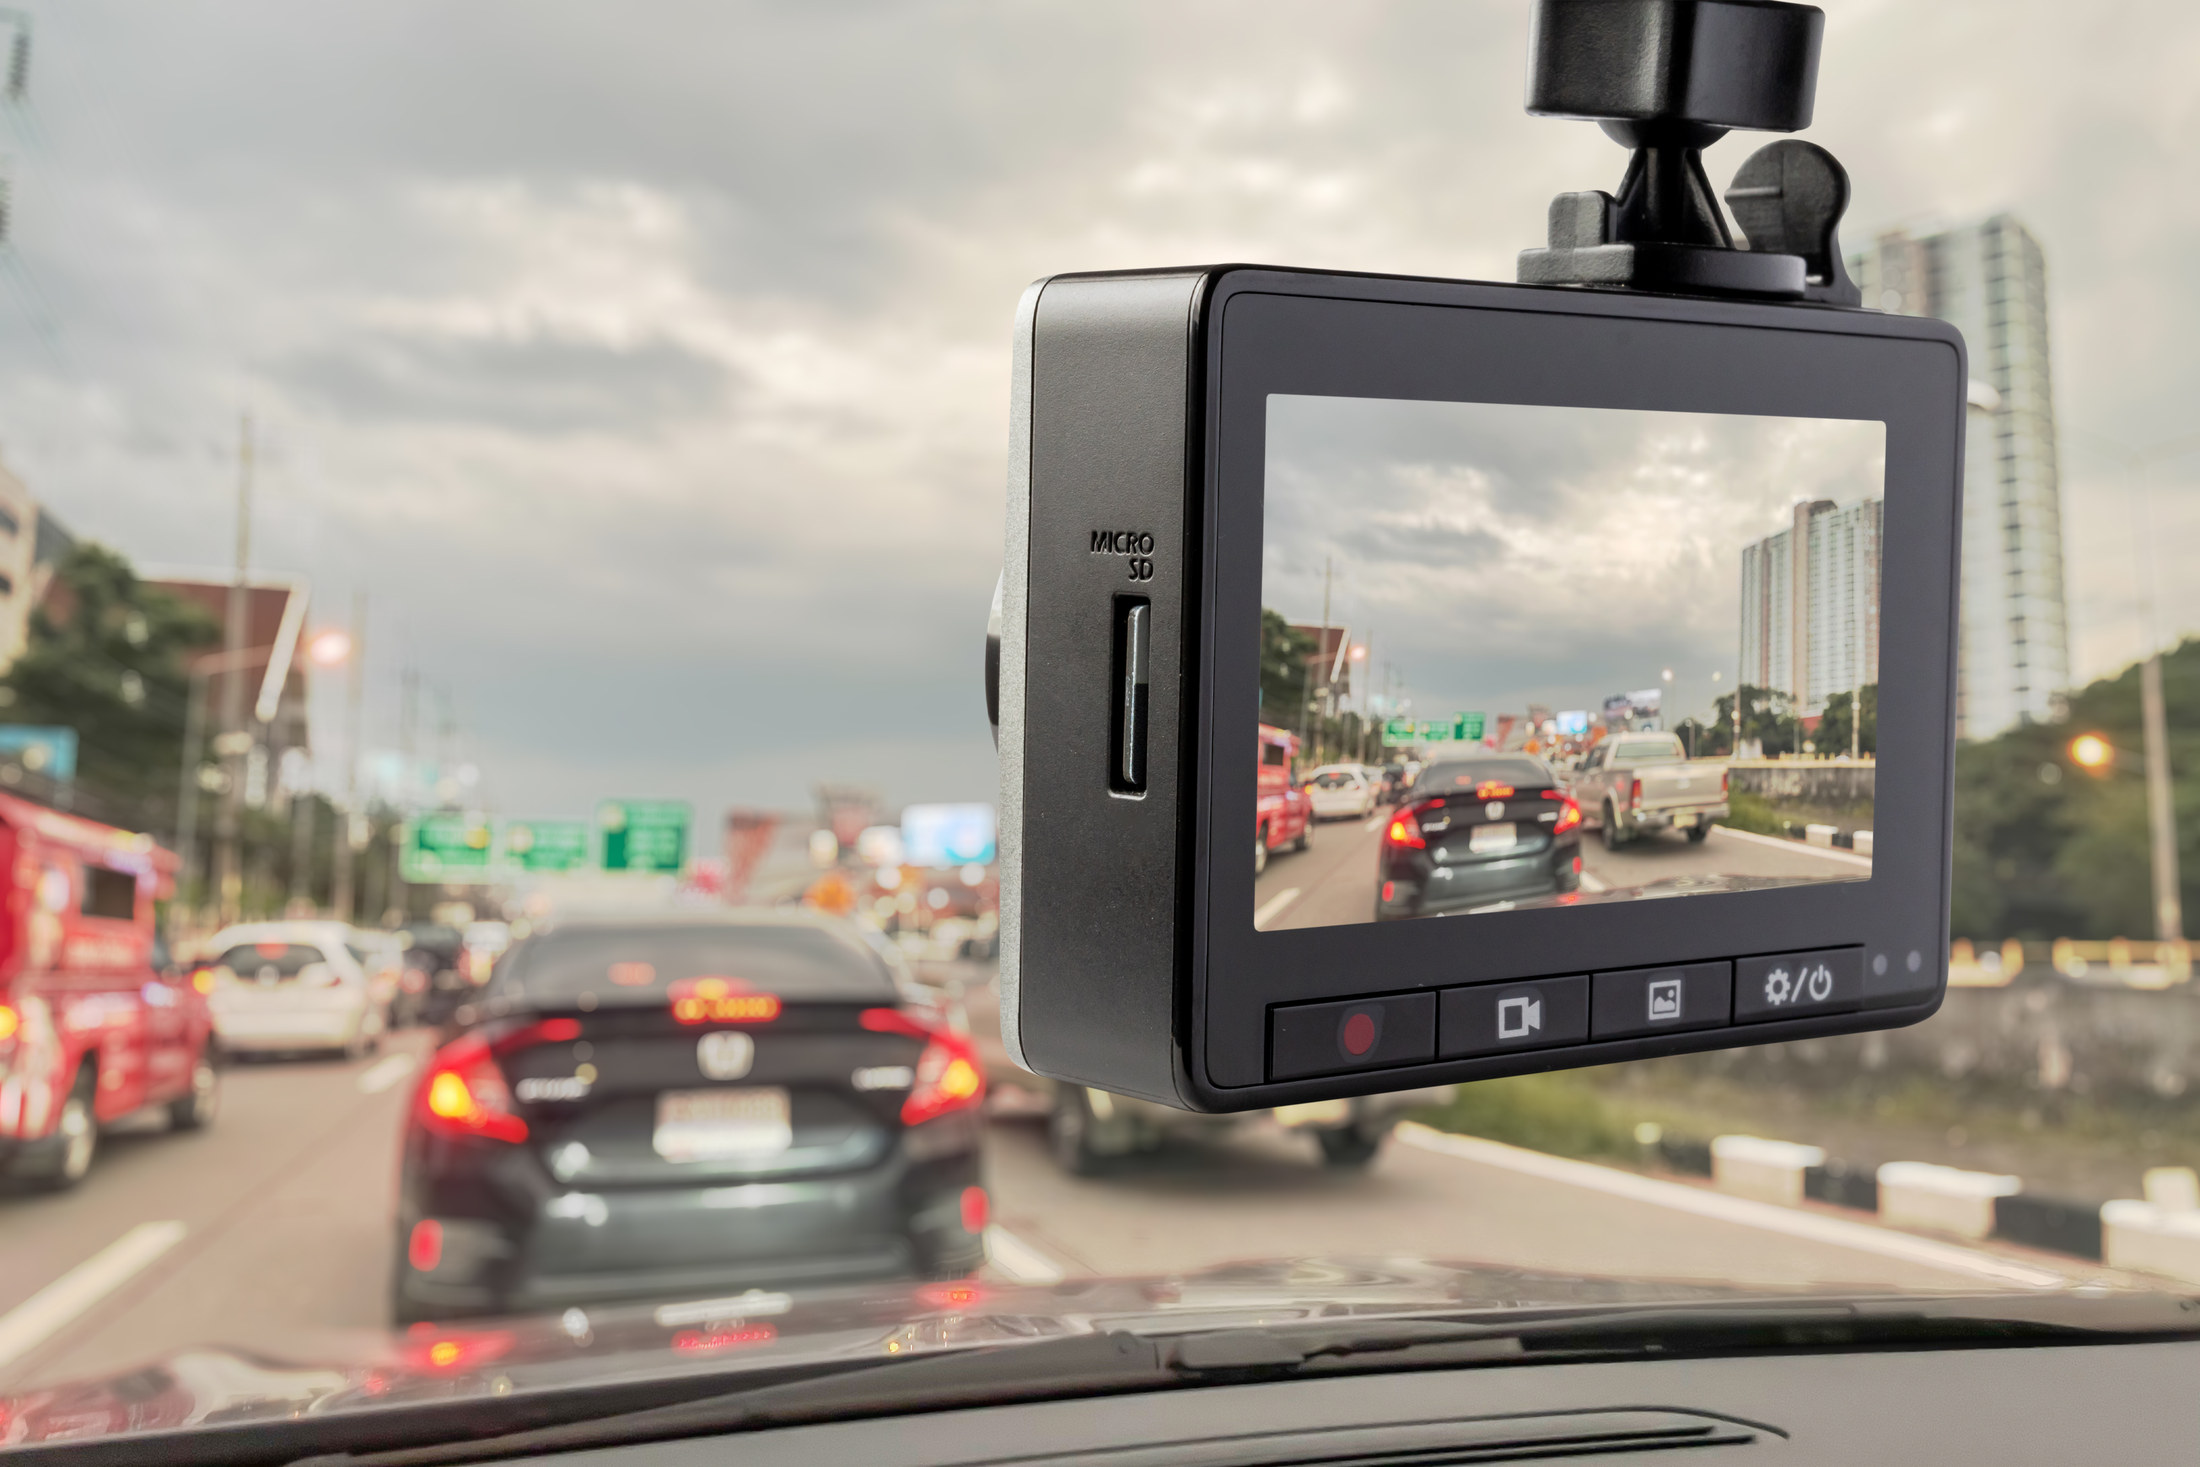
10 minutesClean the inside of the screen where the mount will go with glass cleaner and a lint-free cloth, then let it dry. Sit in your driving position and hold the camera just to the passenger side of the mirror, high on the glass; one camera maker designs its camera for exactly that spot. Check the camera's live view, then peel the backing and press the mount on firmly for half a minute, leaving room to slide the camera off its base.
- Fit the mount on a mild day; cold glass weakens the adhesive
- Keep the lens inside the wiper sweep
- Leave the camera off the mount for the next steps so the cable is easy to route
Mistake to avoid: Mounting the camera in the middle of your view. Irish road traffic regulations require that the driver can always see enough of the road ahead and to the sides to drive safely.
Route the cable round the screen
20 minutesStart at the camera and push the cable into the gap between the headlining and the windscreen with a plastic tool, working towards the passenger-side pillar. At the pillar, tuck the cable into the rubber door seal rather than behind the trim. Continue down the seal to the bottom of the pillar, then under the dashboard edge or glovebox towards the power point, clipping it clear of the pedals.
- Leave a small loop at the camera so it can be removed from its base
- Tuck the cable at the edge of the seal, where it cannot be pinched by the door
- Tie spare cable in a neat coil behind the glovebox
Mistake to avoid: Running the cable across the face of the pillar trim. If the curtain airbag fires, the cable sits in its path.
Plug-in fit: connect and finish
10 minutesIf you are using the 12-volt socket or the diagnostic socket, plug the lead in and fit the camera to its mount. Start the car and check the camera powers up and records. If you are hardwiring, skip this step and carry on below.
- Clip the plug end so it cannot be kicked loose
- Check the diagnostic-socket lead does not stop the socket's cover closing
- Drive a short distance and play the clip back to check the angle
Mistake to avoid: Leaving a loose cable hanging under the steering column. It can tangle with the pedals.
Find a permanent or switched fuse
15 minutesOpen the interior fuse box and find the fuse diagram. With the ignition off, use a test lamp or multimeter clipped to a bare metal earth to probe both test points on top of candidate fuses. A fuse that is live with the key out is a permanent live, for parking mode. One that is live only with the ignition on is switched. Choose a fuse on a non-safety circuit such as the 12-volt socket or the radio.
- Probe both sides of a fuse; a tap goes on the side that was live
- Write down the fuse position and rating you chose
- Never use a fuse for airbags, brakes, engine management or lights
Mistake to avoid: Choosing a fuse at random. A camera on a safety circuit can affect that circuit if anything goes wrong.
Fit the fuse tap and the earth
15 minutesPull the chosen fuse. Fit it into the fuse tap's lower slot, the car's own circuit, and fit the new fuse for the camera into the upper slot, at the rating the kit asks for. Push the tap into the fuse box with its lead facing the side of the slot that was not live, so the power runs through both fuses. Fix the kit's earth ring under a bare metal bolt nearby and tighten it.
- Check the tap sits fully home and is not leaning on neighbouring fuses
- A painted bolt is a poor earth; choose bare metal
- Keep the kit's lead away from the steering column
Mistake to avoid: Fitting the tap the wrong way round. Power can then bypass the car's own fuse, so a fault is not protected.
Connect the camera and test both modes
15 minutesConnect the hardwire kit to the camera's cable and fit the camera to its mount. Turn the ignition on and check it powers up. If you used a permanent fuse for parking mode, turn the ignition off and lock the car; the camera maker we read expects it to keep running for 5 minutes and then drop into a low-power state. Then unlock, start the car and check normal recording resumes.
- Check the time and date stamp on a clip
- Set the parking mode sensitivity so passing traffic does not trigger it
- Close the fuse box cover and check it seats properly
Mistake to avoid: Skipping the test with the car locked. You find out parking mode is not working only when you need the footage.
Fit a rear camera, if you have one
40 minutesRun the rear camera's cable from the front camera along the headlining edge to the back of the car, tucking it under the trim's lip as you go and along the rear door seals if needed. On a hatchback, feed it through the tailgate's rubber gaiter only if you can do so without forcing it; otherwise mount the camera inside the glass. Stick the rear camera at the top of the rear glass, inside the wiper's sweep, and check its view.
- Use a length of stiff wire to pull the cable through a gaiter
- Leave a slack loop where the tailgate hinges so the cable is not stretched
- Check the rear demister lines are not right across the lens
Mistake to avoid: Forcing the cable through the tailgate gaiter and splitting the car's own wires inside. That is an expensive repair.
Final checks
10 minutesSit in the driving seat and check the camera and its cable do not block your view. Check the 12-volt socket or radio still works if you tapped its fuse. Play back a clip from each camera on the camera's screen or the app.
- Check every clip has sound, if you want it, and the right time
- Set the loop length and the emergency clip protection
- Note the fuse you used inside the fuse box lid
Mistake to avoid: Forgetting the car's own circuit. If the radio has stopped, the fuse tap is the wrong way round or the lower fuse is missing.
The mistakes that show
- Mounting the camera in your line of sight instead of behind the mirror
- Running the cable across the face of an airbag pillar
- Tapping an airbag, brake or engine fuse
- Fitting the fuse tap the wrong way round
- Leaving a cable loose where it can reach the pedals
- Using an ordinary memory card that fails within months
Stop here and get a dash cam installer
- The only way to power the camera is to splice into the car's wiring
- The cable route needs a pillar or headlining trim removed where an airbag is fitted
- The car is electric or hybrid and the handbook does not show which fuses are safe to use
- A rear cable has to be forced through a tailgate gaiter full of the car's own wiring
| WHAT YOU SEE | WHY, AND THE FIX |
|---|---|
| The camera switches off when the engine stops | It is on a switched fuse, or the hardwire kit's permanent lead is on a switched fuse. Re-test the fuses and move the tap to a permanent live if you want parking mode. |
| The car battery goes flat | Parking mode is drawing power for longer than the car can spare, or the cut-off is set too low. Use the kit's higher cut-off setting, shorten parking mode or unplug the camera if the car will sit for a long time. |
| The radio or 12-volt socket stopped working | The fuse tap is in the wrong way round or the car's own fuse is missing from it. Pull the tap, check both fuses are fitted and refit it with the lead on the dead side of the slot. |
| The camera keeps falling off the windscreen | The glass was cold, wet or greasy when the pad went on. Clean off the old adhesive, clean the glass and fit the spare pad on a mild, dry day. |
| The video is blurry or full of reflections | The lens sits outside the wiper sweep, or the dashboard reflects in the glass. Move the camera into the cleared area and consider a polarising filter if the maker offers one. |
| Interference on the radio since fitting | The camera's power lead is close to the aerial cable, or the kit's ferrite core is missing. Re-route the lead and fit the ferrite core near the camera. |
| The card keeps showing errors | The card is not a high-endurance type or was formatted on a computer. Format it in the camera; replace it if errors continue. |
| Parking mode records constantly | The sensitivity is too high for a busy street. Turn it down in the camera or app. |
WHAT YOU SAVE
What it costs to do it yourself
| Dash cam, front or front and rear | €72–€419 |
|---|---|
| High-endurance memory card | €24–€78 |
| Hardwire kit | €30 |
| Add-a-fuse tap | €10 |
| Total | €100–€450 |
| DIY total | €100–€450 |
Guide prices compiled by the Locufy team from published Irish and UK provider price lists and 2026/27 cost guides. Updated 2026.
Prices from an Irish motor retailer's dash cam ranges for October 2026; many cameras come bundled with a card. The professional fitting price, from the price guide, is shown alongside.
RATHER NOT?
Dash cam installers near you, with prices shown
The ones who cover your area, nearest first, with one score from every review. No account needed to look.
Or post the job free and let them come to you.
Play back a clip every few weeks to check the date, time and angle are right and the card is still recording.
Format it in the camera every month or two, and replace it if errors appear. Keep any clip you may need for a claim on a separate device.
A dash cam, its leads and its memory card are electrical waste. Take them to a WEEE drop-off point or civic amenity site listed on mywaste.ie, or to a shop that takes back old electrical items. Never put them in the household bin.
Remove the camera, unplug the hardwire kit, refit the car's own fuse in its slot and keep or recycle the kit.
Fitting a dash cam: questions people ask
Yes. Plugging into the 12-volt socket or the diagnostic socket needs no wiring, and a hardwire kit with a fuse tap is a careful job most people can manage. Stop if the only route means splicing into the car's wiring or opening trim that hides an airbag.
Behind the rear-view mirror, near the top of the screen and inside the wiper sweep, where it does not block your view. Irish road traffic regulations require that the driver can always see enough of the road to drive safely.
It can if the car sits for a long time. The hardwire kit we read cuts the camera's power when the battery reaches 11.6V to protect it. If the car will be parked for a week or more, unplug the camera.
A non-safety fuse such as the 12-volt socket or the radio, tested with a test lamp or multimeter. A permanent live fuse gives parking mode; a switched fuse runs the camera only when the ignition is on.
Not for most claims, but it records whoever hits you from behind. It adds a second long cable run, which roughly doubles the fitting time.
The Locufy price guide for Ireland puts dash cam installation at €50–€180 per job, with €90 typical, more for a front-and-rear system.
MORE GUIDES
More DIY guides
Sources — checked October 2026
- Nextbase — best practices for hardwiring dash cams: fuse-box hardwiring with the Series 2 kit, permanent or ignition-live fuse, OBD lead for quick fits, qualified installer advised for fuse selection
- Nextbase — will my dash cam drain my car battery: cut-off at 11.6V, parking mode stays on 5 minutes, no exact drain time possible
- Nextbase — how to install the iQ dash cam: behind the rear-view mirror, passenger side, near the top of the windscreen; cable along the roof
- Road Traffic (Construction, Equipment and Use of Vehicles) Regulations 1963, S.I. No. 190 of 1963, article 23: view of road
- HSA — Safe Motor Vehicle Repair and Maintenance information sheet (electrical safety, fire)
- MyWaste — electrical items: anything with a plug or battery to a WEEE drop-off point or civic amenity site
- Halfords Ireland — dash cams price check, October 2026: €72–€419
- Halfords Ireland — dash cam accessories price check, October 2026: hardwire kit €30, add-a-fuse €10, memory cards €24–€78