DIY GUIDE · VEHICLES & TRANSPORT · CHECKED OCTOBER 2026
How to fit a car stereo and speakers yourself
An afternoon. €140–€650 for a head unit, fitting parts and a pair of speakers.
Battery off, the right adaptor lead, test before you refit, and stop where the loom or an airbag begins.
- Every step, start to finish
- Checked October 2026 — sources at the end
- Honest about when to call a pro
FIRST, THE HONEST ANSWER
Do it yourself, or get a fitter?
Do it yourself if…
- Your car has a standard single- or double-height stereo slot, and a fitting kit exists for your make and model
- The new unit connects through a plug-in adaptor harness, so nothing in the car's own wiring is cut
- The speakers you are replacing sit behind door cards or grilles you can remove with trim tools
- You have the radio code, if the car's original unit needs one, and a few hours with the car off the road
- You are comfortable reading a wiring diagram and working slowly with small connectors
Get a pro if…
- The stereo is built into the dashboard with the climate controls or the car's settings, so replacing it means a vehicle-specific interface
- The only way to connect the new unit is to cut and join wires in the car's loom
- Speakers or tweeters sit in pillars or a dashboard top that hide an airbag
- You want an amplifier that needs a heavy power cable from the battery through the bulkhead
- The car has warning lights or electrical faults already; adding equipment to a faulty system hides the cause
Safety first
- Disconnect the battery's negative lead before you unplug or plug in anything behind the dashboard, and reconnect it only to test. The safety regulator lists electrical risks and fire among the main hazards of vehicle maintenance.
- Never connect the stereo's power leads to the car's metal body. The manual we read warns that doing so can cause a short circuit and a fire.
- Do not open trim marked airbag or SRS, and do not unplug any yellow connector. Airbag circuits can deploy with enough force to injure, and work near them needs training.
- Keep every inline fuse on the stereo's lead, and replace a blown fuse only with one of the same rating.
- Work with the car parked off the road, the handbrake on and the key out, and keep children out of the car while trim is off.
- Do not mount a screen or a microphone where it blocks your view of the road.
Stop here: Anything spliced into the loom or behind an airbag
Cutting into the car's loom risks a short circuit and fire and can disturb other systems on the same circuit, and the airbag and pretensioner circuits behind pillar and dashboard trim are a danger to whoever works on them; a battery maker we read notes that even removing seats in some cars needs a specific airbag qualification. A heavy amplifier cable through the bulkhead is a fire risk if it is not fused and routed correctly. Book an installer for these parts. How to hire a car audio installer →
| MATERIAL | COVERAGE | FOR THIS JOB |
|---|---|---|
| Head unit | Single- or double-DIN to suit your slot | One |
| Fascia plate or dash kit | Listed for your make, model and year | One |
| Adaptor harness | Car plug to the standard connector on the stereo's lead | One |
| Aerial adaptor, and a DAB aerial if the car has none | To match the car's aerial plug to the stereo's socket | One of each |
| Coaxial speakers and adaptor rings | Matching diameter and mounting depth | One pair per door position |
Will the speaker fit the door?
Mounting depth needed ≤ space behind the mounting face − clearance for the window. If the old speaker sits 60 mm deep and the window glass comes within 70 mm of the mounting face when lowered, a new speaker must be no deeper than about 65 mm to leave a safe 5 mm gap.
Wind the window fully down before you measure; that is when the glass comes closest to the back of the speaker. A speaker that touches the glass will rattle, or stop the window.
Car stereo slots come in two standard heights. A single slot takes a classic narrow unit; a double slot takes a touchscreen unit. Many cars have a double slot hidden behind a factory fascia, so look up the fitting kit for your model before you choose the stereo. A double-height screen in a single slot needs a fascia that brings it forward, and not every dashboard has room.
Almost every car needs three small parts: a fascia plate that fills the gap around the new unit, an adaptor harness that joins the car's plug to the stereo's plug, and an aerial adaptor. Cars with steering-wheel buttons need an interface lead to keep them working. These parts cost little and turn a wiring job into a plug-in job.
Digital radio needs a DAB aerial. Some cars already have one in the roof or glass and need only an adaptor; others need a stick-on film aerial on the windscreen. A film aerial must sit outside the area the wipers clear and away from your line of sight, and its earth lead must reach bare metal.
Touchscreen units with phone mirroring let you use maps and calls through the car's screen and microphone. That is useful only if the microphone is placed well, usually near the rear-view mirror or the headlining. A unit with a screen must be mounted at the angle its maker allows; the manual we read allows up to 30° from horizontal.
Door speakers come in standard diameters, but the depth behind the mounting face is what decides whether they fit. Check the size and the mounting depth for your car before buying, and buy a speaker adaptor ring if your model uses an unusual fixing. Coaxial speakers, with the tweeter built in, are the simplest swap.
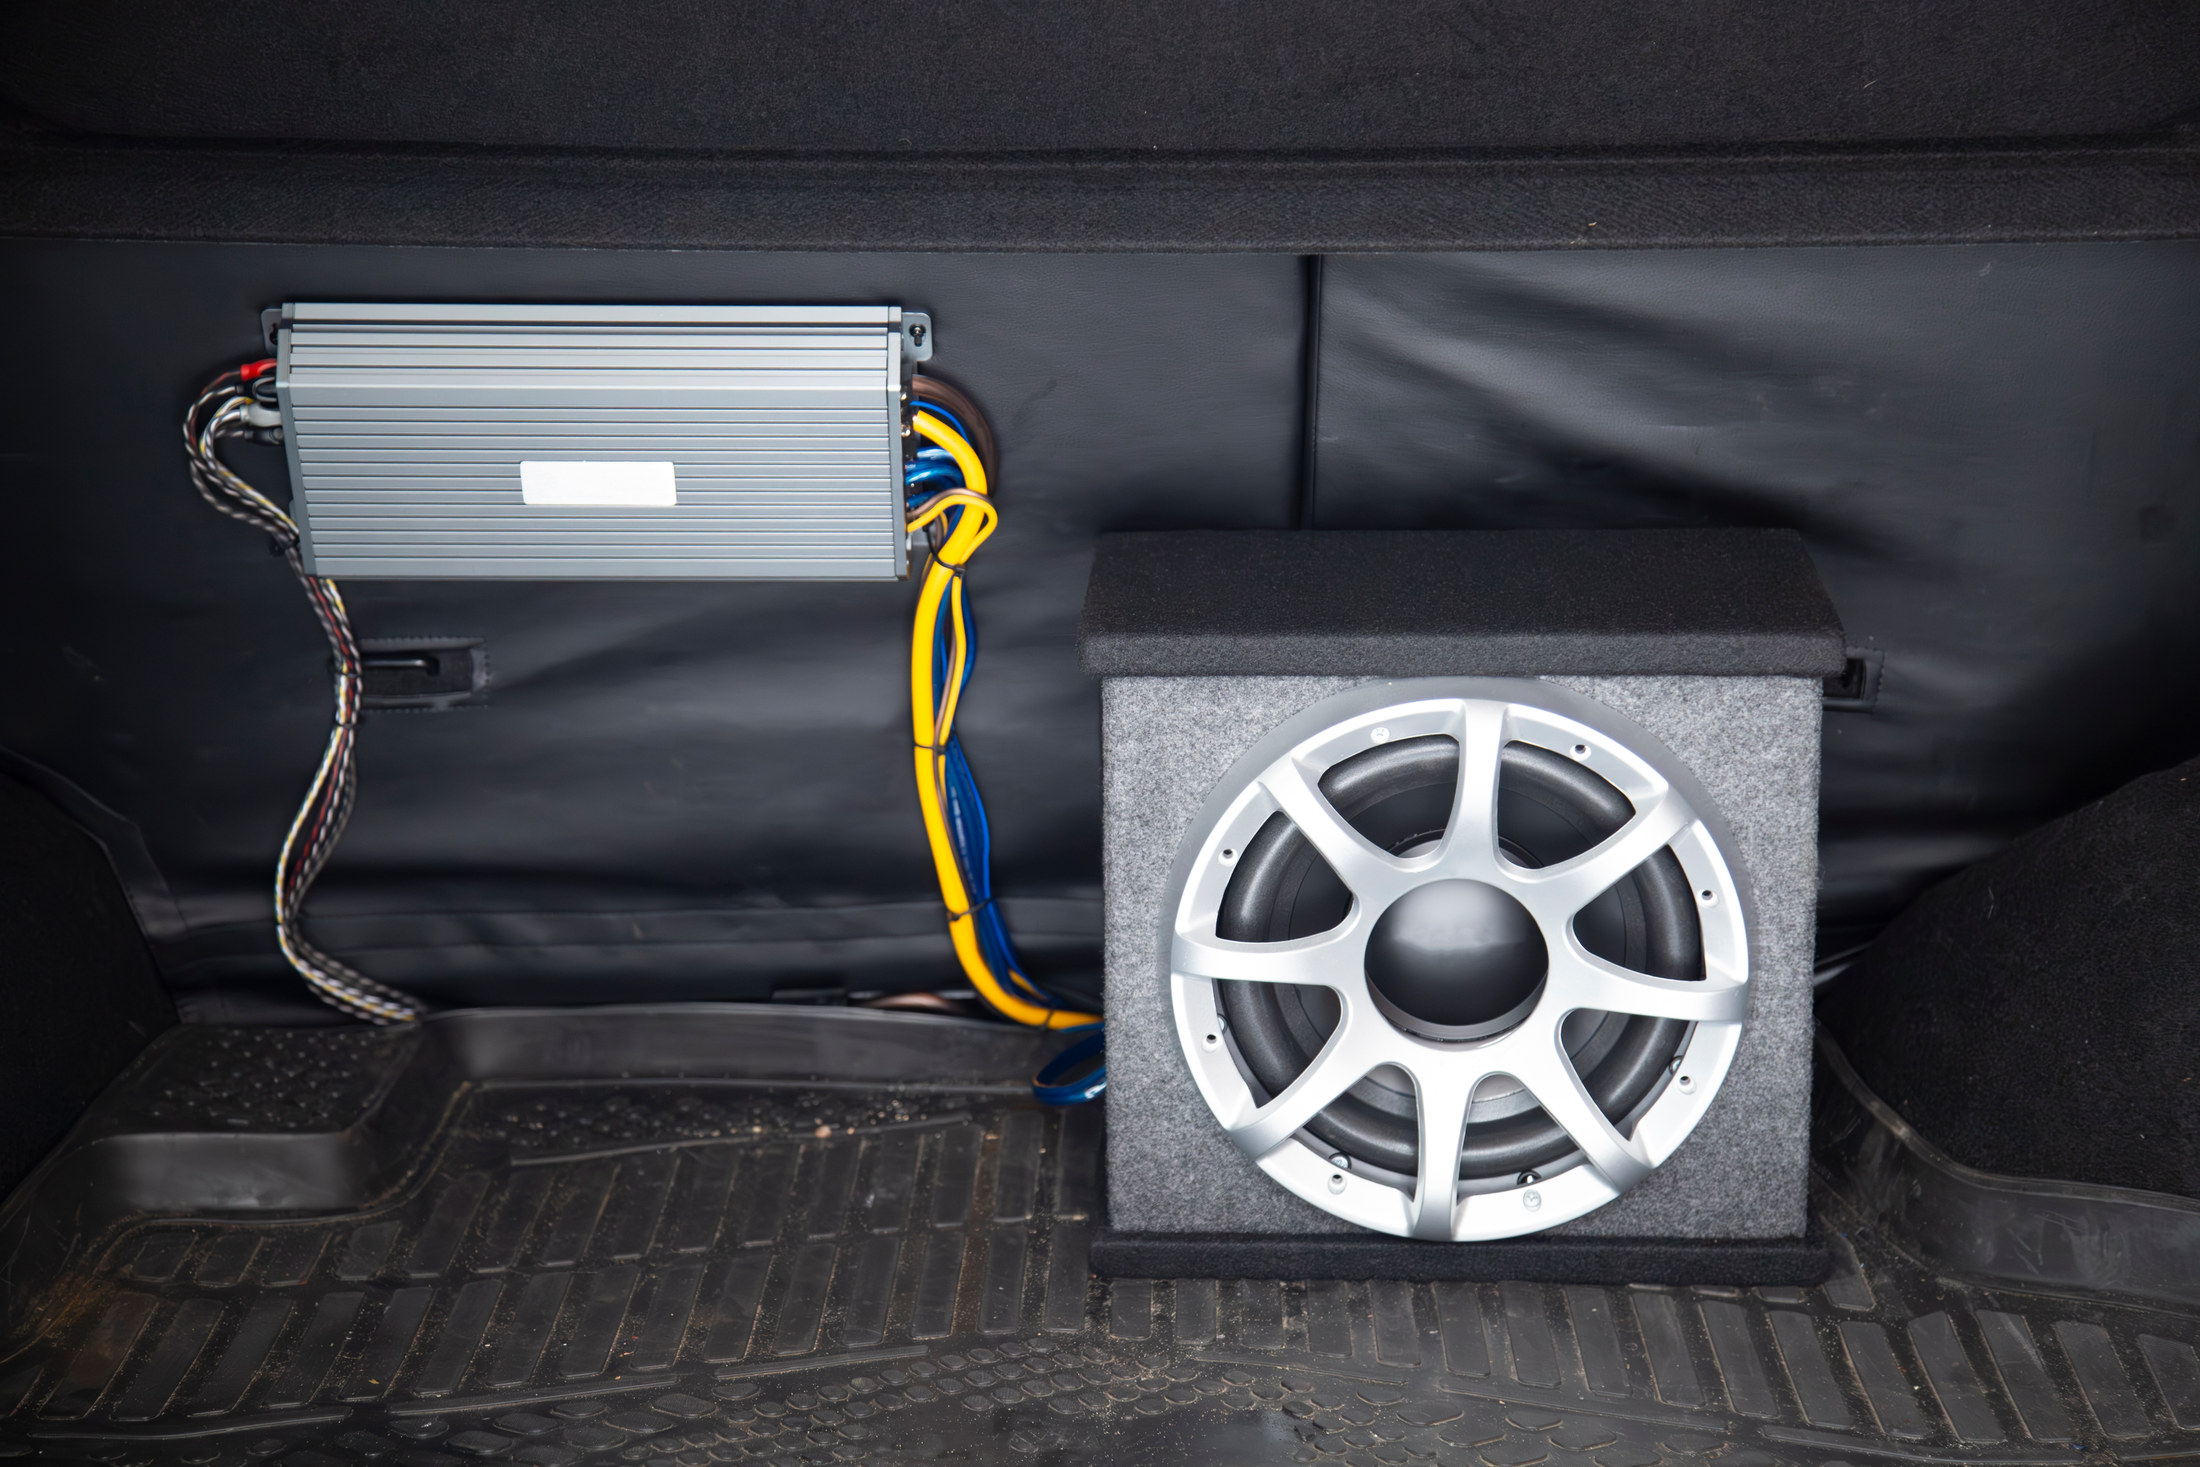
A small amplifier built into many head units is enough for most cars. A separate amplifier and subwoofer need a fused power cable from the battery, a good earth and a route through the bulkhead. That is outside what this guide covers.
THE PART THAT DECIDES THE FINISH
Before you start — your car and the space
What is behind the dashboard decides how much of this is plug-in work. Find your car below and do its list before you buy anything.
Car with a standard slot and a standard plug behind the stereo
Most cars from the 1990s and 2000s.
- Look up the fitting kit for your make, model and year and confirm it lists a fascia, a harness and an aerial adaptor
- Check whether the original unit needs a radio code and find it now
- Find which battery terminal is negative and how to reach it
- Clear the front seats and footwells so you can kneel and lay out parts
Car with a make-specific plug or steering-wheel buttons
Common on many makes since the mid-2000s.
- Buy the adaptor lead and steering-control interface listed for your model, not a universal one
- Read the interface's instructions before you start; some need a setting chosen on the stereo
- Check whether the car's amplifier or speakers are fed through the original unit
- If the only instructions involve cutting the car's loom, stop and book an installer
Car with the screen built into the dashboard
The stereo is part of the climate controls or the car's settings.
- Check whether a fitting kit exists that keeps the climate controls working
- Find out whether parking sensors, a reversing camera or warning chimes run through the original screen
- Budget for a vehicle-specific interface, which can cost more than the stereo
- If any of this is unclear, get a quote from an installer before buying
Replacing door speakers
The speakers sit behind the door cards.
- Find how your door card comes off: screws behind the handle, the pull and the window switch, then clips round the edge
- Buy a pack of spare door-card clips; a few always break
- Check that the speaker you are buying matches the size and the mounting depth
- Keep the door's wiring connectors and the window switch out of the rain while the card is off
Speakers in the pillars or the top of the dashboard
Tweeters often sit here.
- Look for the word airbag, or the letters SRS, on the pillar trim or the dashboard
- If either appears, do not remove that trim
- Leave the factory tweeters in place, or book an installer for that part
- Change only the door speakers yourself
THE JOB
How to fit a car stereo and speakers
Disconnect the battery and set up
15 minutesPark off the road with the key out. Note the radio code, the clock and any presets. Loosen the negative battery clamp, lift it off the post and tuck the lead away so it cannot touch the terminal. The manual we read for one head unit starts the same way: key out and negative lead off before anything is connected. Lay a towel over the gear lever and console so dropped screws do not scratch anything. Then go to the section above and check the list for your car.
- Wait a few minutes after disconnecting before unplugging anything near the dashboard
- Keep the screws from each part in a separate labelled bag
- Take a photograph at every stage you take apart
Mistake to avoid: Working with the battery connected. A loose live wire touching the metal behind the dashboard blows fuses, and can damage the car's electronics.
Remove the old unit
20 minutesUse the removal keys if your car needs them: push both in fully until they click, then pull the unit straight out by the keys. Other cars need the surrounding trim levered off with plastic tools and four screws removed. Ease the unit out far enough to reach the back. Press the tabs on each plug and pull by the plug, never the wires. Unplug the aerial last.
- Lever trim from the corners, where the clips are, not the middle
- Support the old unit; it is heavier than it looks
- Look at the car's plugs now and compare them with your adaptor harness
Mistake to avoid: Prising the old unit out with a screwdriver. It gouges the dashboard and can snap the clip that holds the new fascia.
Make up the harness on the bench
20 minutesSit at a table with the new stereo's lead, the adaptor harness and the aerial adaptor. Plug them together exactly as the harness instructions say. If the adaptor lead needs any wires joined to the stereo's lead, make those joins on the adaptor, never on the car's own wiring, with proper crimp connectors. Cap every wire you do not use with insulating tape. Leave the inline fuses on the stereo's lead exactly as supplied.
- Match colours, but follow the instructions where they differ
- Give each crimp a firm tug to test it
- Tie the finished harness into a neat bundle so it slides behind the unit
Mistake to avoid: Cutting off the stereo's fuse holder to make the lead shorter. The manual we read is clear that the power must always pass through the fuse.
Check which feed is which
15 minutesA car stereo needs a permanent live to keep its memory and a switched live that comes on with the ignition. On many cars the standard pins are the other way round, and the harness has a pair of bullet connectors for swapping them. Reconnect the battery briefly, use a multimeter on the car's plug to find which pin is live with the key out and which only with the ignition on, then disconnect the battery again. Set the swap to match.
- If the stereo forgets its settings every time, the feeds are the wrong way round
- If it drains the battery overnight, the switched feed is on a permanent live
- Never bridge pins with the meter probes
Mistake to avoid: Guessing. The unit may work but lose its settings every trip, or flatten the battery when the car is parked.
Fit the fascia and the mounting cage
20 minutesFit the new fascia plate to the dashboard first, then the stereo's mounting sleeve or brackets, following the kit's instructions. Bend the sleeve's tabs out with a screwdriver so it grips the dashboard. On a double-height unit, fix the side brackets to the stereo with the short screws supplied; long screws can damage the unit inside.
- Check the stereo sits at the angle its maker allows
- Leave room behind it for the harness bundle
- Hand-tighten small screws; plastic threads strip
Mistake to avoid: Forcing the sleeve into a gap it does not fit. A twisted sleeve holds the unit crooked and rattles.
Connect everything and test before you refit
20 minutesPlug the harness into the car's plug and the stereo, plug in the aerial and any DAB, microphone or USB leads, and rest the unit at the slot without pushing it home. Reconnect the battery. Switch on the ignition and test every function: radio on FM and DAB, each speaker using the balance and fade controls, phone connection, the steering buttons and the stereo's memory after the ignition goes off and on. Then check the car itself: brake lights, indicators, wipers and the horn, as the manual we read advises.
- Test each speaker on its own with balance and fade; a silent one is a loose connector
- Make a phone call to test the microphone
- Switch the ignition off and on to confirm the stereo kept its settings
Mistake to avoid: Pushing the unit home before testing. Finding a missed connector means taking it all out again.
Push the unit home and tidy up
15 minutesDisconnect the battery again. Feed the harness into the space behind the slot so nothing is pinched, and slide the unit in until it clicks or the screws line up. Run the microphone lead along the edge of the headlining or the pillar trim, but do not open any trim that is marked as covering an airbag. Clip back any trim you removed, reconnect the battery and reset the clock.
- Tuck spare cable where it cannot rub on a sharp edge
- Route leads away from the heater ducts and any moving parts
- Keep the removal keys or tools in the glovebox
Mistake to avoid: Trapping a wire behind the unit. It rubs through over months and causes an intermittent short.
Remove a door card
30 minutesWith the battery disconnected, remove the screws behind the door pull, the handle surround and the window switch panel. Lever the card's edge away from the door with a plastic tool, working round from the bottom corners so each clip pops in turn. Lift the card up and off the window ledge. Unplug the window switch and any lights, then hang the card or rest it on a towel.
- Work clip by clip, close to each one, to avoid breaking the card
- Keep the door's plastic moisture sheet intact; it keeps rain off the card
- Put the screws in a labelled bag for that door
Mistake to avoid: Ripping the moisture barrier off the door. Without it, rainwater runs into the door card and the speaker.
Fit the new speaker
20 minutesUnscrew the old speaker, unplug it and lift it out. Fit any adaptor ring, then the new speaker, using the adaptor plug if your kit has one so the car's connector is not cut. Positive goes to positive. Before you tighten the screws, wind the window down fully to check the glass clears the back of the speaker.
- Use foam tape on the adaptor ring to stop rattles
- Keep the polarity the same in every door, or the sound loses its bass
- Test the speaker before refitting the card
Mistake to avoid: Fitting a speaker that is too deep. The window hits it on the way down, and you will not know until the card is back on.
Refit, test and check the car
20 minutesPlug the window switch back in, hook the card over the window ledge and press each clip home, replacing any that broke. Refit the screws. Reconnect the battery and run through the stereo test again, then check the windows, central locking, warning lights and the brake lights one last time.
- Press round the card's edge to make sure every clip has engaged
- Drive a short loop with the windows up and listen for rattles
- Note the date and parts on the receipt
Mistake to avoid: Leaving a broken clip unreplaced. The card buzzes every time the bass plays.
The mistakes that show
- Cutting the car's loom instead of buying the adaptor harness
- Leaving the battery connected while unplugging the dashboard
- Swapped permanent and switched feeds, so the stereo forgets everything
- Prising trim with metal tools and chipping the dashboard
- Opening a pillar or dashboard trim that hides an airbag
- Fitting door speakers too deep for the window to pass
Stop here and get a car audio installer
- The only connection route is cutting into the car's own wiring loom
- Trim you would need to remove hides an airbag, side airbag or seat-belt pretensioner
- You want an amplifier that needs a heavy power cable from the battery
- The original screen also runs the climate controls, cameras or parking sensors
| WHAT YOU SEE | WHY, AND THE FIX |
|---|---|
| The stereo forgets its settings every time | The permanent and switched feeds are swapped, or the permanent feed is missing. Swap the bullet connectors on the adaptor harness and test again. |
| The battery goes flat overnight | The stereo's switched feed is connected to a permanent live, so the unit never fully switches off. Swap the feeds on the harness. If the car has no switched feed at the plug, an installer can provide one properly. |
| No sound from one speaker | A speaker plug is loose behind the unit or in the door, or the balance and fade are set to one corner. Check the controls first, then the connectors. |
| The radio picks up nothing | The aerial adaptor is missing or the aerial needs power. Many cars have an amplified aerial that needs the blue power-antenna wire connected to the adaptor. |
| Poor DAB reception | The film aerial's earth is not on bare metal, or the aerial sits too close to a heated or tinted area of the glass. Re-site it within the rules of its instructions. |
| Whining noise that rises with engine speed | Interference from the charging system, usually from a poor earth. Check the stereo's earth connection; a ground loop isolator on the audio lead can help. |
| Steering-wheel buttons do nothing | The interface is not set for your car or your stereo. Read its instructions again; many need a small switch or a setting chosen in the stereo menu. |
| The unit will not power on at all | The fuse on the stereo's lead has blown, often because a bare wire touched metal. Find and fix the cause, then replace the fuse with one of the same rating. |
WHAT YOU SAVE
What it costs to do it yourself
| Head unit | €126–€551 |
|---|---|
| Adaptor harness | €10–€11 |
| Fascia plate | €16–€24 |
| Aerial adaptor, or a DAB film aerial | €3–€24 |
| Coaxial speakers, one pair | €39–€86 |
| Total | €140–€650 |
| DIY total | €140–€650 |
Guide prices compiled by the Locufy team from published Irish and UK provider price lists and 2026/27 cost guides. Updated 2026.
Prices from an Irish motor retailer's ranges for October 2026; vehicle-specific interfaces for steering buttons or integrated screens cost more. The professional installation price, from the price guide, is shown alongside.
RATHER NOT?
Car audio installers near you, with prices shown
The ones who cover your area, nearest first, with one score from every review. No account needed to look.
Or post the job free and let them come to you.
A stereo and speakers are electrical waste. Take them to a civic amenity site or an electrical drop-off point listed on mywaste.ie, or to a shop that takes back old electrical items when you buy a new one. Never put them in the household bin.
A working factory stereo is worth keeping with its removal keys, wrapped and dry. It may matter when you sell the car.
Listen for new rattles, check the stereo still keeps its settings and that the battery starts the car normally after a night parked.
Keep the stereo's manual, the fitting kit's wiring sheet and the receipts together in the glovebox or with the car's papers.
Fitting a car stereo and speakers: questions people ask
Yes, in most cars with a standard slot, using a fitting kit with a fascia, an adaptor harness and an aerial adaptor. Nothing in the car's wiring should be cut. Cars where the stereo is part of the climate controls, or where trim near an airbag has to come off, are a job for an installer.
A short lead that joins the car's own plug to the standard plug on the new stereo's lead. It turns the fit into a plug-in job and means the car's wiring is left as it was.
Its permanent and switched power feeds are the wrong way round. Most adaptor harnesses have a pair of bullet connectors to swap them.
Often, yes. Some cars have a DAB-ready aerial and need only an adaptor; others need a stick-on film aerial on the glass, sited outside the driver's view and with its earth on bare metal.
Usually, with an interface lead made for your car and your stereo. Buy the one listed for your exact model and set it up as its instructions say.
The Locufy price guide for Ireland puts car audio installation at €80–€600 per job, with €200 typical, depending on the unit and how much of the car has to come apart.
MORE GUIDES
More DIY guides
Sources — checked October 2026
- Kenwood — KVT-M707 installation manual: key out and negative battery lead off first; never connect the power leads to the chassis; keep the fuse; insulate unused wires; check brake lights and indicators afterwards; mounting angle 30° or less; ISO pin arrangements
- VARTA Automotive — changing an EFB or AGM battery (an extra airbag qualification is needed to remove seats)
- HSA — Safe Motor Vehicle Repair and Maintenance information sheet (electrical safety, fire)
- MyWaste — electrical items: anything with a plug or battery to a WEEE drop-off point or civic amenity site
- Halfords Ireland — car stereos price check, October 2026: €126–€551
- Halfords Ireland — car speakers price check, October 2026: coaxial pairs €39–€86
- Halfords Ireland — stereo fittings price check, October 2026: ISO harness adaptors €10–€11, fascia plates €16–€24, aerial adaptor €3, DAB film antenna €24