DIY GUIDE · VEHICLES & TRANSPORT · CHECKED OCTOBER 2026
How to apply a ceramic coating yourself
A full day plus curing. €113–€125 for a coating kit, clay, polish and microfibre cloths.
The coating seals in what is under it: wash, clay, polish, wipe, then small sections and a buff at the right moment.
- Every step, start to finish
- Checked October 2026 — sources at the end
- Honest about when to call a pro
FIRST, THE HONEST ANSWER
Do it yourself, or get a garage?
Do it yourself if…
- You have a garage or covered space where the car can stay dry and out of dust for the day and the night after
- The paint is factory paint in good condition, with light swirls at most
- You are willing to spend more time preparing the paint than coating it
- You can work on a mild day; cold slows the coating down and heat speeds it up
- You have a strong torch or work light to check each panel for high spots
Get a pro if…
- The paint needs heavy correction before it is fit to be sealed
- You want a professional-grade coating that is sold only to trained installers
- The car is matt, wrapped or has a respray; the coating we read is not for matt paint
- You have nowhere sheltered to work, and the forecast is for rain or a hot sunny day
- The car is new and you want a warranty-backed coating from the dealer or an installer
Safety first
- Read the coating's label and safety data sheet before you start. The safety regulator's advice for vehicle chemicals is to read the hazard labels and data sheets and protect skin and eyes.
- Wear nitrile gloves and glasses throughout, and work with the garage door or a window open for ventilation; most coatings and panel wipes contain solvents.
- Keep the bottles and used cloths away from heat and flames, and leave used cloths spread out to dry outdoors before binning them.
- Keep products in their original containers, away from children and pets, and never mix them.
- Do not eat, drink or smoke while applying the coating, and wash your hands before breaks.
- Do not let rinse water carrying fallout or tar remover run into a road gully.
| MATERIAL | COVERAGE | FOR THIS JOB |
|---|---|---|
| Ceramic coating kit | Applied one small section at a time | One kit for a family car |
| Clay kit | A coin-sized piece at a time with plenty of lubricant | One kit |
| Polish | The gentlest that removes the swirls | One bottle |
| Panel wipe or the kit's preparation spray | Every panel, just before coating | Enough for the whole car |
How many sections, and how long?
36 m² of wall → 288 L for 2 coats. Buy about 288 L.
Sections ≈ painted area ÷ section size. A family car has about 12 m² of paint; at 0.25 m² a section (50 × 50 cm) that is 12 ÷ 0.25 = 48 sections. At about 3 minutes each to apply, wait and buff, allow 48 × 3 = 144 minutes, so roughly two and a half hours.
Time the wait on the first panel and use it as your guide; it changes with temperature and humidity. Take a break every hour; tired buffing misses high spots.
A home kit usually contains a preparation spray, the coating, an applicator and cloths. The kit we read lasts up to one year with the right preparation and aftercare. Professional coatings can last longer but are sold to trained installers and are less forgiving.
A spray ceramic is sprayed on and buffed off, with very little preparation. It gives a slick, beading finish for a few months; one we read gives up to three months. It is a good choice if you cannot give the car a full day or a sheltered space.
You need a pH-neutral shampoo, a fallout or tar remover, a clay bar with lubricant, a polish to remove swirls, and a panel wipe to strip oils. The kit we read includes a preparation spray for that final wipe.
Most home coatings are a single layer. The maker we read says more layers bring only a limited gain and does not recommend it. A second layer is not worth the risk of high spots.
Have at least a dozen clean, short-pile microfibre cloths. A cloth loaded with coating stops buffing and starts smearing. Never wash coating cloths with fabric softener.
Many paint coatings are for paint only. The one we read is for paintwork and colour-coded plastics, not glass or bare plastic trim. Use products made for glass or wheels if you want them coated.
THE PART THAT DECIDES THE FINISH
Preparing the paint — by what you start with
The coating seals in whatever is on the paint, so preparation is most of the job. Wash and dry the car, then find your paint below and do its list before coating.
A new or nearly new car
Paint that looks perfect.
- Wash with a pH-neutral shampoo and two buckets
- Use a fallout remover and clay anyway; new cars carry transport and storage contamination
- Inspect under a torch for dealer-wash swirls
- Give it a light polish if there are any, then wipe with panel wipe
A car with swirls and light scratches
Fine circular marks in sunlight.
- Decontaminate and clay as above
- Test a polish on a hidden section until the swirls go
- Polish the whole car, panel by panel, before any coating
- Remove all polish residue with panel wipe; oils stop the coating bonding
A car with an old wax or sealant on it
Water still beads on the paint.
- Strip the old protection with a strong shampoo or a dedicated strip wash
- Polish, which also removes old layers
- Wipe with panel wipe and check that water no longer beads before coating
- Do not coat over wax; it will fail
Matt paint, wraps and trim
Anything that should not shine, or is not paint.
- Do not use a gloss paint coating on matt paint or a wrap
- Mask rubber seals, textured trim and badges
- Keep the coating off glass; wipe any that lands there at once with the preparation spray
- Use products made for matt finishes or for trim if you want them protected
THE JOB
How to apply a ceramic coating
Set up under cover
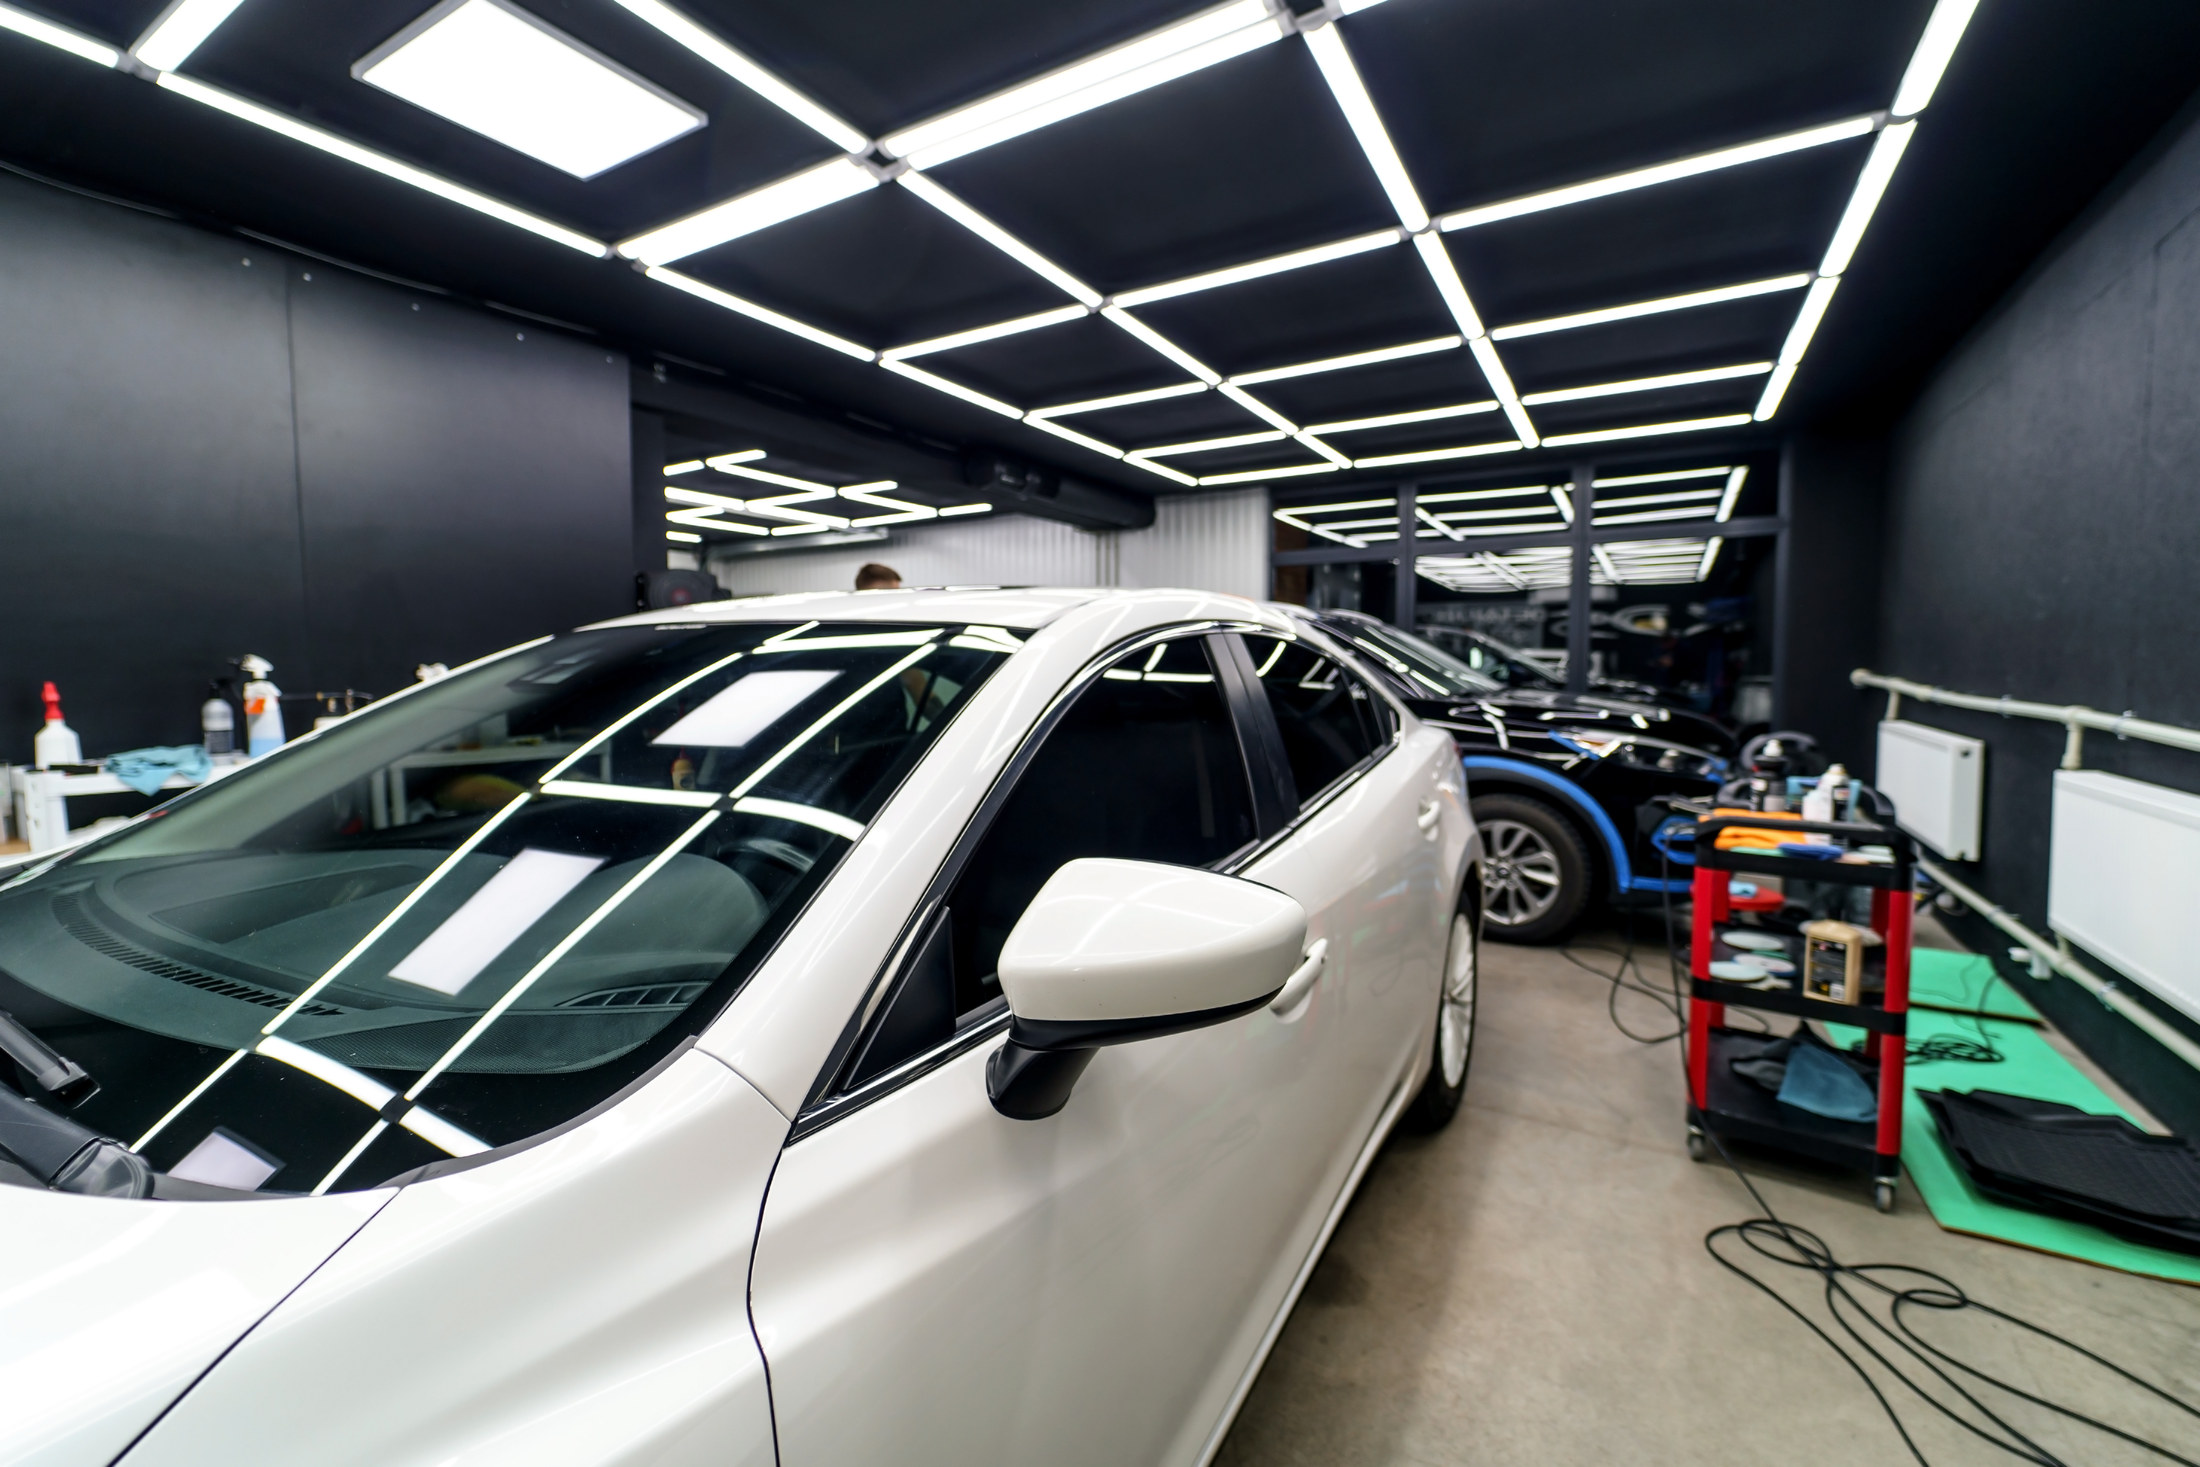
20 minutesPut the car in a garage or under cover where it can stay dry and out of dust until the next day. The panels must be cool and dry. Lay out the kit, all the cloths and a good light. Put on nitrile gloves. Then go to the section above and do the list for your paint.
- Open the garage door or a window for ventilation, but keep dust and leaves out
- Fold every cloth into quarters before you start
- Keep a bin bag for used cloths
Mistake to avoid: Coating outdoors on a showery day. A drop of rain on an uncured section leaves a mark you will have to polish out.
Wash, decontaminate and clay
2 hoursWash the car with two buckets and a pH-neutral shampoo, then use a fallout remover and tar remover as their labels say and rinse. Clay every painted panel with plenty of lubricant, keeping the car cool, until the paint feels like glass. Rinse and dry thoroughly, including door shuts and mirrors, which drip onto finished panels.
- Feel each panel through a thin plastic bag before and after claying
- Throw away clay that you drop
- Blow or towel water out of mirrors and badges
Mistake to avoid: Leaving water in the mirrors and trim. It drips onto coated panels before they have cured.
Polish out swirls
2 hoursMask rubber and trim. Test your polish on a hidden section, then polish the car one panel at a time, working with a hand pad or a dual-action polisher and using the gentlest product and pad that removes the swirls. Wipe each panel clean. The coating we read asks for light scratches and swirls to be removed at this stage, because they will be sealed under the coating.
- Keep a machine pad flat and away from edges
- Check each panel under a torch before moving on
- Change or clean pads when they clog
Mistake to avoid: Skipping the polish because the car looks clean. Every swirl you leave is locked under the coating for a year.
Wipe down with panel wipe
30 minutesSpray the preparation product or panel wipe onto a clean cloth, not the paint, and wipe each panel in straight lines, then buff dry with a second clean cloth. Turn the cloths often. This removes polish oils, old wax and fingerprints, so the coating can bond to bare clear coat.
- Wipe the whole car, even panels you did not polish
- Do not touch the paint with bare hands after this step
- Coat a panel soon after wiping it
Mistake to avoid: Coating straight after polishing without a wipe. Polish oils stop the coating bonding, and it washes off in weeks.
Time the first section
15 minutesChoose a flat panel such as the bonnet and mark out a section about the size the kit asks; the one we read uses sections of 50cm x 50cm. Apply a few drops to the applicator and spread a thin, even coat in straight lines, first across and then along. Watch it closely: when it starts to form small beads and a film, it is ready to buff. The maker we read says this takes 1-2 minutes on warm days and 3-5 minutes on cooler ones.
- Write down how long the first section took
- Hold a torch at a low angle to see the coating flash
- Use less product than you expect; a thin coat buffs off cleanly
Mistake to avoid: Guessing the time. Buff too soon and it smears; leave it too long and it goes hard and leaves a dark patch.
Buff each section
5 minutesWhen the section is ready, wipe it gently with a clean, folded microfibre to level the coating, then buff with a second clean cloth until the surface is clear and slick. Turn the cloth to a fresh face often. Check under the torch from two angles before moving on; any rainbow smear or dark patch is a high spot.
- Use two cloths: one to level, one to buff
- Replace a cloth as soon as it starts to drag
- Overlap each new section slightly with the last
Mistake to avoid: Buffing with a loaded cloth. It spreads the coating instead of removing it, and leaves streaks.
Coat the rest of the car
2 hoursWork round the car one section at a time, using the timing from your first section and adjusting if the temperature changes. Do the roof, bonnet and boot first, then the sides, then the lower panels and bumpers. Add a little product to the applicator as needed. Keep the coating off glass and trim; wipe any that lands there straight away with the preparation spray before it dries.
- Keep to the same order on every panel
- Do the edges of each panel carefully by hand
- Rest every hour
Mistake to avoid: Rushing the last panels. Most high spots are found on the lower doors and bumpers, done last when you are tired.
Spot check in different light
20 minutesWhen the whole car is done, move the car or the light so you see every panel from different angles, as the coating maker we read advises. Look for high spots, streaks or missed areas. A high spot caught now can be buffed out; if it has started to harden, apply a little more coating over it and buff straight away.
- Check in daylight at the door of the garage as well as under the torch
- Look along each panel from a low angle
- Ask someone else to look; fresh eyes see more
Mistake to avoid: Waiting until the next day to check. By then a high spot is hard and needs polishing to remove.
Leave it to cure
1 dayLeave the car under cover, dry and away from dust. The coating we read needs a minimum of 4 hours to cure out of wet weather and dusty places, and the car should not be washed for 24 hours. Many coatings keep hardening for a week or more, so wash gently with a pH-neutral shampoo for the first couple of weeks.
- Do not drive it in rain on the first day if you can avoid it
- Keep birds and trees away while it cures; wipe off droppings at once
- Do not apply wax or spray products for the first week
Mistake to avoid: Washing the car the same evening. The coating has not bonded, and you wash it off.
The mistakes that show
- Coating over swirls instead of polishing them out first
- Skipping the panel wipe so the coating cannot bond
- Leaving sections too long and creating hard, dark high spots
- Buffing with a cloth already loaded with coating
- Coating outside on a showery or very hot day
- Washing the car before the coating has cured
Stop here and get a ceramic coating specialist
- The paint needs heavy correction before it can be sealed
- The car is matt, wrapped or has a respray of unknown quality
- You have no dry, covered space for the coating and curing time
- You have hard, cured high spots across several panels that need machine polishing out
| WHAT YOU SEE | WHY, AND THE FIX |
|---|---|
| Dark, oily-looking patches after coating | High spots, where coating was left too long or too thick. If caught early, apply a little more coating over the spot and buff at once. Once hard, it needs a light machine polish and re-coating of that section. |
| Rainbow smears on the paint | Coating not fully buffed, or buffed with a loaded cloth. Buff again with a fresh, clean cloth; if it has cured, polish the area lightly and recoat. |
| Swirls visible under the coating | They were not polished out before coating. The only fix is to polish through the coating in that area and recoat. |
| Water does not bead after a few weeks | The coating did not bond because of oils on the paint, or it is covered in traffic film. Wash it with a pH-neutral shampoo first; if it still does not bead, it needs stripping and redoing. |
| Coating marks on the glass | Coating landed on the glass and dried. Remove it with the kit's preparation product or a glass polish. |
| Specks felt under the coating | Contamination that claying missed, sealed in. Polish the area lightly and recoat it. |
| White marks on black trim | Polish or coating dried in the texture. Work it out with a soft brush and a little all-purpose cleaner. |
| The coating seems to have worn off the bonnet | Harsh shampoos, automatic brush washes or bird droppings left on it. Check the beading after a safe wash; when water sits on the surface for more than about a minute, the maker we read says it is time to reapply. |
WHAT YOU SAVE
What it costs to do it yourself
| Consumer ceramic coating kit | €48 |
|---|---|
| Clay kit | €29.99–€41.99 |
| Polish | €16.55 |
| Microfibre cloths | €17.99 |
| Total | €113–€125 |
| Alternative: spray ceramic sealant only | €14.39–€30 |
| DIY total | €113–€125 |
Guide prices compiled by the Locufy team from published Irish and UK provider price lists and 2026/27 cost guides. Updated 2026.
Prices from an Irish motor retailer's car-care ranges for October 2026; you may already own the shampoo, buckets and mitts. The professional price for a coating, from the price guide, is shown alongside.
RATHER NOT?
Ceramic coating detailers near you, with prices shown
The ones who cover your area, nearest first, with one score from every review. No account needed to look.
Or post the job free and let them come to you.
Use a pH-neutral shampoo, two buckets and a soft mitt. Avoid brush car washes, which scratch through coatings. Remove bird droppings and tree sap quickly.
After washing, watch how water behaves. When it sits on the surface instead of running off, the coating is wearing and is due for a top-up or reapplication.
Leftover coating, panel wipe and tar or fallout removers are household chemicals; part-used bottles go to a civic amenity site that accepts household hazardous waste, which the mywaste.ie locator lists. Let used cloths dry outdoors, then bag them for the general waste.
Wash pads and reusable cloths in warm water with a little detergent, without softener, and air-dry them.
Applying a ceramic coating: questions people ask
Yes, with a consumer kit, a covered space and a full day. Most of the work is preparation: washing, decontaminating, claying, polishing and wiping the paint before coating it in small sections.
The consumer kit we read gives up to one year with good preparation and aftercare. A spray ceramic sealant lasts a few months.
Yes, if there are any swirls. The coating seals in whatever is underneath, so marks you leave stay visible for the life of the coating.
Leave it at least 24 hours, as the coating we read asks, and wash gently with a pH-neutral shampoo for the first couple of weeks.
A patch where coating was left too thick or too long before buffing. It looks dark, oily or rainbow-coloured. Caught early it buffs out; once cured it needs polishing.
The Locufy price guide for Ireland puts a professional ceramic coating at €300–€1,500 per application, with €600 typical, largely depending on how much paint correction is needed first.
MORE GUIDES
More DIY guides
Sources — checked October 2026
- Autoglym — UHD Ceramic Coating: prepare by washing, decontaminating and polishing; 50cm x 50cm sections; buff after 1-2 minutes on warmer days and 3-5 minutes on cooler days; cure a minimum of 4 hours; do not wash for 24 hours; up to one year; not on matt paint
- Autoglym — Rapid Ceramic Spray: up to three months of protection
- Autoglym — Clay Detailing Complete Kit: coin-sized piece, cool vehicle, plenty of lubricant
- Autoglym — Advanced Paint Restorer: removes haze, swirl marks and light scratches by hand or dual-action machine
- HSA — Motor Vehicle Repair: Hazardous Chemicals (read labels and safety data sheets; protect skin and eyes)
- HSA — Use Chemicals Safely at Home and in the Garden (car care products; original containers; do not mix)
- MyWaste — chemicals: household hazardous waste to civic amenity sites
- Halfords Ireland — car cleaning kits price check, October 2026: consumer ceramic coating kit €48.00
- Halfords Ireland — clay bars price check, October 2026: clay kits €29.99–€41.99
- Halfords Ireland — car polish price check, October 2026: €16.55
- Halfords Ireland — car cleaning materials price check, October 2026: microfibre cloths €17.99
- Halfords Ireland — ceramic coating price check, October 2026: spray ceramic products €14.39–€30.00