DIY GUIDE · TRADES & CONSTRUCTION · CHECKED OCTOBER 2026
How to tile a wall or a small floor yourself
A weekend. €172–€194 in adhesive, grout, spacers and tools for a small wall, before the tiles.
Sound, flat, dry surface; plan the layout from the centre; the right notch; thin joints kept even; grout when the adhesive says.
- Every step, start to finish
- Checked October 2026 — sources at the end
- Honest about when to call a pro
FIRST, THE HONEST ANSWER
Do it yourself, or get a tiler?
Do it yourself if…
- The wall or floor is sound, dry and reasonably flat, or you can make it so
- The area is a few square metres, such as a splashback, a bathroom wall or a small floor
- The tiles are a size you can handle and cut with a manual cutter, rather than large-format slabs
- You can take your time over setting out, and leave the room unused while the adhesive and grout set
- In a shower, you are prepared to tank the walls before tiling
Get a pro if…
- The floor is timber and springy, or the wall is crumbling, damp or badly out of true
- You want large-format porcelain or natural stone, which need a level bed, back-buttering and specialist cutting
- It is a walk-in shower or wet room where a waterproofing failure would soak the floor below
- There is underfloor heating to protect, or the floor needs screeding
- Old tiles or adhesive in a home built before 2000 might contain asbestos
Safety first
- Score and snap, or cut with water, and wear a well-fitted FFP3 mask when cutting, drilling or mixing. Silica dust from cutting tiles can cause silicosis and lung cancer, and the safety regulator lists water suppression, on-tool extraction and respiratory protection as the controls.
- Cement-based adhesive and grout are irritant to skin and eyes. Wear gloves and safety glasses when mixing, and wash splashes off at once.
- Wear eye protection when chiselling off old tiles and cutting; shards fly.
- Do not drill or chisel near hidden cables and pipes; use a detector and keep clear of the lines above and below sockets and switches.
- Use knee pads and take breaks; tiling a floor means hours kneeling, and a bag of adhesive is a heavy, awkward lift.
- In a home built before 2000, do not grind or sand old floor tiles or black adhesive; they could contain asbestos.
| MATERIAL | COVERAGE | FOR THIS JOB |
|---|---|---|
| Flexible powder tile adhesive | Wall, 6 mm notch: about 0.5 m² per kg; floor, 10 mm notch, solid bed: about 0.26 m² per kg | 4 m² wall: about 8 kg, so one 20 kg bag |
| Cementitious grout | 200 × 200 mm tiles with 2 mm joints: about 6.05 m² per kg | 4 m² wall: under 1 kg, so the smallest bag |
| Tiles | Area plus about one in ten for cuts | 4 m² wall: 4.4 m² |
| Primer for plaster, tanking kit for showers | As the adhesive sheet requires for your surface | One tub |
| Spacers | To match the joint width | One pack |
How much adhesive and grout
36 m² of wall → 144 L for 2 coats. Buy about 144 L.
Adhesive kg = area ÷ coverage per kg for your trowel. A wall of 2 × 2 m is 4 m²; at 0.5 m² per kg with a 6 mm notch that is 4 ÷ 0.5 = 8 kg, so one 20 kg bag. Grout kg = area ÷ grout coverage: 4 ÷ 6.05 = 0.66 kg for 200 mm tiles with 2 mm joints.
Coverage drops on uneven walls and with bigger tiles or wider joints. Add tiles at about one in ten for cuts, and buy a little extra adhesive if the wall is not flat.
Ready-mixed paste suits small wall areas of light ceramic tiles in dry places. Powder adhesive mixed with water is stronger, sets faster and is the right choice for floors, wet areas, porcelain and heavier tiles. The flexible powder adhesive we read is classed C2FES1 under the European standard: an improved cement adhesive that sets fast, has an extended open time and copes with slight movement.
A rapid-set adhesive lets you grout the same day; the one we read can be grouted after 3 hours at 20°C. It also means you have only its pot life, 60 minutes for that one, to use each mix. Mix small batches.
Plaster and plasterboard have weight limits. The adhesive maker we read gives a maximum of 20kg/m² of tiles on plaster and 32kg/m² on plasterboard. Large or thick porcelain can exceed that; check the weight on the box.
Choose a grout made for the joint width you want. The cementitious grout we read is for joints from 1mm to 30mm and its maker recommends at least 2mm on walls and 3mm on floors. Wider joints forgive uneven tiles; narrow joints need very straight ones. Pick the colour in the room's own light.
Grout and adhesive are water-resistant, not waterproof. The grout maker we read is clear that its grout is not a substitute for a waterproof tanking system. In a shower, paint a tanking membrane over the board or plaster first, with tape in the corners.
Buy the area plus about one in ten for cuts and breakages, more for diagonal layouts or small rooms with many cuts. Check every box has the same batch number; colour varies between batches.
THE PART THAT DECIDES THE FINISH
Preparing the surface — by what you are tiling onto
Tiles are only as good as what they are stuck to. The adhesive maker we read wants every surface flat, clean, dry and sound. Find your wall or floor below and do its list before setting out.
Plastered wall
Skimmed plaster, new or old.
- Check new plaster is at least 4 weeks old and fully dry
- Brush shiny or polished plaster with a stiff brush so the primer can key
- Prime with two coats of the primer the adhesive maker specifies, letting each dry
- Keep within the weight limit: the maker we read allows 20kg/m² of tiles on plaster
Painted wall
Emulsion or gloss over plaster.
- Paint is not a sound base for cement adhesive; the one we read is not for painted surfaces
- Scrape and sand off the paint back to sound plaster where the tiles will go
- In a home with old paint that might contain lead, wet-scrape rather than dry-sand, and contain the dust
- Prime the bare plaster as above
Plasterboard
Stud walls and dry-lined walls.
- Check the boards are dry, firmly fixed and do not flex when pressed
- Keep to the weight limit: the maker we read allows 32kg/m² on plasterboard
- In a shower, tank the board with a waterproofing kit and corner tape before tiling
- For heavy tiles or a wet room, replace the plasterboard with tile backer board
Old tiles
Tiling over tiles, or removing them.
- Removing old tiles is usually better; tile-on-tile needs an adhesive made for it, and the one we read needs an additive
- Knock every old tile with a knuckle; hollow ones must come off
- Wear eye protection and gloves when chiselling tiles off; the shards are sharp
- In a home built before 2000, do not grind off old black adhesive; it could contain asbestos
Concrete floor or sand and cement screed
Ground floors and kitchens.
- Check the age: the maker we read asks 6 weeks for concrete and 3 weeks for a sand and cement screed
- Check flatness with a 2 m straight edge; the maker's class SR1 allows a gap of no more than 3mm
- Grind off high spots and fill hollows with a levelling compound
- Prime the floor as the adhesive maker specifies
Timber floor
Floorboards or chipboard.
- Do not tile directly onto timber with this adhesive; the maker we read says it is not for tiling straight onto timber
- Screw down any loose boards and check the floor does not bounce
- Overlay with tile backer board or an uncoupling mat fixed as its maker says
- If the floor is springy, stop and get a tiler or a carpenter to stiffen it first
THE JOB
How to tile a wall or a small floor
Set up and prepare the surface
2 hoursClear the room, turn off the water to any taps you need to remove and protect the bath, basin or floor with dust sheets. Remove sockets' faceplates only if the electricity is isolated at the board for that circuit. Then go to the section above and work through the list for your wall or floor, and let any primer dry before you go further.
- Open a window; mixing and cutting raise dust
- Set up a cutting station outdoors or on a sheet
- Keep the tiles' boxes and batch numbers together
Mistake to avoid: Tiling over a weak surface. Tiles on loose plaster, paint or flexing board come off, and take the surface with them.
Set out the layout
45 minutesLay a row of tiles with spacers on the floor to mark a gauge stick: a straight batten with the tile and joint widths marked along it. Hold it against the wall to see where the cuts will land. Move the layout so the cuts at each end are equal and at least half a tile wide. Find the centre of the most visible wall or floor and work from there, not from a corner.
- Avoid thin slivers at the edges or round windows; shift the layout instead
- On a wall, start a full row above the bath or skirting, not on it, if the bath is not level
- Draw a level line and a plumb line in pencil as your guides
Mistake to avoid: Starting in a corner with a full tile. The last tile on the other side is a sliver that is impossible to cut cleanly and looks wrong.
Fix a batten and mix the adhesive
20 minutesOn a wall, screw a straight timber batten along your level line to support the first full row; you fit the bottom cuts later. Pour the water into a clean bucket first, then add the powder and mix with a paddle at low speed until smooth and lump-free. Let it stand a few minutes and mix again. The adhesive we read stays workable for 60 minutes, so mix only what you can use.
- Use the water quantity on the bag every time
- Never add water to adhesive that has started to stiffen
- Clean the paddle between mixes
Mistake to avoid: Mixing a whole bag at once. Half of it sets in the bucket, and adhesive that is re-wetted loses its strength.
Spread adhesive and bed the tiles
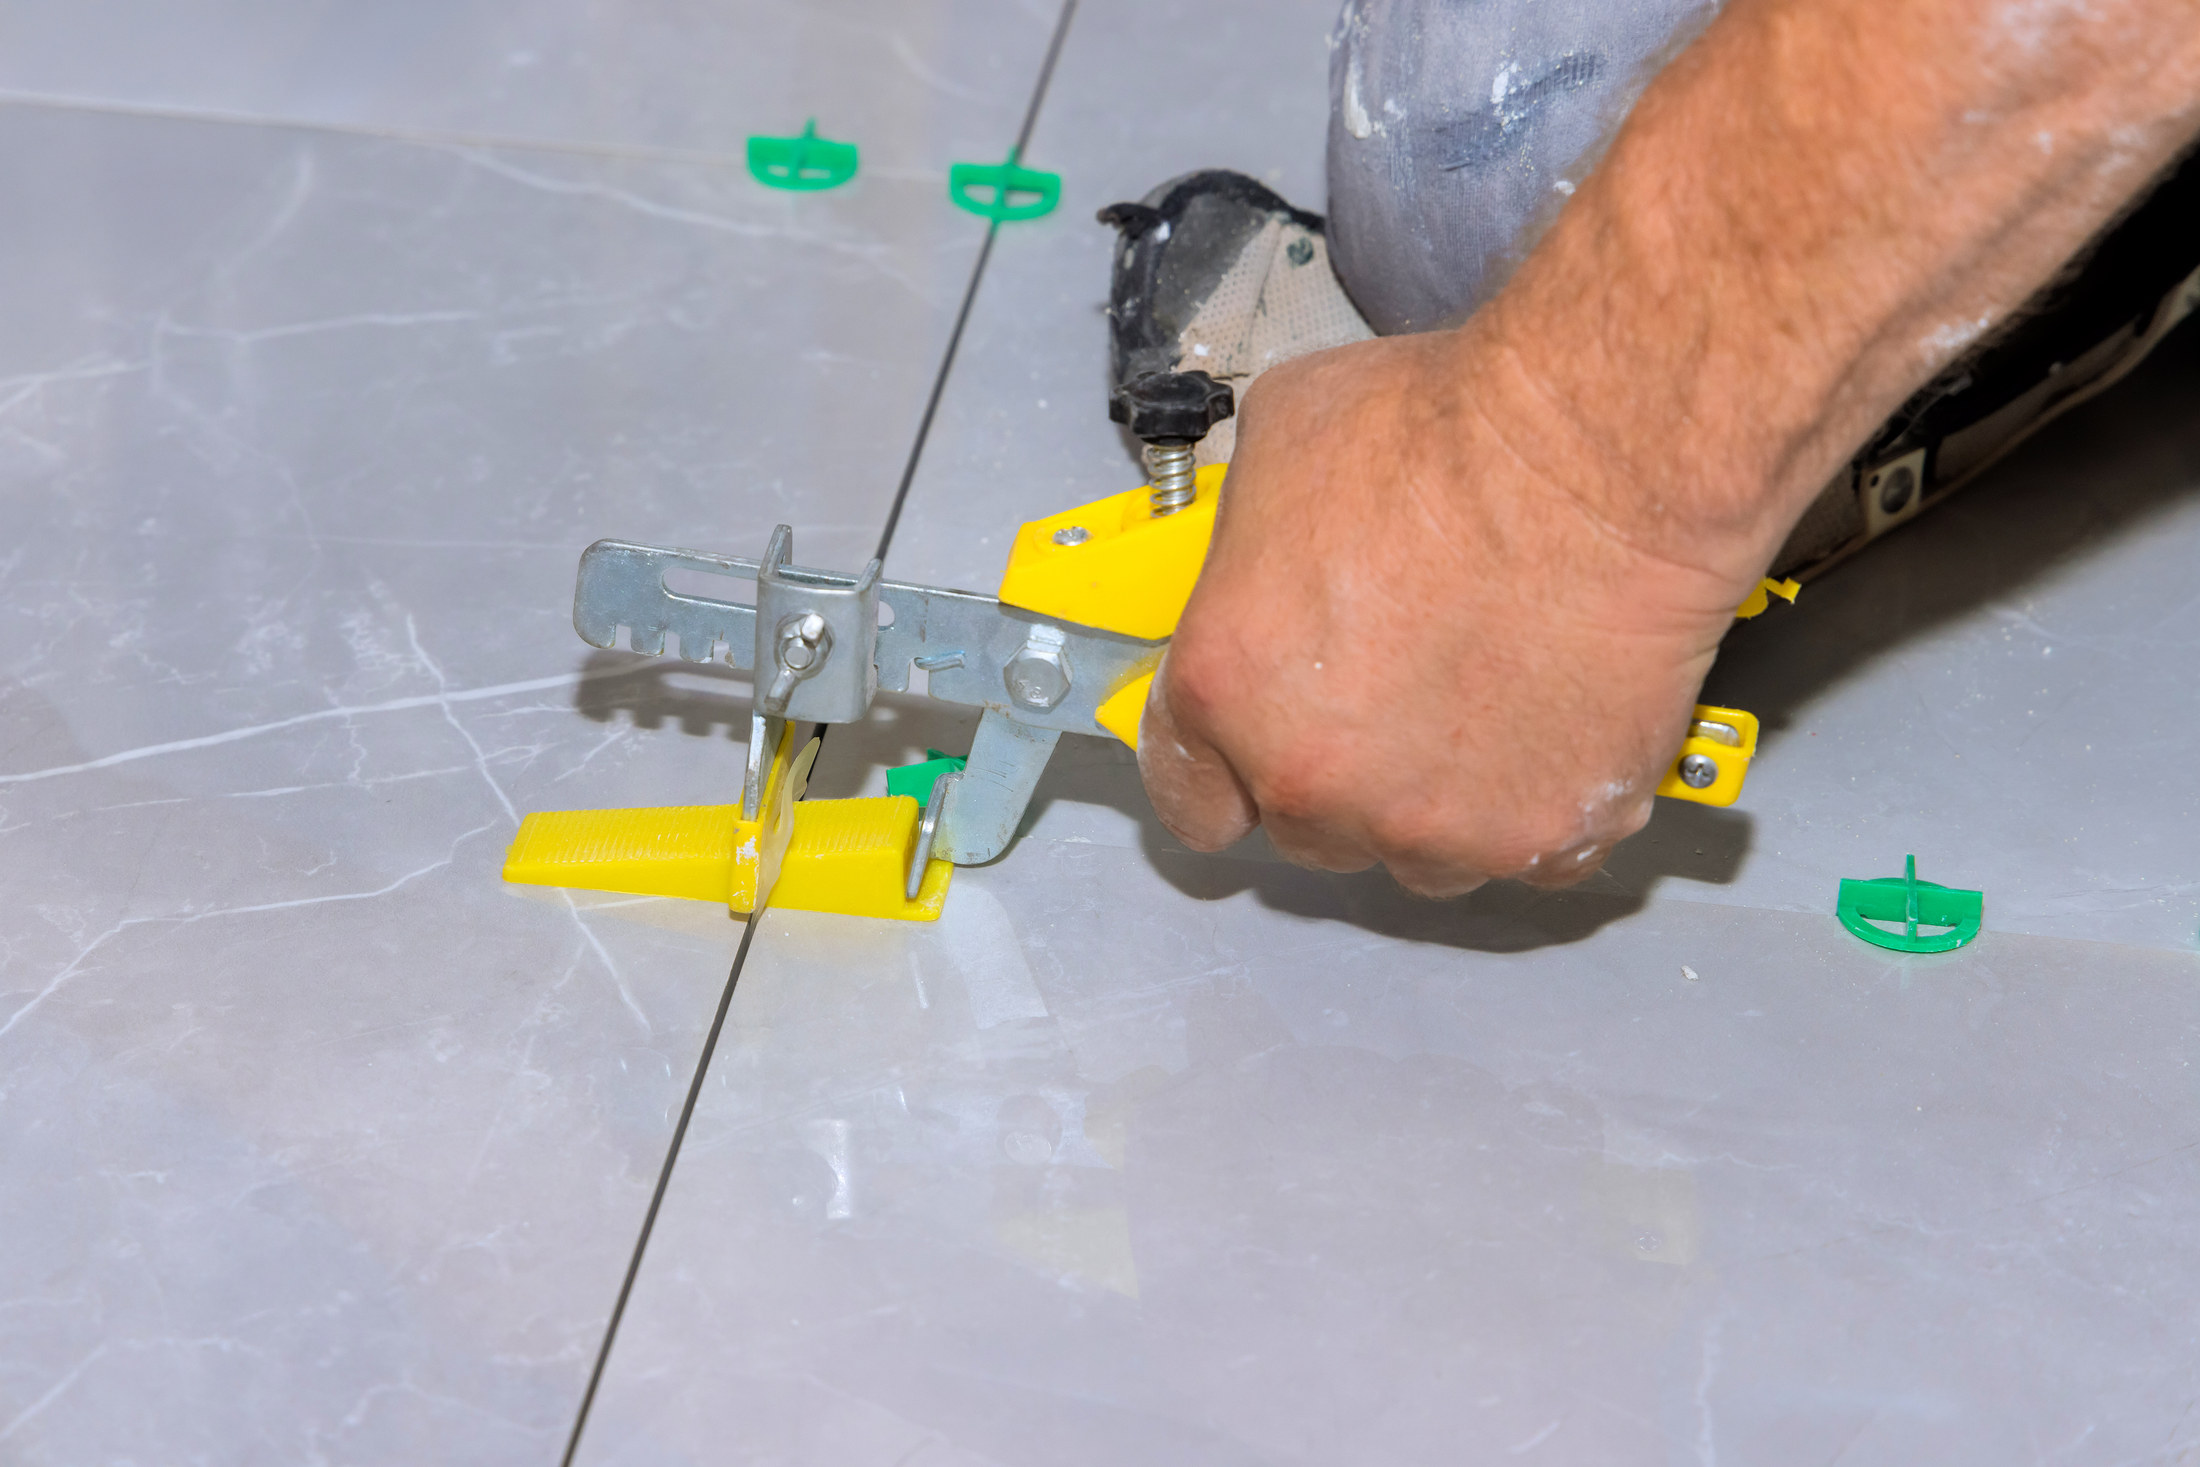
3 hoursSpread adhesive over about one square metre with the flat edge of the trowel, then comb it with the notched edge held at a steady angle, making straight ridges in one direction. Press each tile on with a slight twist, set the spacers, and tap gently so it beds flat. On floors and with larger tiles, also butter the back of each tile thinly so it beds fully. Lift a tile now and then to check the back is well covered.
- Comb all the ridges the same way so air can escape
- Lay no more adhesive than you can tile while it is still tacky; the one we read has an open time of 30 minutes
- Check level and joint lines every few tiles
Mistake to avoid: Dabbing adhesive on in spots. Hollow tiles crack when they are knocked, and water gets behind them.
Cut tiles for edges and corners
2 hoursMeasure each gap and allow for the joint. Score the tile once with the manual cutter in one firm stroke and snap it. Use nippers for small notches round pipes, and a tile file to smooth the cut edge. Wet-cut or score-and-snap rather than dry-cut with a grinder. If you must use a power cutter, use one with water, outdoors, and wear a well-fitted FFP3 mask.
- Put the cut edge into the corner, where it is hidden
- Mark the glazed face with a pencil or a felt pen
- Practise a cut on a broken tile first
Mistake to avoid: Dry-cutting tiles with an angle grinder indoors. It fills the house with fine dust that carries silica deep into the lungs.
Clean off excess and let it set
3 hoursRun a spacer or a thin stick along each joint to clear out adhesive before it sets, and wipe adhesive off the tile faces with a damp sponge. Leave the spacers in if the instructions allow, or remove them before the adhesive hardens. Remove the wall batten when the adhesive has set, then fix the bottom row of cut tiles. Wait the setting time on the adhesive before grouting.
- Joints must be at least two-thirds clear for the grout to hold
- Keep traffic off a newly tiled floor
- Clean adhesive off before it dries; dried adhesive needs scraping
Mistake to avoid: Grouting over adhesive in the joints. The grout sits shallow and cracks out within months.
Mix and apply the grout
1 hourMix grout in small amounts at the ratio on the bag; the grout we read is mixed at 5:1 powder to water by weight and is workable for up to 30 mins. Press it diagonally across the joints with a rubber float held at an angle, packing every joint full. Work in areas of about a square metre, then scrape the excess off diagonally with the float's edge.
- Work diagonally so the float does not drag grout out of the joints
- Do not grout below 5°C, as the grout maker we read warns
- In a warm room, dampen porous tile joints first
Mistake to avoid: Grouting before the adhesive has set. The tiles shift under the float and the lines go crooked.
Clean, shape and polish
1 hourWhen the grout firms but before it hardens, wipe the tiles with a damp, well-wrung sponge in a circular motion, rinsing the sponge often in clean water. Run a round-ended tool along the joints to give them a neat, slightly concave finish. When the haze dries, polish it off with a dry cloth.
- Wring the sponge almost dry; too much water washes grout out
- Change the rinse water often
- Keep a damp cloth for corners and edges
Mistake to avoid: Using a soaking sponge. It pulls grout out of the joints and leaves them low and patchy in colour.
Seal the edges with silicone
30 minutesWhere the tiles meet a bath, shower tray, worktop or a change of plane, leave the joint empty of grout and seal it with a flexible sanitary silicone. These joints move, and grout there cracks. Mask both sides of the joint with tape, run an even bead, smooth it with a wet finger or a tool and peel the tape off straight away.
- Fill the bath with water before sealing it, so the joint is sealed at its widest
- Use silicone that matches or complements the grout
- Leave silicone to cure for the time on the tube
Mistake to avoid: Grouting the joint along the bath. It cracks the first time the bath is filled, and water runs behind the tiles.
Cure before use
2 weeksKeep the area dry and unused while the grout and adhesive cure. The maker we read says a shower should not be used for at least 2 weeks after grouting. A floor can usually take light foot traffic sooner; follow the adhesive and grout labels. Seal porous tiles or natural stone with a sealer once the grout has cured.
- Keep heavy furniture off a new floor until it has cured
- Ventilate the room to help it dry
- Wipe off any remaining haze with a dry cloth
Mistake to avoid: Using the shower the next day. Water gets into uncured grout and adhesive and weakens them before they have hardened.
The mistakes that show
- Starting from a corner and ending with slivers on the other side
- Spot-fixing tiles instead of a full bed of adhesive
- Mixing more adhesive than you can use before it stiffens
- Grout in the joints round a bath instead of silicone
- Wet-cleaning grout with a soaking sponge
- Dry-cutting tiles indoors with a grinder
Stop here and get a tiler
- The floor is springy timber or the wall is damp, crumbling or badly out of true
- The tiles are large-format porcelain or natural stone
- It is a walk-in shower or wet room that needs a fall to the drain and full waterproofing
- Old tiles or adhesive in a home built before 2000 may contain asbestos
| WHAT YOU SEE | WHY, AND THE FIX |
|---|---|
| A tile sounds hollow when tapped | The adhesive did not cover the back fully. If it is loose, cut out the grout, lift the tile, scrape off the old adhesive and refix it with full cover. A hollow but firm tile may crack later. |
| Tiles are not level with each other | Uneven bedding or an uneven wall. While the adhesive is soft, tap the high tile down or lift and add adhesive to the low one. Once set, the tile has to come off. |
| Grout is cracking | The joint is moving, the grout was mixed too wet, or it was grouted over adhesive. Rake out the cracked grout and regrout. At changes of plane and around baths, use silicone. |
| Grout is patchy in colour | Different amounts of water in each mix, or too much water when cleaning. Mix every batch the same way; a grout colourant or reviver can even it out once cured. |
| A grey haze on the tiles | Grout residue left after cleaning. Polish with a dry cloth; a stubborn haze on glazed tiles comes off with a grout haze remover used as its label says. |
| White deposits on the grout | Salts drawn out as the grout dries, often in damp conditions. Brush them off once dry; if they keep coming back, the background is damp. |
| Tiles are coming away from the wall | Poor surface preparation, too heavy a tile for the background, or adhesive that dried before the tile went on. Remove them, fix the cause, prime and refix. |
| Black mould in the corners of a shower | Usually in the silicone, not the grout. Cut out the old silicone, clean and dry the joint and reseal; improve ventilation. |
WHAT YOU SAVE
What it costs to do it yourself
| Flexible rapid-set adhesive, 20 kg | €33.99–€39.99 |
|---|---|
| Grout | €26.99–€39.99 |
| Spacers | €6.49–€9.49 |
| Notched trowel | €24.99 |
| Tiling tool kit | €74.99 |
| Disposable respirators | €4.99 |
| Total, before the tiles | €172–€194 |
| DIY total | €172–€194 |
Guide prices compiled by the Locufy team from published Irish and UK provider price lists and 2026/27 cost guides. Updated 2026.
Prices from an Irish DIY retailer's tiling ranges for October 2026; you may already own some tools. The professional price per square metre, from the price guide, is shown alongside.
RATHER NOT?
Tilers near you, with prices shown
The ones who cover your area, nearest first, with one score from every review. No account needed to look.
Or post the job free and let them come to you.
Keep the shower unused for the time the grout maker gives, and keep heavy loads off a new floor until the adhesive has fully cured.
Old, broken or offcut tiles are construction waste. Take them to a civic amenity site that accepts construction and demolition waste, which the mywaste.ie locator shows, or hire a skip for a large job. Let leftover adhesive and grout set hard in the bucket and dispose of it with the rubble; never wash it down a drain.
Wash trowels, the paddle, buckets and floats in water before the adhesive sets. Dried cement ruins a trowel's notches.
Store a few spare tiles and a note of the grout colour and batch in the attic for future repairs.
Tiling a wall or a small floor: questions people ask
Yes, if the wall is sound, flat and dry and you plan the layout first. Prime plaster, tank shower areas, use a flexible powder adhesive, keep the joints even and grout once the adhesive has set.
Sometimes, if they are firmly stuck and you use an adhesive made for tile-on-tile, but removing them is usually better. Check the extra weight is within the wall's limit.
As long as the adhesive's label says. The rapid-set adhesive we read can be grouted after 3 hours at 20°C; standard-set adhesives need longer, often overnight.
Follow the grout maker. The one we read recommends at least 2mm on walls and 3mm on floors.
Wait at least 2 weeks after grouting, as the grout and adhesive maker we read advises.
The Locufy price guide for Ireland puts tiling at €45–€170 per m², with €80 typical, depending on the tiles and the preparation needed.
MORE GUIDES
More DIY guides
Sources — checked October 2026
- BAL — Rapid-Flex One technical data sheet: C2FES1; open time 30 minutes; pot life 60 minutes; grout after 3 hours at 20°C; coverage 0.5 m²/kg with a 6 mm notch on dry walls and 0.26 m²/kg with a 10 mm notch on floors; plaster 4 weeks old and primed; 20kg/m² on plaster, 32kg/m² on plasterboard; SR1 3mm; concrete 6 weeks, screed 3 weeks; shower unused 2 weeks after grouting; not for painted surfaces or directly onto timber
- BAL — Micromax3 Eco grout technical data sheet: CG2WA; joints 1mm to 30mm; minimum 2mm walls and 3mm floors; 6.05 m²/kg for 200 × 200 mm tiles with 2 mm joints; 5:1 powder to water; pot life up to 30 minutes; not below 5°C; not a substitute for tanking
- HSA — all-island campaign on silica dust in construction, 2026: cutting, grinding and drilling; water suppression, on-tool extraction and respiratory protection; silicosis and lung cancer
- HSA — asbestos information sheet: asbestos can be hidden in any building built or refurbished before the year 2000
- MyWaste — tiles: old and broken tiles to a civic amenity site with construction and demolition waste
- MyWaste — rubble: building material to the local civic amenity site
- Woodie's — tile adhesive and grout price check, October 2026: flexible rapid-set adhesive 20 kg €33.99–€39.99; grout 5 kg €26.99, 10 kg €39.99
- Woodie's — tiling tools and accessories price check, October 2026: notched trowel €24.99; spacers €6.49–€9.49; tiling tool kit €74.99; cup respirators €4.99