DIY GUIDE · HOME REPAIRS & HANDYMAN · CHECKED OCTOBER 2026
How to spray paint small items with aerosol paint yourself
An afternoon, plus drying. €15–€45 in cans, primer and masking.
Prep the surface, shake properly, spray thin passes outdoors at the right distance, recoat in the window — and where to stop.
- Every step, start to finish
- Checked October 2026 — sources at the end
- Honest about when to call a pro
FIRST, THE HONEST ANSWER
Do it yourself, or get a painter?
Do it yourself if…
- You are spraying a small item you can carry outside: garden furniture, a lamp, a bracket, a frame, a pot
- You are using ordinary aerosol paint or primer from a DIY shop
- You can work outdoors or in an open, ventilated space away from the house
- The weather is dry, still and not too cold
Get a pro if…
- The paint is a two-pack or isocyanate product, such as many car and industrial finishes
- It is a car panel, a whole vehicle, kitchen cabinets or anything that needs a spray booth
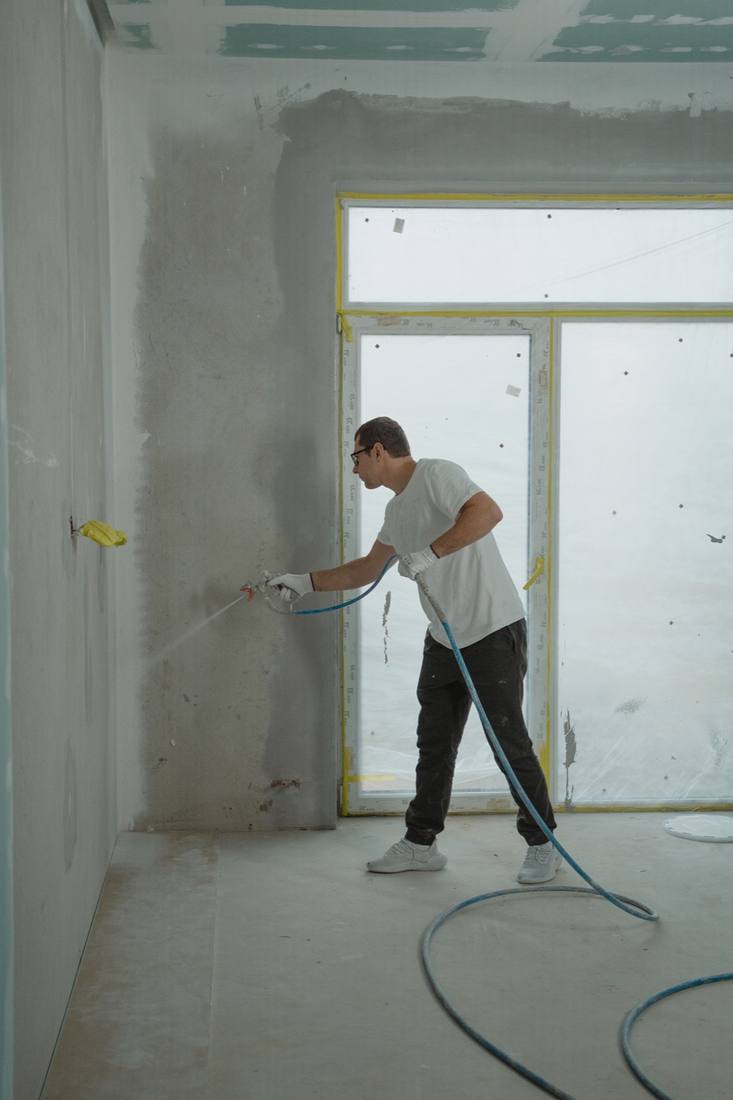
- It is an interior spray job — walls, ceilings, woodwork or radiators in a room
- The item has old lead-based paint you would need to sand off
Safety first
- Spray outdoors, in moving air, away from the house. Aerosol vapour is harmful and highly flammable — no smoking, flames or heaters nearby.
- Wear a half mask with combination filters for vapours and particles. A particle filter alone gives no protection against gases and vapours, as the HSA’s guidance on wood finishes points out.
- Never use two-pack or isocyanate paints at home. The HSA links isocyanates to occupational asthma and expects booths, extraction and air-fed equipment.
- Wear gloves and glasses, and keep children and pets well away while you spray and while the item dries.
- Never puncture or burn an aerosol can, even an empty one, and store cans away from heat and sunlight.
Stop here: Two-pack paints, booths and interior spraying
The danger is the air you breathe. Many two-pack finishes contain isocyanates, which the HSA identifies as a cause of respiratory sensitisation and occupational asthma; once sensitised, a person can react to tiny amounts for life. Professional sprayers work in booths with extraction and air-fed breathing equipment for that reason. Spraying indoors also fills a room with flammable vapour and fine mist. Keep to single-pack aerosols, outdoors, on small items. How to hire a spray painter →
| MATERIAL | COVERAGE | FOR THIS JOB |
|---|---|---|
| Aerosol primer | Suited to the surface | One can for a chair or small table |
| Aerosol topcoat | Same batch | Two or three cans for a chair or small table |
| Clear lacquer | Optional, outdoor-rated | One can for a chair or small table |
How many cans do you need?
Estimate the surface area to be sprayed, multiply by the number of coats, and divide by the coverage on the can. A small table with a 0.8 m² top, legs and frame of about 0.6 m², two coats, is 2.8 m² of spraying; at one maker’s theoretical 2.5m² per can that is about 1.1 cans, so buy two, plus one primer. For openwork or wicker, double it.
Theoretical coverage assumes no waste; real coverage outdoors, with overspray and wind, is lower.
Bare metal, rust that has been cleaned back, bare plastic and bare wood all need a primer suited to them before the colour. One aerosol maker’s technical sheet says to prime rusty metal first and to sand sound old coatings to give a key. A light primer under a bright colour also stops the colour looking patchy.
Aerosol paint dries fast on the surface but its solvents keep working underneath. One maker’s metallic topcoat is touch dry in 15 minutes and handleable in 30 minutes, but must be recoated within 1 hour or after 48 hours. Spray the next coat in between and the solvent lifts the first one, which wrinkles. Every can prints its own window; follow it.
Ordinary DIY aerosols dry as their solvent evaporates. Two-pack paints cure by a chemical reaction, and many use isocyanates. The HSA warns that breathing isocyanates can cause respiratory sensitisation and occupational asthma, and that people with asthma should not work where exposure is possible; it expects spray booths, extraction and air-fed breathing equipment. Two-pack spraying is a professional job.
Coverage depends on the surface, but one maker’s sheet gives a theoretical 2.5m² per can at its recommended dry film thickness. Rough, porous and intricate items such as wicker or wrought iron use much more because so much spray misses. Buy a can more than you think, from the same batch.
Gloss shows every flaw in the surface; satin and matt are more forgiving. A clear lacquer over a metallic or a bright colour adds protection outdoors. Test the colour on a scrap or the underside first.
THE PART THAT DECIDES THE FINISH
Preparing the surface — by what you are spraying
Most of the finish comes from the preparation. Find the card that matches the item and do every line.
Bare or rusty metal
Garden furniture, brackets, railings sections, tools.
- Brush off loose rust and flaking paint with a wire brush, wearing gloves and glasses
- Sand the surface with a medium then fine abrasive until it is sound
- Degrease with detergent or a degreaser, rinse and let it dry completely
- Prime straight away with a metal primer before the bare metal flashes rusty again
Previously painted items
Sound old paint, maybe faded or scuffed.
- Wash off dirt and grease and rinse
- Sand lightly to dull the old finish and give a key
- Test a hidden spot: if the new paint wrinkles the old, prime with a barrier primer first
- Wipe off sanding dust with a damp cloth and let it dry
Bare wood
Frames, small furniture, wooden boxes.
- Sand smooth with the grain, finishing fine
- Fill holes and sand them flush
- Seal any knots before priming
- Prime, then sand the primer lightly when it is dry to remove raised grain
Plastic
Plant pots, outdoor chairs, lamp bases.
- Wash in warm soapy water to remove mould release and grease
- Scuff the surface lightly with a fine abrasive pad
- Use a primer or a paint made for plastics — ordinary paint peels off
- Avoid flexible plastics that bend a lot; paint will crack on them
Wicker, wrought iron and openwork
Garden chairs, plant stands, decorative metalwork with gaps and curls.
- Clean out dirt and cobwebs from every gap with a stiff brush and a vacuum
- Treat rust spots one by one with a wire brush and a small piece of abrasive
- Hang the item from a branch or a frame with string so you can spray it all round
- Expect to use far more paint than the area suggests, and buy accordingly
THE JOB
How to spray paint with an aerosol, in order
Set up outdoors and check the weather
15 minPick a dry, still day and a spot outdoors well away from cars, windows and walls you do not want misted. Lay dust sheets or set the item in a large box on its side. Check the can’s conditions: one maker asks for humidity below 85% and the can and surface above 0°C. Put on the respirator, gloves and glasses. Lay out everything you need before you open the first can, because once spraying starts there is no time to look for a tool.
- Overspray travels further than you think — move cars and washing
- Work with any breeze behind you
- Stand the item on a scrap block so you can spray the bottom edges
Mistake to avoid: Spraying in a garage or shed with the door shut. The vapour builds up, and it is flammable as well as harmful.
Clean, sand and mask the item
1 hrFollow the card above for the material. Mask anything that must not be painted with tape, pressing the edges down firmly, and cover larger areas with paper. Wipe off dust immediately before you spray.
- Run a fingernail along the tape edge to seal it
- Remove handles, knobs and screws rather than masking them
- Wear gloves from now on so you do not leave greasy fingerprints
Mistake to avoid: Spraying over a surface that looks clean but has grease or wax. The paint pulls back into craters.
Shake the can properly
2 minShake the can hard for at least one minute after you first hear the mixing ball rattle, as one maker’s sheet specifies, and shake it again often while you work. The pigment settles at the bottom; a can that is not fully mixed sprays thin and the wrong colour.
- Warm a cold can in a bowl of lukewarm water, never on a heater
- Test the spray on cardboard before the item
- If the nozzle spits, wipe it and test again
Mistake to avoid: Giving the can a few quick shakes. The colour comes out thin and blotchy, and the can sputters.
Spray a thin first coat
10 minHold the can upright and at least 25 cm from the surface, as one maker advises. Start spraying just off the edge of the item, move across it in a steady, straight pass, and release just past the far edge. Overlap each pass by about half. The first coat should look thin and even, not fully covering — several thin coats beat one heavy one. Spray long items such as table legs with passes along their length, not across them, so the coat stays even.
- Keep the can moving whenever the nozzle is pressed; stopping causes runs
- Move your whole arm, keeping the can parallel to the surface, not swinging from the wrist
- Spray edges and awkward areas first, then the flat faces
Mistake to avoid: Holding the can close and spraying heavily to cover in one go. The paint runs and sags.
Build up the coats within the recoat window
30 minApply further thin coats a few minutes apart, as one maker’s sheet suggests, until the colour is even. Watch the clock: with a paint that must be recoated within 1 hour or after 48 hours, finish all your coats inside the first hour, or wait the full two days. If the light is fading or the air is turning damp before you finish, stop after a complete coat rather than rushing the next one; you can carry on once the long wait is over.
- Turn the item between coats to reach every face
- Check the surface against the light for dry patches
- Stop when the coverage is even, not when it looks wet
Mistake to avoid: Recoating at the wrong moment, a few hours after the first coat. The solvent lifts the coat beneath and it wrinkles.
Clean the nozzle
1 minWhen you have finished with a can, turn it upside down and press the nozzle for 2-3 seconds, as the maker specifies, until only gas comes out. This clears paint from the valve so the can works next time.
- Wipe the nozzle tip with a cloth
- Store cans upright, away from heat and sunlight
- Write the date and item on the cap
Mistake to avoid: Putting the can away with paint in the nozzle. It blocks, and the rest of the paint is wasted.
Remove masking and let it dry
30 minPeel the masking tape off once the last coat is touch dry, pulling it back on itself at a low angle so it does not lift the paint edge. Leave the item somewhere dry and dust-free to harden. One maker’s paint is touch dry in 15 minutes and handleable after 30 minutes, but reaches full hardness only after 3 days. Indoors is fine for drying once the solvent smell has gone, as long as the room is ventilated and nobody sleeps in it that night.
- Keep pets and leaves away from the drying item
- Do not stack painted items until fully hard
- Bring it in out of dew overnight
Mistake to avoid: Using or loading the item the same day. The soft paint marks, sticks and peels.
Lacquer and final check
20 minIf you want extra protection outdoors, apply a clear lacquer in thin coats, inside the same recoat window or after the full wait. Check the finish in daylight. Small specks of dust can be cut back with a fine abrasive once hard and recoated. Then put the hardware back on only once the paint has fully hardened, so screws and handles do not bite into soft paint.
- Use a lacquer the maker says is compatible with the colour
- Test it on a hidden edge first
- Several thin coats again, not one heavy one
Mistake to avoid: Spraying a solvent lacquer over an incompatible paint. It reacts and crazes the colour.
The mistakes that make it worse
- Spraying indoors or in a closed shed
- Using a paper dust mask instead of a respirator with vapour filters
- Not shaking the can long enough
- Recoating outside the window on the can
- Spraying in damp, cold or windy weather
- Peeling masking tape straight off the surface instead of back on itself
Stop here and get a spray painter
- The paint is two-pack or contains isocyanates
- The job is a car, kitchen doors or anything needing a booth finish
- It is an interior spray job in a lived-in room
- The item has old paint that may contain lead
| WHAT YOU SEE | WHY, AND THE FIX |
|---|---|
| Spray paint wrinkled | Recoated outside the recoat window, or too thick a coat. Let it harden fully, sand the wrinkles flat and respray in thin coats inside the window. |
| Runs and drips | Can held too close or not kept moving. Let it harden, sand the run flat, and respray from further away in lighter passes. |
| Rough, gritty finish | Dust, or the paint dried before it hit the surface because the can was too far away or it was windy. Sand smooth and respray closer, in still air. |
| Paint peeling off plastic | No plastic primer, or mould release left on the surface. Strip, wash, scuff, prime for plastic and repaint. |
| Blotchy colour | Can not shaken enough, or no primer under a bright colour. Shake for longer and add another thin coat. |
| Craters or fish-eyes | Grease, wax or silicone on the surface. Sand back, degrease thoroughly and respray. |
| Cloudy or milky finish | Sprayed in damp or cold air. Wait for a dry day; light cloudiness sometimes clears as it cures. |
| Nozzle spitting or blocked | Paint dried in the valve. Clear it by spraying upside down, or swap a clean nozzle from another can. |
| Paint feels tacky after days | Coats too thick, a cold or damp spell, or an incompatible primer. Move the item somewhere warm and dry; if it never hardens, strip it and start again in thin coats. |
| Masking tape pulled paint off | The tape was left too long or pulled straight out. Touch up with a light pass; next time peel it back on itself once the last coat is touch dry. |
WHAT YOU SAVE
What it costs to do it yourself
| Aerosol topcoat, 400ml | €4.50–€14 |
|---|---|
| Aerosol primer, 400ml | €14 |
| Reusable half mask respirator | €20–€44 |
| Replacement combination filters, pair | €41 |
| Masking tape | €4.65–€7.10 |
| Abrasive sheets, pack | €8 |
| Total, cans and consumables for a chair, without the mask | €15–€45 |
| DIY total | €15–€45 |
Guide prices compiled by the Locufy team from published Irish and UK provider price lists and 2026/27 cost guides. Updated 2026.
The paint is cheap; a proper respirator is the one item worth paying for, and it lasts for years with new filters. Primer and lacquer are optional on some items; the can label says whether its paint needs a primer on your surface.
RATHER NOT?
Spray painters near you, with prices shown
The ones who cover your area, nearest first, with one score from every review. No account needed to look.
Or post the job free and let them come to you.
Handle the item gently for the first days and keep it out of rain and dew until it has reached full hardness.
Clean the nozzle, label the can and store it upright in a cool, dry place away from children.
Aerosol cans are hazardous waste in Ireland and do not go in the household recycling bin; take them, empty or part-used, to your local civic amenity site. Solvent-based paints and thinners also go to a civic amenity site as hazardous waste. mywaste.ie lists the sites.
Wipe any overspray off nearby surfaces with the cleaner on the can label while it is fresh.
Keep a part-used can of the same colour for chips. A quick pass on a clean, sanded spot keeps rust from creeping under outdoor paint.
Spray painting small items with aerosol paint: questions people ask
Follow the can. One maker’s paint must be recoated within 1 hour or after 48 hours; in between, the new coat can wrinkle the old one.
One maker says at least 25 cm. Too close and it runs; too far and it dries in the air and leaves a rough finish.
Yes, outdoors as well. Wear a half mask with combination filters for vapours and particles; a paper dust mask does not stop solvent vapour.
No. The vapour is harmful and flammable, and the mist settles on everything. Spray small items outdoors and leave interior spraying to professionals with extraction.
Take them to a civic amenity site. Aerosols are hazardous waste in Ireland and do not go in the household recycling bin.
On the Locufy price guide for Ireland, spray painting costs €150–€600 per job, typically €300. Small items are at the low end; kitchens and larger items at the top.
MORE GUIDES
More DIY guides
Sources — checked October 2026
- Rust-Oleum — Hard Hat aerosol metallic topcoats technical data sheet: drying times, recoat within 1 hour or after 48 hours, 25 cm, coverage, conditions
- HSA — isocyanates information sheet
- HSA — chemicals
- HSA — wood working information sheet: particulate filters and vapours
- MyWaste — what to do with aerosols
- MyWaste — what to do with paint
- diy.ie — aerosol spray paint, price check October 2026
- diy.ie — aerosol primer, price check October 2026
- diy.ie — respirators and filters, price check October 2026
- diy.ie — masking tape, price check October 2026
- diy.ie — abrasive sheets, price check October 2026