DIY GUIDE · VEHICLES & TRANSPORT · CHECKED OCTOBER 2026
How to repair car scratches and stone chips yourself
An afternoon, plus drying time between coats. £23–£45 in compound, colour-matched paint, lacquer, abrasives and tape.
Fingernail test first: polish what it does not catch, fill what it does, in thin layers — and leave dents and rust to a bodyshop.
- Every step, start to finish
- Checked October 2026 — sources at the end
- Honest about when to call a pro
FIRST, THE HONEST ANSWER
Do it yourself, or get a repairer?
Do it yourself if…
- The scratches are light, or the chips are small and scattered
- The fingernail test tells you which repair each mark needs
- You can find your car's paint code and buy matching paint
- You can work in the shade on a clean, dry, cool panel
Get a pro if…
- A scratch has gone to bare metal over a long length, or there is rust
- There is a dent, a crease or a split bumper as well as the scratch
- The colour is a pearl, tri-coat, matt or special finish that is hard to match
- The whole panel needs spraying, or the car is new, valuable or leased
Safety first
- Do not use 2-pack (2K) paints or lacquers at home. The safety regulator says almost all bodyshops use isocyanate-containing 2-pack paints, that isocyanates are a leading cause of asthma caught at work, and that they are sprayed in booths with air-fed breathing apparatus. Single-pack aerosol and touch-up products are the DIY route.
- Work outside or with the garage door fully open when you use aerosols, lacquer, solvents or panel wipes, and keep away from flames. The safety regulator's valeting guidance warns that solvent vapour causes headaches and dizziness and that aerosol propellants are often flammable.
- Wear nitrile gloves when handling solvents, paint and compounds; the same guidance warns that skin contact with many solvents can cause dermatitis.
- Wear safety glasses when spraying, and a mask suitable for paint mist if you spray more than a dab into a cap.
- Keep aerosols out of hot cars and direct sun, and store paint and solvents out of reach of children.
| MATERIAL | COVERAGE | FOR THIS JOB |
|---|---|---|
| Scratch-removing compound | A small amount per scratch | One bottle |
| Colour-matched paint | Mixed to your paint code | One pen, bottle or aerosol |
| Clear lacquer | Over base-coat colours | One aerosol |
| Primer | Only where metal shows | One small amount |
| Fine wet-and-dry paper | The finest grades | A few sheets |
How many layers
Layers ≈ chip depth ÷ the thickness of one thin coat, until the paint sits just proud of the surface. A chip about three coats deep needs three thin layers of colour, each left to dry, then one or two of lacquer.
Many thin layers always beat one thick blob; a blob shrinks as it dries and leaves a crater with a raised rim.
Clean the area and run a fingernail gently across the scratch. If the nail glides over it, the mark is in the clear coat and can be polished. If the nail catches, it has gone deeper and needs paint. If you can see grey primer or bare metal, it certainly needs paint, and bare metal needs priming.
A compound cuts away a tiny layer of lacquer to level light scratches and swirls. The one we looked at is used by hand with an applicator or microfibre, or with a dual-action machine pad, worked with more pressure over the mark and less as it breaks down to bring up the gloss. It needs a clean, decontaminated, dry surface.
Some products conceal fine scratches and swirls by filling them rather than cutting. The one we looked at is applied in straight lines to clean, cool paint, left to cure for 10 to 15 minutes and buffed off, by hand only, and kept off metal, plastic, rubber and glass. It hides marks until the coating wears, so it is a cosmetic fix.
Find the paint code on the plate in the door shut, under the bonnet or in the handbook, and buy paint mixed to that code. A touch-up pen or bottle with a fine brush suits small chips; for a little more, spray a small amount from a matched aerosol into its cap and apply it with a fine brush. Metallic and pearl colours need clear lacquer over them to look right. Shake the paint for longer than seems necessary: metallic flakes settle to the bottom, and under-mixed paint comes out darker or flatter than the car.
Bare metal needs a dab of primer first or it will rust under the paint. Clear lacquer goes over base-coat colours. Very fine wet-and-dry paper, used wet, levels a built-up repair before it is polished; the finest grades sold for this are around 2000 grit and above.
THE PART THAT DECIDES THE FINISH
Preparing the paint — by what the damage is
Each kind of mark has its own repair. Clean the area with car shampoo, dry it and look at it in good light before you decide. Find yours below.
Light scratches and swirls in the lacquer
The fingernail does not catch.
- Wash and dry the panel, and remove any wax with a panel wipe so the compound works on bare lacquer
- Mask the edges of nearby rubber and plastic trim
- Work in the shade on a cool panel
Stone chips on the bonnet or front
Small, deep, often to primer.
- Clean each chip with a little panel wipe on a cotton bud to remove wax and grime
- Look for rust in the chip; remove any with the tip of a fine abrasive and wipe clean
- Prime any chip that shows bare metal before colour goes in
A scratch that catches the fingernail
Through the lacquer into the colour.
- Clean the scratch thoroughly with panel wipe
- Mask tightly either side of the scratch to keep the paint in the groove
- Plan several thin layers of colour with drying time between, then lacquer
Scuffs on a painted bumper
Plastic needs care.
- Check whether the mark is transferred paint from another car, which often comes off with a compound
- Check the bumper is not split or cracked behind the scuff
- Keep compounds and fillers off the textured unpainted plastic parts
Lacquer that is peeling or cloudy
A failing clear coat, not a scratch.
- Look for patches where the top layer has turned milky or is flaking at the edges, often on the roof and bonnet
- Do not polish it: compound tears the loose lacquer further and spreads the damage
- A failing clear coat needs the panel prepared and relacquered, which is a bodyshop job
Rust, dents or long deep gouges
Beyond this guide.
- Look for bubbling under the paint around the damage
- Feel for a dent or crease across the panel
- If either is present, or bare metal runs a long way, go to a bodyshop or a smart repairer
THE JOB
How to repair scratches and stone chips
Set up and identify each mark
15 minWork in the shade on a cool, dry day. Wash and dry the area, and inspect each mark with a torch held at an angle. Do the fingernail test on every scratch and note which need polishing and which need paint. Then go to the section above for each kind of damage.
- Mark each scratch with a small piece of tape beside it
- Note any chips that show bare metal
- Find your paint code before you start
Mistake to avoid: Starting with paint on a scratch that would have polished out. You add a raised, imperfect repair where a few minutes of compound would have removed the mark.
Prepare and mask
15 minRemove wax and grime from the repair areas with panel wipe on a cloth or cotton bud. Mask nearby rubber and plastic trim, and for a deeper scratch mask closely either side so paint stays in the groove.
- Clean inside each chip with a cotton bud
- Press tape edges down firmly
- Let the panel wipe flash off before you continue
Mistake to avoid: Painting over wax. The paint does not bond, and it lifts out of the chip at the next wash.
Polish out light scratches
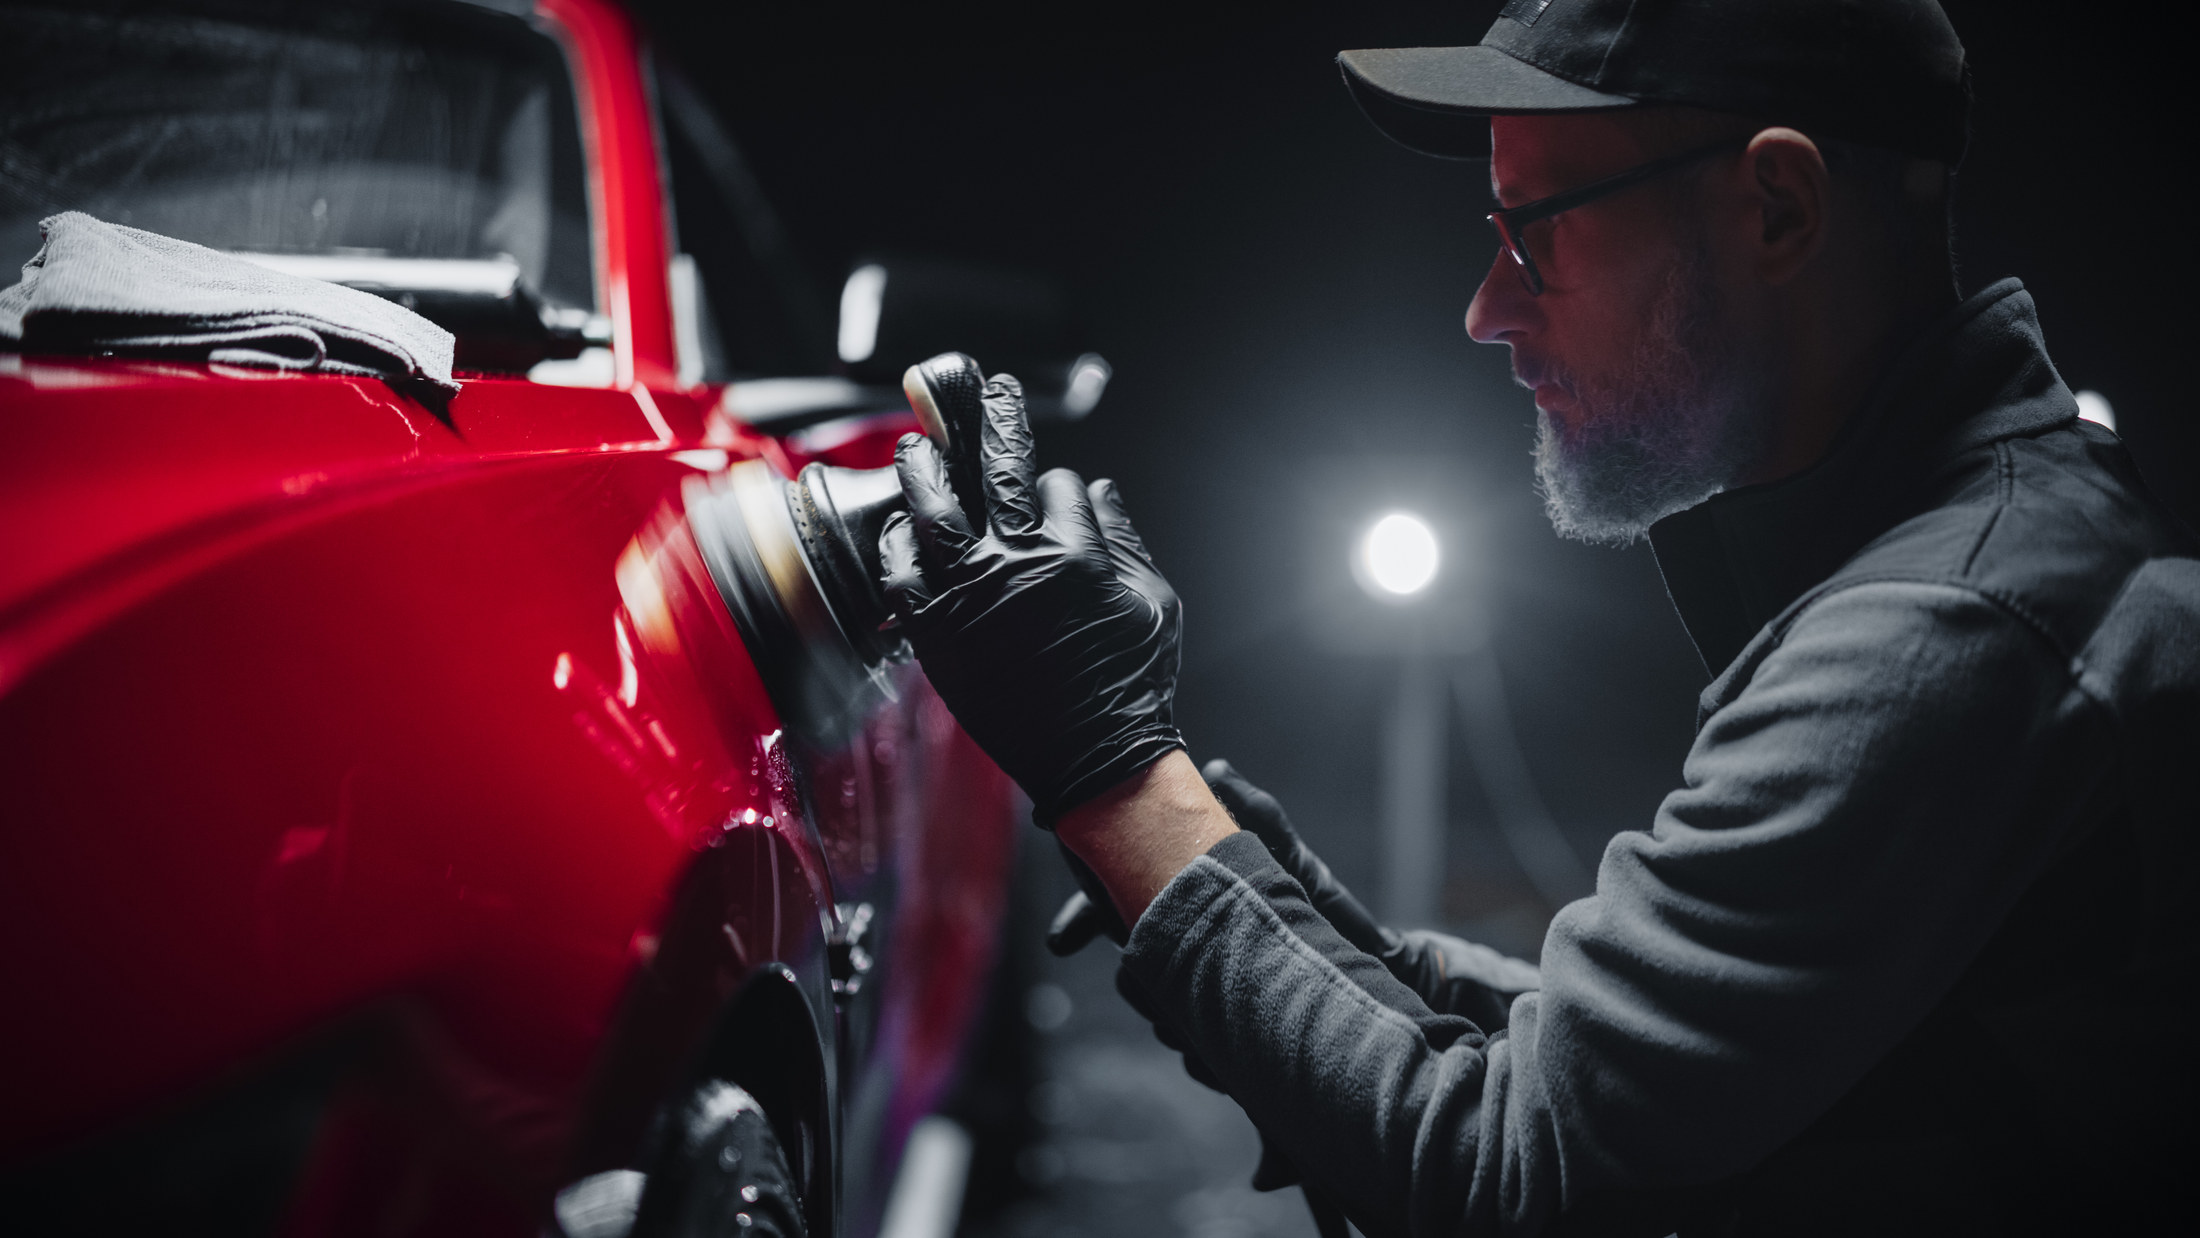
30 minShake the compound and put a little on an applicator or microfibre. Work it over the scratch with small, firm, overlapping strokes in two directions, adding pressure over the mark itself. As it breaks down to an oily film, ease off to bring up the gloss, then buff with a clean cloth and inspect. Fold the cloth to a clean face for the final buff, and look at the panel from several angles, because a scratch that has gone from one angle can still show from another.
- Small area, small amount of compound
- Check progress often under the torch
- Stop when the mark has gone; more is not better
Mistake to avoid: Rubbing on and on in one spot. Lacquer is thin, and you can cut through it, leaving a dull patch that needs respraying.
Prime bare metal
15 minOn any chip or scratch that shows bare metal, apply a tiny amount of primer with a fine brush just inside the damage, and let it dry to the time on the can.
- Primer only on the metal, not the surrounding paint
- A cocktail stick works for the smallest chips
- Let it dry fully before colour
Mistake to avoid: Putting colour straight onto bare steel. It looks fine for a few months, then rust bubbles up under the repair.
Apply the colour in thin layers
20 min a layerShake the paint well. Load a fine brush with a little paint, or spray a small amount into the aerosol cap and pick it up from there, and dab it into the chip or along the scratch so it flows into the damage. Let each layer dry before the next, building up until the paint sits just above the surface. On a long scratch, work in short sections of a few centimetres at a time, letting the paint draw along the groove by itself rather than dragging the brush, so the line stays narrow.
- Dab, do not brush strokes along the paint
- Thin layers dry harder and shrink less
- Keep the paint inside the damage
Mistake to avoid: Filling the chip in one go with a big blob. It dries with a crater in the middle and a raised ring that shows more than the original chip.
Apply clear lacquer
20 minIf your paint is a base coat, metallic or pearl, apply a thin layer of clear lacquer over the colour in the same way, once the colour has dried. Let it dry to the time on the can, or overnight.
- Thin coats again
- Only over the repair, not the surrounding panel
- Leave it overnight if you plan to level it
Mistake to avoid: Skipping the lacquer on a metallic colour. The repair stays dull and the metallic looks flat beside the original paint.
Level the repair, if raised
20 minOnce fully hard, wrap the finest wet-and-dry paper round a small block, wet it and the repair, and rub very lightly over the raised paint only until it is level with the surrounding surface. Keep it wet and check often.
- Only on the raised repair; mask around it
- Light pressure and plenty of water
- Stop as soon as it is level
Mistake to avoid: Sanding the surrounding paint. You cut through the original lacquer around the repair and make the damage bigger.
Polish the repair
20 minRemove the masking and polish the levelled area with the scratch-removing compound to take out the fine sanding marks and bring back the gloss. Buff with a clean microfibre and inspect from several angles.
- Same technique as for light scratches
- Blend the polish a little beyond the repair
- Inspect in daylight and torchlight
Mistake to avoid: Leaving the repair dull after sanding. The sanding marks show as a hazy patch until they are polished out.
Protect the panel
15 minOnce the repair has cured as long as the paint label says, apply a wax or sealant to the whole panel so the repair and the surrounding paint are protected and look the same.
- Wait for the paint's full cure time before waxing
- Wax the whole panel, not just the patch
- Avoid the car wash brushes for a while
Mistake to avoid: Waxing fresh paint too soon. Solvents in fresh paint need to escape, and wax traps them.
The mistakes that show
- Skipping the fingernail test, so you paint marks that would polish out or polish marks that need paint
- Filling a chip in one thick blob instead of thin layers
- Painting over wax or bare steel without primer
- Over-polishing one spot and cutting through the lacquer
- Using 2-pack paints at home
Stop here and get a scratch repair specialist
- The scratch runs to bare metal over a long length, or there is rust under the paint
- There is a dent, crease or split bumper with the scratch
- The colour is a pearl, tri-coat or special finish that needs blending across the panel
- The repair needs spraying with 2-pack paints, which belong in a booth with air-fed breathing protection
| WHAT YOU SEE | WHY, AND THE FIX |
|---|---|
| The scratch is still visible after polishing | It is deeper than the lacquer. Do the fingernail test again; if it catches, fill it with paint instead of polishing harder. |
| The touch-up is a different shade | Wrong paint code, the original paint has faded, or the paint was not shaken enough. Check the code, shake thoroughly, and test on card; slight fading can be improved by polishing the surrounding paint. |
| The repair stands up as a lump | Too much paint at once. Once hard, level it carefully with very fine wet-and-dry paper used wet, then polish. |
| The chip has a crater in the middle | One thick layer that shrank as it dried. Add further thin layers until it sits just proud, then level and polish. |
| A dull patch around the repair | Sanding or polishing went beyond the repair or cut through the lacquer. Polish lightly; if the lacquer has gone, the area needs lacquering or respraying. |
| The touch-up paint peeled off | It was applied over wax, grease or bare metal without primer. Remove it, clean with panel wipe, prime any metal and reapply in thin layers. |
| Rust has appeared under the repair | Bare metal was not primed, or rust was painted over. Remove the paint and rust back to clean metal, prime and repaint — or have a bodyshop do it if it has spread. |
| White marks on the trim | Compound dried on unpainted plastic. Remove with a trim cleaner and a soft brush, and mask the trim next time. |
| Paint ran down the panel from the repair | Too much paint on the brush, or the panel was not level. Wipe a fresh run off at once with a cloth dampened with panel wipe; once dry, level it with very fine wet-and-dry paper used wet, and polish. |
| The repair looks fine close up but shows from a distance | The colour is right but the repair sits slightly proud or dull, so it catches the light. Level it with the finest wet-and-dry paper used wet and polish it to the same gloss as the surrounding paint. |
WHAT YOU SAVE
What it costs to do it yourself
| Scratch remover or compound | £6.78–£10.00 |
|---|---|
| Colour-matched paint, aerosol | £11.99 |
| Clear lacquer, if needed | £0–£14.99 |
| Fine wet-and-dry paper | £4.70 |
| Masking tape | £0–£3.80 |
| Total | £23–£45 |
| DIY total | £23–£45 |
Guide prices compiled by the Locufy team from published Irish and UK provider price lists and 2026/27 cost guides. Updated 2026.
Prices from a national motoring retailer. A touch-up pen mixed to your code is an alternative to the aerosol for small chips. A scratch repair specialist's price from the price guide is shown alongside.
RATHER NOT?
Scratch repair technicians near you, with prices shown
The ones who cover your area, nearest first, with one score from every review. No account needed to look.
Or post the job free and let them come to you.
Avoid washing the repaired area hard, and avoid brush car washes, until the paint has cured to the time on its label.
Take part-used paint, lacquer and solvent in their containers to your council's household waste and recycling centre, which accepts household chemicals within limits; put fully empty aerosols in the aerosol recycling. Never pour solvent or paint down a drain.
Keep the touch-up paint sealed, upright and cool, labelled with the paint code, for the next chip.
Look over the bonnet and front every few months; small chips are quicker to fix before rust starts.
Repairing car paint scratches and chips: questions people ask
Run a fingernail across it. If the nail does not catch, the scratch is in the clear coat and a scratch-removing compound can usually polish it out. If it catches, it needs paint.
On light scratches and swirls in the lacquer, yes. The compound we looked at levels them with pressure over the mark. Concealing products only fill and hide marks, and the effect wears off.
Use the paint code, usually on a plate in the door shut or under the bonnet, or in the handbook, and buy paint mixed to that code rather than matching by eye.
Yes, but prime the bare metal first, then apply colour in thin layers and lacquer over it. Paint straight on bare steel lets rust develop underneath.
Not safely with bodyshop paints. The safety regulator says bodyshops use isocyanate-containing 2-pack paints, sprayed in booths with air-fed breathing apparatus, because isocyanates cause asthma.
The Locufy UK price guide puts car scratch repair at £50–£500 per repair, typically £150 — the same three figures as the strip at the top of this page.
MORE GUIDES
More DIY guides
Sources — checked October 2026
- HSE — 2-pack isocyanate paints: used in almost all bodyshops, a main cause of occupational asthma, booth spraying with air-fed breathing apparatus
- HSE — SR17 COSHH essentials: solvent products, dermatitis, vapours, flammable aerosol propellants
- Autoglym — Advanced Paint Restorer: by hand or dual-action pad, more pressure over marks, ease off at oily residue, clean dry surface
- Autoglym — Paint Reviver: conceals swirls and fine scratches, straight lines, cure 10 to 15 minutes, hand only, not on metal, plastic, rubber or glass
- North Northamptonshire Council — what can be recycled at household waste recycling centres (household chemicals, aerosols)
- Halfords — paints and body repair price check: aerosol paint £11.99, clear lacquer £10.99, 2000 grit wet-and-dry £4.70, masking tape £3.80, scratch remover £10.00
- Halfords — lacquers price check: £10.99–£14.99
- Halfords — car polish price check: from £6.78