DIY GUIDE · VEHICLES & TRANSPORT · CHECKED OCTOBER 2026
How to detail a car yourself
A full day. £39–£323 in shampoo, clay, polish, wax, cloths and an optional machine polisher.
Wash, clay, polish, protect — light pressure, small areas, a cool car and clean cloths.
- Every step, start to finish
- Checked October 2026 — sources at the end
- Honest about when to call a pro
FIRST, THE HONEST ANSWER
Do it yourself, or get a garage?
Do it yourself if…
- The paint has light swirls, dullness or bonded grit, not deep scratches
- You can work under cover or in shade for a full day
- You are happy to polish by hand, or to learn a dual-action polisher on a hidden panel first
- You want to protect a car you will keep, and to learn the routine for next time
Get a pro if…
- The paint has deep scratches, heavy swirling or patches where the clear coat is failing
- You want machine correction with a rotary polisher, which can burn through paint quickly
- The car is matt, satin, wrapped or has paint protection film
- It is a classic or a car with single-stage or soft paint you are unsure of
Safety first
- Wear nitrile gloves and work with the doors open for solvent products such as tar and glue removers. The safety regulator's valeting guidance warns that solvents can cause dermatitis and that their vapour can cause headaches and dizziness, especially inside a car.
- On a hybrid or electric car, keep water and detailing sprays away from orange high-voltage cables and the engine bay. The safety regulator warns pressure washing can damage high-voltage components and says to check the maker's guidance before valeting those areas.
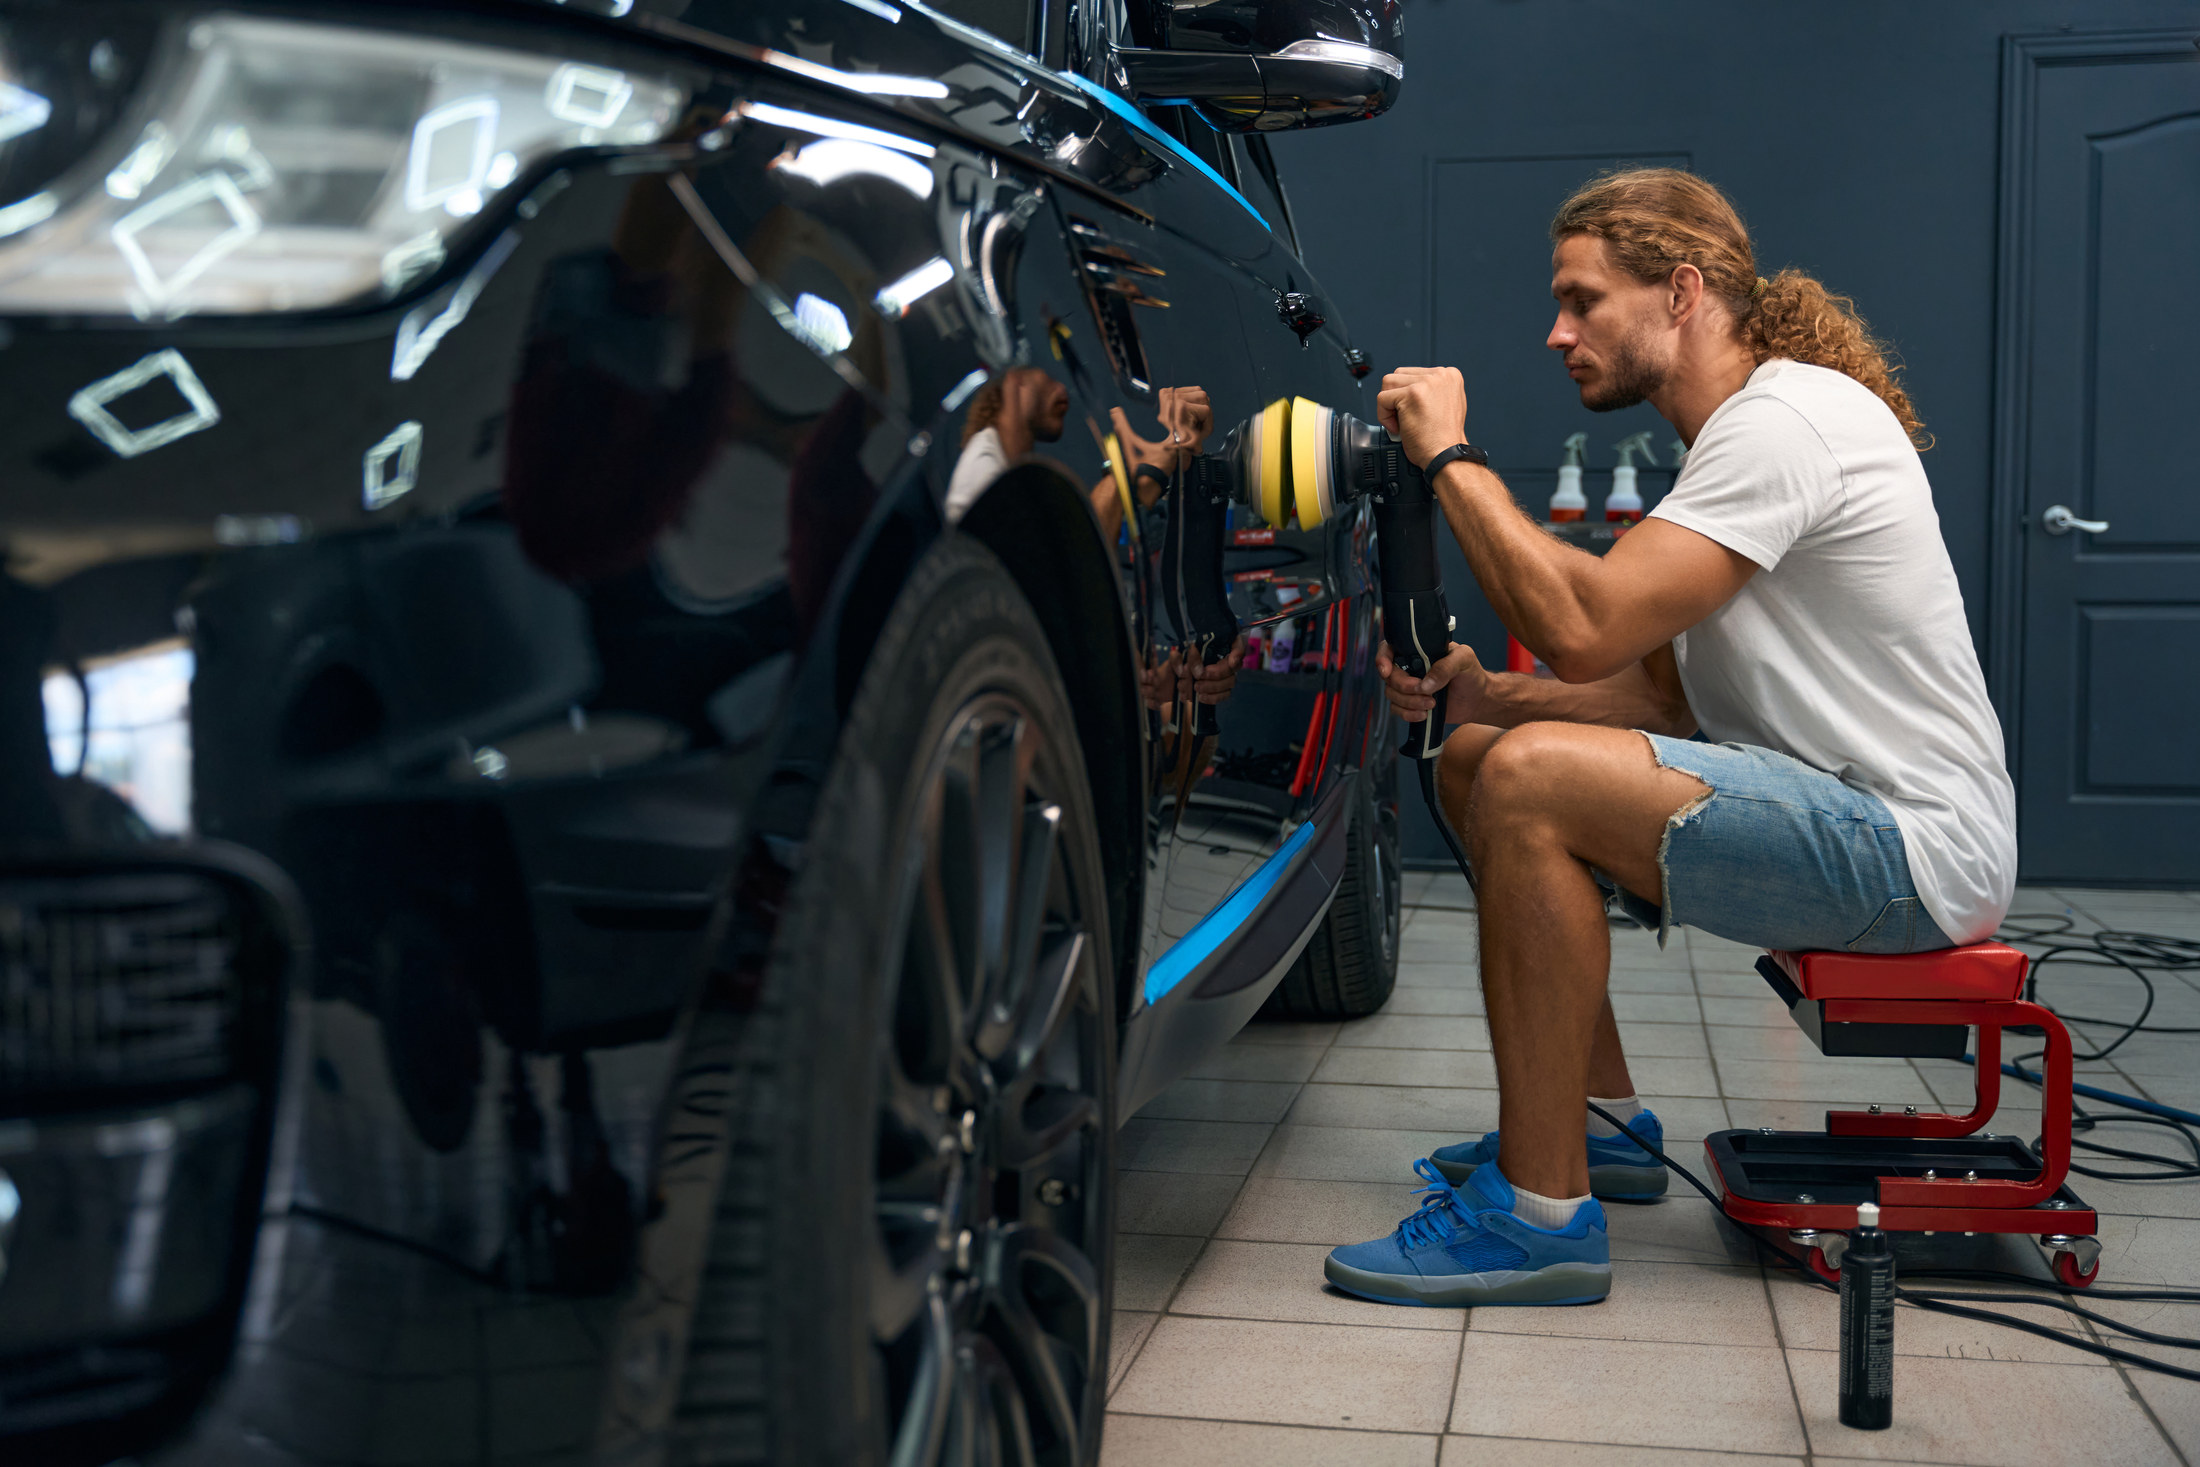
- If you use a machine polisher, keep the cable over your shoulder, start it on the paint and stop it on the paint, and keep it moving. A spinning pad lifted off the panel throws polish and can snatch.
- Wear eye protection when you spray fallout removers and wheel cleaners, and when using a polisher, which spatters.
- Read the label of every product and keep the caps on; the same guidance says to follow label instructions and recap containers at once.
- Take breaks. A day of polishing is repetitive strain on the shoulders and wrists.
| MATERIAL | COVERAGE | FOR THIS JOB |
|---|---|---|
| Car shampoo | Dilute to the label | One wash |
| Clay kit or clay bar with lubricant | A coin-sized piece at a time, folded often | One car |
| Polish or compound | A small amount per section | One car |
| Wax or sealant | A thin coat per panel | One car |
| Wheel cleaner and interior cleaner | As each label says | One car |
How long to allow
Polishing time ≈ panels × sections per panel × minutes per section. A hatchback with about 12 panels, two sections each, at 8 minutes a section by machine is 192 minutes — about three and a quarter hours before waxing.
By hand, allow roughly double. Do a test section and time it before you plan the day.
After washing, paint still carries bonded grit, tar spots and iron fallout from brakes that you can feel as roughness. A fallout remover dissolves iron particles; a clay bar with lubricant shears off the rest. The clay kit maker says to keep the car cool and use plenty of lubricant, gliding the clay lightly in straight lines.
A compound cuts more, for haze, swirls and light scratches; a finishing polish cuts less and brings up gloss. The compound maker we looked at says it can be used by hand or on a dual-action machine pad, and to increase pressure over marks, then ease off as it breaks down to improve gloss. Start with the least aggressive product that does the job.
Hand polishing is slow and safe and improves gloss and very light marks. A dual-action polisher oscillates as well as spinning, which makes it far more forgiving than a rotary machine, and removes swirls much faster. Learn it on a hidden panel first.
Wax gives a warm gloss and lasts weeks to months; a synthetic sealant or a ceramic spray lasts longer. Some polishes contain wax already — the resin polish we looked at includes a protective wax — but a dedicated protection layer on top lasts longer.
Detail brushes for vents and seams, a vacuum, an interior cleaner applied to a cloth near screens, a leather cleaner and conditioner if you have leather, and a dressing for plastics. The interior maker we looked at says not to use its cleaner on hot surfaces or display screens.
Most polishes and waxes are not for matt or satin paint or wraps — the resin polish we looked at says so — and must be kept off unpainted plastic trim, which they stain white. Tape or avoid trim before you start.
THE PART THAT DECIDES THE FINISH
Preparing the paint — by its condition
What you do after the wash depends on what the paint is like. Run a clean hand inside a thin plastic sandwich bag over the bonnet: the bag makes bonded contamination easy to feel. Then find your paint below.
Smooth paint, a little dull
Light work only.
- Wash and dry safely with two buckets and a microfibre towel
- Skip the clay if the paint feels smooth through the bag
- Go straight to a finishing polish by hand, then protection
Rough paint with bonded grit
The clay stage matters here.
- Use a fallout remover on the lower panels and behind the wheels, rinse thoroughly
- Clay every panel with plenty of lubricant until it feels glassy
- Dry the car fully before polishing
Swirl marks and light scratches
Polishing with a compound, by hand or machine.
- Check a scratch with a fingernail: if the nail catches, it is too deep to polish out
- Mask rubber and plastic trim with low-tack tape
- Do a test spot to choose the least aggressive product that works
A dark or soft-painted car
Shows every mark, scratches easily.
- Work in diffuse light and inspect with a torch at an angle
- Use soft finishing pads and less pressure
- Change to fresh microfibres often
Matt, satin or wrapped finishes
No polishing at all.
- Use only matt-safe shampoo and detailers
- Never clay aggressively, polish or wax; it fills the texture and leaves shiny patches
- Treat marks with products made for that finish
THE JOB
How to detail a car
Set up under cover
15 minWork in a garage or shade where the car stays cool and dry all day. Lay out cloths sorted by job, fill your two buckets, and plan the order. Then go to the paint section above and check which stages your car needs.
- A cool, dry car is essential for clay, polish and wax
- Sort microfibres into labelled piles
- Check the forecast if you are outside
Mistake to avoid: Starting in the sun. Polish and wax dry too fast to work, and clay lubricant evaporates.
Wash safely and test the paint
45 minDo the wheels first, then wash the car with two buckets from the roof down, rinse thoroughly and dry with a microfibre towel. Feel the paint through a thin plastic bag to decide whether to clay, and check the worst marks with a fingernail.
- Wheels first so their spray does not land on clean paint
- Dry the car completely before clay or polish
- Make a note of the deepest marks
Mistake to avoid: Polishing a car that has just been rinsed. Grit left on the paint is ground into it by the pad.
Remove iron fallout and tar
20 minSpray fallout remover on the lower panels and rear, leave it to dwell for the time on its label without drying, and rinse off. Dab tar spots with a tar remover on a cloth. Rinse and dry again.
- Gloves and glasses for fallout remover
- Do not let it dry on the panel
- Work on cool paint only
Mistake to avoid: Leaving fallout remover in the sun. It dries in streaks that are hard to remove.
Clay the paint
45 minKnead a piece of clay flat to the size of a large coin, as the clay maker describes. Spray plenty of lubricant onto the clay and the panel, and glide the clay lightly in straight lines until the surface feels smooth. Wipe off the lubricant and move to the next area, overlapping slightly. Fold the clay often to expose a clean face.
- Lots of lubricant, light pressure
- Fold the clay as soon as it looks dirty
- Throw away any clay you drop; it picks up grit
Mistake to avoid: Using clay that has been dropped on the floor. It is full of grit and will scratch every panel you touch.
Mask the trim and do a test spot
20 minMask rubber seals, unpainted plastic and badges with low-tack tape. On a hidden area such as the lower boot lid, polish a small square with your chosen polish and pad, wipe off and inspect with a torch. If the marks remain, try a slightly more aggressive product or pad; if they are gone, use that combination everywhere.
- Start with the gentlest product
- Inspect in raking light
- Note how many passes the test needed
Mistake to avoid: Starting on the bonnet with the strongest compound. You remove more clear coat than needed from the most visible panel.
Polish panel by panel
3–4 hoursWork a small section at a time. By hand, apply a little polish and work it in with overlapping passes, increasing pressure over marks; with a dual-action polisher, spread at low speed, then work at moderate speed in slow overlapping passes. As the polish breaks down to an oily residue, ease off to bring up gloss, as the compound maker advises. Buff off with a clean microfibre.
- Small sections, slow passes, the machine kept moving
- Ease pressure near edges and body lines, where paint is thinnest
- Fresh cloth for every panel's buffing
Mistake to avoid: Holding the machine on one spot or on an edge. Paint is thinnest on edges and creases, and that is where people burn through to primer.
Wipe down and inspect
20 minRemove polish oils with a panel wipe or a detailing spray on a clean cloth so you can see the true finish. Inspect every panel with a torch at an angle and go back over any section that still shows swirls.
- Inspect from several angles
- Remove the masking tape before you wax
- Wipe polish residue out of panel gaps with a soft brush
Mistake to avoid: Waxing straight over polish oils. They can hide swirls that reappear after the first wash, and some reduce how well the wax bonds.
Apply wax or sealant
1 hourApply a thin, even coat of wax or sealant with a clean applicator, one panel at a time, following the label for how long to leave it before buffing. Buff off with a clean microfibre, turning it often. Keep it off unpainted trim.
- Thin is better — thick wax is harder to remove and no more protective
- Buff with a fresh face of the cloth
- Leave it to cure before the car gets wet, as the label says
Mistake to avoid: Applying wax thickly in the sun. It bakes on, smears, and takes twice as long to buff off.
Detail the glass, wheels and trim
45 minClean the glass inside and out with dedicated cloths. Seal the wheels if you use a wheel sealant, dress the tyres thinly, and treat any faded exterior plastics with a trim product.
- Glass cloths only for glass
- A thin coat of dressing, buffed
- Clean exhaust tips and badges with a detail brush
Mistake to avoid: Getting tyre or trim dressing on the freshly waxed paint. It smears and attracts dust; wipe it off at once.
Detail the interior
1–2 hoursVacuum thoroughly with crevice and brush tools. Clean vents, seams and switches with a detail brush and an interior cleaner on a cloth, never sprayed onto screens or hot surfaces. Clean and condition leather, and clean fabric lightly without soaking it. Finish with the glass and the mats.
- Brush, then vacuum, so dust lifted from seams is collected
- Cloth, not spray, near electronics
- Air the car with the doors open to dry
Mistake to avoid: Spraying cleaner straight onto screens and buttons. It runs into the electronics and leaves residue on displays.
The mistakes that show
- Polishing in the sun or on a hot panel
- Using dropped clay or dirty cloths, which re-scratch the paint
- Holding a polisher still or on edges, and burning through the paint
- Skipping the test spot and starting with the harshest compound
- Getting polish or wax on unpainted trim
Stop here and get a car detailer
- Scratches catch a fingernail, or the clear coat is peeling — polishing cannot fix either
- The paint needs heavy correction with multiple compounds or a rotary machine
- The finish is matt, satin, wrapped or protected with film
- You are unsure how much paint is left, such as on an older or previously polished car
| WHAT YOU SEE | WHY, AND THE FIX |
|---|---|
| Swirls still visible after polishing | The polish or pad was too gentle, or the polish was removed before it had worked. Do another pass with a slightly more aggressive combination on a test spot first. |
| Hazy or cloudy finish after polishing | Compound residue or marring left by the cutting stage. Follow with a finishing polish and a soft pad to restore clarity. |
| White marks on the black trim | Polish or wax dried on unpainted plastic. Remove with a trim cleaner and a soft brush; mask the trim next time. |
| Light scratches appeared after claying | Too little lubricant, or clay with grit in it. Polish the area out with a finishing polish, and use fresh clay and plenty of lubricant. |
| Wax is streaky and hard to buff | Applied too thickly or in heat. Wipe with a quick detailer on a fresh cloth, or apply a thin fresh coat to soften it and buff immediately. |
| Paint looks lighter on an edge | The polish cut through to the primer or colour coat. Stop — this needs touch-up or refinishing by a bodyshop. |
| Water no longer beads after a few weeks | The wax has worn off. Wash and apply a fresh coat, or use a longer-lasting sealant. |
| Dust settles on the wax as you work | Static on freshly buffed paint or a dusty garage. Wipe with a quick detailer and dampen the garage floor next time. |
WHAT YOU SAVE
What it costs to do it yourself
| Car shampoo | £8.00–£21.12 |
|---|---|
| Microfibre cloths | £5.49–£27.83 |
| Clay bar or clay kit | £8.49–£33.59 |
| Polish or compound | £6.78–£21.99 |
| Wax or sealant | £5.03–£56.30 |
| Wheel cleaner | £4.90–£27.00 |
| Dual-action polisher, optional | £0–£134.99 |
| Total | £39–£323 |
| DIY total | £39–£323 |
Guide prices compiled by the Locufy team from published Irish and UK provider price lists and 2026/27 cost guides. Updated 2026.
Prices from a national motoring retailer. Most products cover several details, so the cost per car falls after the first. A detailer's price from the price guide is shown alongside.
RATHER NOT?
Car detailers near you, with prices shown
The ones who cover your area, nearest first, with one score from every review. No account needed to look.
Or post the job free and let them come to you.
Keep the car dry and out of dusty conditions for the time on the wax or sealant label before its first wash.
Two buckets, a mitt and a microfibre towel every time; an automatic brush wash will put swirls straight back.
Bucket water goes to a foul drain, not a road drain; government pollution guidance says only clean water should enter surface water drains. Take unwanted chemicals in their containers to your council's household waste and recycling centre, which accepts household chemicals within limits, and put empty aerosols in the aerosol recycling.
Wash polishing pads and microfibres straight away, separately and without fabric softener, and dry them before storing.
Detailing a car: questions people ask
A valet cleans the car inside and out. A detail goes further: decontaminating the paint with clay, polishing out light swirls, protecting the finish, and cleaning the interior in much more depth.
Only if the paint feels rough through a thin plastic bag after washing. Clay removes bonded contamination so polish and wax can work on clean paint.
Yes, for gloss and very light marks. The compound maker we looked at says its product can be worked in with a hand applicator or on a dual-action machine pad. A machine removes swirls much faster.
Light ones. If a scratch catches your fingernail, it has gone through the clear coat and polishing will not remove it; it needs touch-up or a bodyshop.
Whenever water stops beading on the paint, typically every few months for a wax and longer for a sealant. A safe wash routine makes it last.
The Locufy UK price guide puts car detailing at £100–£800 per detail, typically £250 — the same three figures as the strip at the top of this page.
MORE GUIDES
More DIY guides
Sources — checked October 2026
- HSE — SR17 COSHH essentials: valeting of vehicles with solvent-based products
- HSE — electric and hybrid vehicles: pressure washing and high-voltage components
- Autoglym — Clay Detailing Complete Kit: coin-sized piece, cool car, generous lubricant, straight lines, fold often
- Autoglym — Advanced Paint Restorer: by hand or dual-action machine pad, more pressure over marks, ease off at oily residue, dry conditions, clean surface
- Autoglym — Super Resin Polish: thin layer, contains wax, not for matt or satin, keep off unpainted trim
- Autoglym — Interior Shampoo: not on hot surfaces or screens
- gov.uk — pollution prevention for businesses: only clean water to surface water drains
- North Northamptonshire Council — what can be recycled at household waste recycling centres (household chemicals, aerosols)
- Halfords — car shampoo price check: £8.00–£21.12
- Halfords — microfibre cloths price check: £5.49–£27.83
- Halfords — clay bars price check: £8.49–£33.59
- Halfords — car polish price check: £6.78–£21.99
- Halfords — car wax price check: £5.03–£56.30
- Halfords — wheel and tyre cleaning price check: £4.90–£27.00
- Halfords — polishers price check: £37.49–£134.99