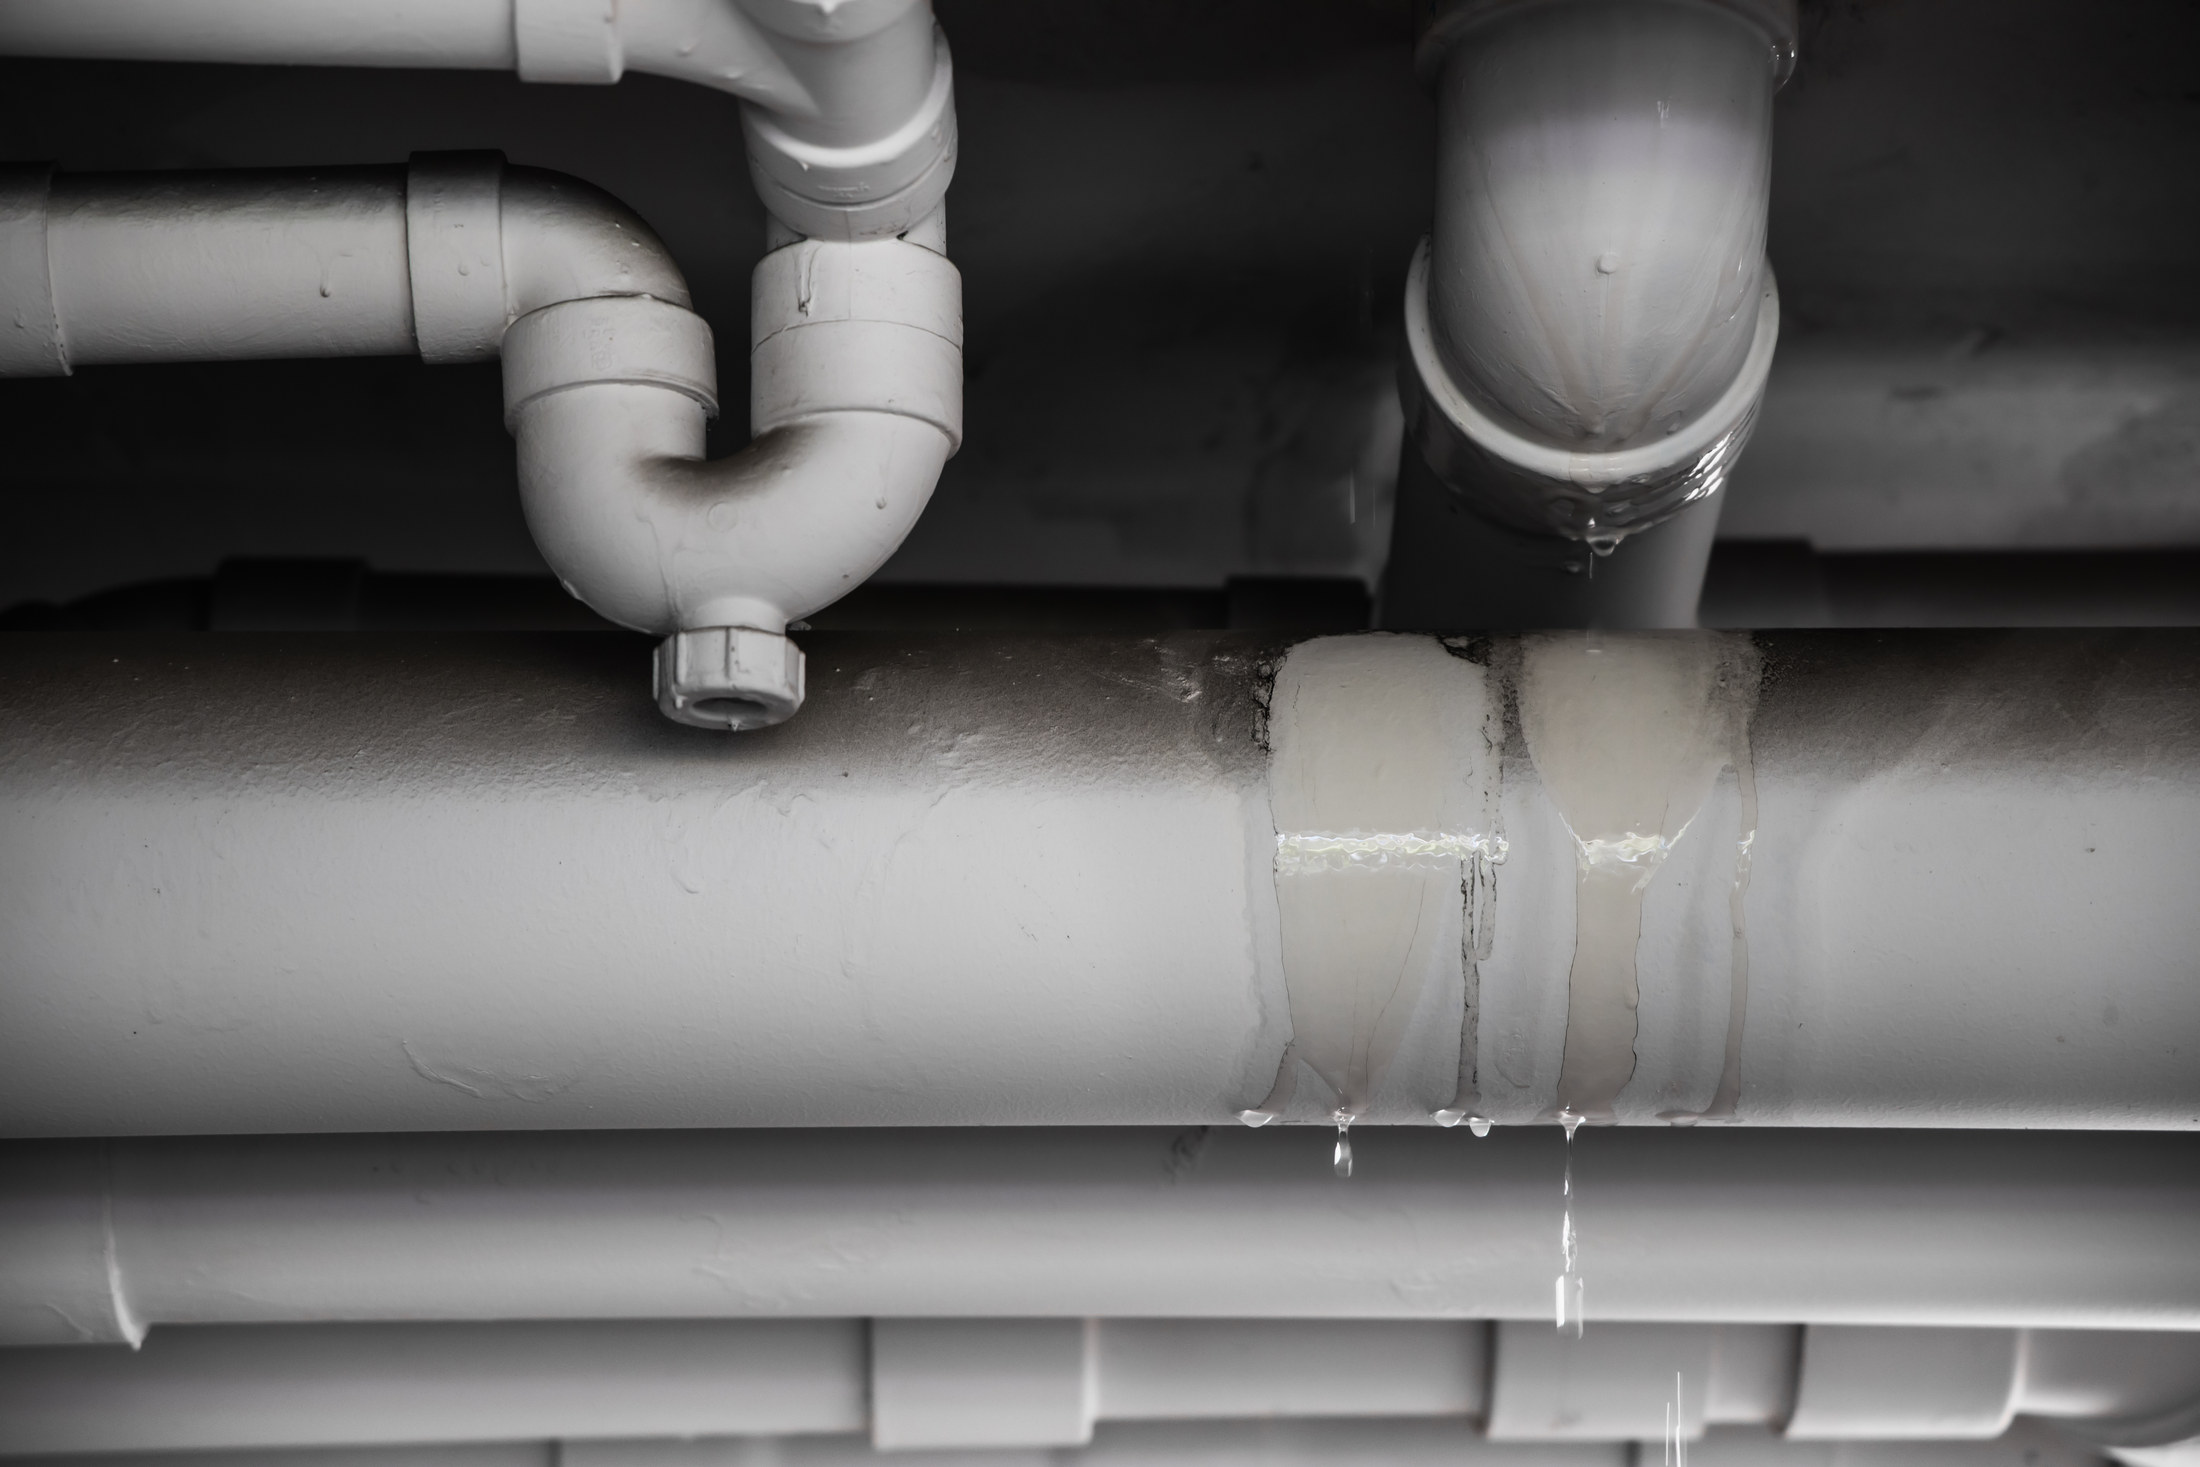
DIY GUIDE · PLUMBING & HEATING · CHECKED OCTOBER 2026
How to stop a burst pipe and repair it yourself
A minute to stop, an hour to repair. £16–£22 for a repair clamp, a few pounds for couplers.
Stopcock off, taps open, electrics safe. Clamp it tonight, cut out and couple it tomorrow — only on a pipe you can see.
- Every step, start to finish
- Checked October 2026 — sources at the end
- Honest about when to call a pro
FIRST, THE HONEST ANSWER
Do it yourself, or get a repairer?
Do it yourself if…
- You can see the split or the leaking joint and reach it with both hands
- The pipe is copper or plastic, the size printed on it or measurable, and not lead
- The stopcock turns off fully, or there is an isolating valve on that pipe
- The pipe is a cold or hot water pipe, not part of a sealed heating system or a gas pipe
Get a pro if…
- The leak is inside a wall, under a floor or above a ceiling and you cannot see the pipe
- The stopcock will not turn or will not stop the water
- The pipe is lead, or the leak is on the supply pipe between the boundary and the house
- The pipe is part of a pressurised heating system or an unvented hot water cylinder
Safety first
- If water is coming through a ceiling near a light fitting, or has reached sockets, switch the electricity off at the consumer unit before you go near it, if you can reach the board without standing in water. HSE's electrical guidance is to isolate first; water and mains electricity together kill.
- Do not touch a bulging, wet ceiling from below. Pierce it with a broom handle from the side with a bucket underneath, so the water comes down where you choose.
- Pipe lagging and boards in older houses can contain asbestos; HSE lists lagging on pipes and boilers among the places asbestos is found in buildings from before 2000. If the old lagging is hard, chalky or woven, leave it and get it checked.
- Hot water from a cylinder or a combi can scald. Turn off the boiler or immersion heater as well as the stopcock when a hot pipe bursts.
- Never cut or clamp a gas pipe. Gas pipes are usually yellow-labelled or run from the meter; if you smell gas, leave the property and call the gas emergency line on 0800 111 999.
Stop here: Stop here: hidden pipes, the supply pipe, pressurised systems and gas
A repair on an exposed water pipe is maintenance; re-running pipework is installing water fittings, which must meet the 1999 Water Fittings Regulations in England and Wales, the Scottish Water byelaws in Scotland, or Northern Ireland's 2009 Water Fittings Regulations, and the supply pipe beyond your boundary is the water supplier's. An unvented hot water cylinder falls under requirement G3 and England's Approved Document G, with matching rules in Wales, Scotland and Northern Ireland, and only someone qualified for unvented systems should drain or refill one. A sealed heating circuit is not a cold water pipe, and its boiler is gas work. Any work on a gas pipe or fitting is restricted to Gas Safe registered engineers under regulation 3 of the 1998 Gas Safety (Installation and Use) Regulations in Great Britain and the 2004 Regulations in Northern Ireland. How to hire a burst pipe plumber →
| MATERIAL | COVERAGE | FOR THIS JOB |
|---|---|---|
| Emergency pipe repair clamp | Sized to the pipe, 15 mm or 22 mm | One, for tonight |
| Straight coupler or repair slip coupler | Compression or push-fit, matched to the pipe size | One or two |
| Pipe inserts | For plastic pipe, matched to the pipe and fitting | One for each pipe end |
| Foam pipe lagging | Sized to the pipe | The length of the exposed run |
How much pipe to cut out
Length to cut out = the split + 25 mm of sound pipe each side. A 40 mm split means cutting out 90 mm, which one straight coupler covers if the pipe ends can be eased apart; if not, use a repair slip coupler.
Copper that has frozen may be swollen either side of the split. Cut back until the pipe is round and the fitting slides on easily.
An emergency pipe repair clamp is a hinged housing with a rubber seal that closes round the split. The ones on sale for copper and plastic pipe we checked are rated for leaks under pressure up to 10 bar, far above a house's mains, so they will hold until a proper repair. It is a temporary fix. Buy one for each common size in your house, 15 mm and 22 mm, and keep them with the stopcock key.
On copper, cut out the split section and join the ends with a compression straight coupler, or two couplers and a short piece of new pipe. On plastic, a push-fit straight connector does the same job. A repair slip coupler is longer and slides fully onto one end, so it can close a gap where the pipe cannot be pulled apart. Match the size printed on the pipe, which is its outside diameter.
Compression fittings grip the pipe with a brass olive squeezed by a nut, and they suit copper and, with a pipe insert, plastic. Push-fit fittings grip with a toothed collet and seal with an O-ring; they suit plastic and copper alike if the pipe end is clean and square. Push-fit is quicker in a tight loft. Compression is more forgiving of slightly tired copper.
Plastic pipe needs a stiffening insert pushed into its end before it goes into any fitting, compression or push-fit. Without one, the pipe squashes and the joint leaks or blows apart. The compression fitting maker we checked makes the same point for plastic pipe.
Most bursts are frozen pipes in lofts, garages and outside walls. Foam pipe insulation costs a couple of pounds a metre and is matched to the pipe size. Lag the repaired section and every other exposed pipe in the same cold space before the next frost.
THE PART THAT DECIDES THE FINISH
Before you start — what kind of leak you have
Find where the water is coming from and what the pipe is made of. That decides whether you can repair it.
A split in copper pipe you can see
The classic frozen pipe in a loft or under a sink.
- Turn off the stopcock and open the cold taps, and the hot too if it is a hot pipe
- Dry the pipe and mark the split with a pencil
- Fit a repair clamp centred over the split as a temporary seal
- Plan the permanent repair: cut out the split section and couple the ends
A plastic pipe split or pulled out of a fitting
White or grey plastic pipe; often a push-fit joint has let go.
- Turn the water off and drain down
- If the pipe has pulled out of a push-fit fitting, check whether its insert is missing
- Cut the end back square with a plastic pipe cutter past any damage
- Fit a new insert and push the pipe fully home into a new fitting
A leaking joint, not a split
Water from a compression nut, a push-fit collar or a soldered joint.
- A weeping compression nut often stops with a small extra turn, holding the fitting with a second spanner
- A soldered joint that leaks needs cutting out and replacing with a compression or push-fit coupler
- A push-fit joint that leaks needs the pipe end checked for scratches or a missing insert
- If the joint is behind a wall or under a floor, see the stop card
Water from a ceiling or a wall
You cannot see the pipe.
- Turn off the stopcock, then the electricity if the water is near lights or sockets
- Open taps to drain the system and catch the water with buckets
- Pierce a bulging ceiling from the side with a bucket below
- Do not cut into walls or lift boards over hidden pipes and cables — call a plumber
A leak outside or before the stopcock
Water rising in the garden, or a leak the stopcock does not stop.
- The supply pipe outside the house belongs to the property owner up to the boundary, and the water company beyond it
- Report a leak in the street or outside your boundary to your water supplier
- Use the outside stopcock in the pavement chamber if you have the key
- This is not a pipe to repair yourself
THE JOB
How to stop the water and repair the pipe
Set up: stopcock off, taps open, electrics safe
5 minTurn the stopcock clockwise until it stops. Open every cold tap on the lowest floor to drain the pipes, and the hot taps if a hot pipe has burst; turn off the boiler or immersion heater. If water is near lights or sockets, switch off at the consumer unit without standing in water. Then find your case in the cards above.
- If the stopcock is stiff, do not force it with a wrench; use the outside stopcock instead
- Put buckets under the leak and towels on the floor
- Photograph the damage for your insurer before you move anything
Mistake to avoid: Rushing to the leak with buckets before turning off the water. Every minute at the leak is gallons through the ceiling.
Prepare the pipe
15 minThis is the prep from your card above. Dry the pipe with a towel and find the exact split or joint. Check what the pipe is made of and its size, printed along the pipe or measured across. Make sure you have room either side of the split to get a clamp or a cutter round it. Clear insulation away from the area; if old lagging looks hard, chalky or woven, stop and leave it.
- Copper splits along its length when it freezes; look for a long thin line
- Plastic pipe usually fails at a fitting, not along the pipe
- Mark the split with a pencil so you can find it again once the pipe is dry
Mistake to avoid: Clamping or cutting without checking for a second split. Frozen pipes often split in more than one place along the same cold run.
Fit the emergency clamp
15 minOpen the clamp, place it round the pipe with the seal centred over the split, close it, and lock it as its instructions show. Turn the stopcock back on slowly, a quarter turn at a time, and watch the clamp. A dry clamp means you have water back for the night. If it weeps, turn the water off, reposition it centrally and lock it again.
- Centre the split in the middle of the seal, not at its edge
- Clean grit from the pipe first so the seal beds down
- Write the date on the clamp with a marker; it is temporary
Mistake to avoid: Treating the clamp as the repair and forgetting it. The rubber ages, and a clamp on a pipe that freezes again can fail again.
Cut out the damaged section
20 minWith the water off and the pipe drained, put a bowl under it. Fit the pipe cutter a little beyond one end of the split, tighten it lightly, and rotate it round the pipe, tightening a quarter turn every revolution or two, until it cuts through. Repeat beyond the other end. On plastic pipe, use a plastic pipe cutter or shears for a square cut.
- Take out enough to reach round, undamaged pipe on both sides
- Support the pipe while you cut so it does not spring
- Catch the water left in the pipe; there is always more than you expect
Mistake to avoid: Cutting with a hacksaw. The end is not square, the burr is ragged, and the olive or O-ring will not seal on it.
Deburr and clean the ends
10 minRemove the burr inside each pipe end with a deburring tool, and smooth the outside edge. On copper, clean the last few centimetres bright with wire wool. The fitting maker's instructions are to cut square, deburr, and keep the pipe clean and undamaged where it enters the fitting. On plastic, push an insert fully into each end.
- Run a finger round the outside of the end; a sharp edge cuts an O-ring
- Check copper is round, not oval, where the olive will sit
- Mark the insertion depth on each pipe end with a pencil so you can see it go fully home
Mistake to avoid: Skipping the deburring. A ragged inside edge slows the flow, and a sharp outside edge slices the seal of a push-fit fitting.
Fit the coupler
20 minFor compression: slide a nut and then an olive onto each pipe end, push the pipe into the coupler up to its stop, run each nut up by hand, then tighten with two spanners. The fitting maker we checked gives about a turn and a quarter past finger tight on small sizes, and warns against over-tightening. For push-fit: push each end firmly into the fitting past the collet until it reaches the stop, then pull back gently to seat it.
- Use a second spanner on the coupler body so it does not turn
- Never put PTFE tape on a compression olive
- If the ends will not spread for a straight coupler, use a slip coupler that slides fully onto one end first
Mistake to avoid: Over-tightening the compression nuts. The olive deforms, the copper crushes, and the joint leaks worse than the one you replaced.
Water back on and test
20 minClose the taps you opened. Turn the stopcock on slowly. Watch the new joint with a torch and a dry tissue for several minutes. Then open a tap fully so the pipe runs at full flow and check again. Run each tap until the air stops spitting. Turn the boiler and electricity back on once everything is dry.
- A weep at a compression nut usually needs a quarter turn, not more
- If a push-fit joint drips, the pipe is not fully home or its end is scratched
- Leave a dry tissue under the joint overnight
Mistake to avoid: Turning the stopcock straight to full. A sudden surge can knock a new push-fit joint that was not fully home.
Lag it and check the rest
30 minFit foam lagging over the repaired section and along every exposed pipe in the same cold space. Look for other pipes in the loft, garage or outside walls that froze but have not split yet. Leave the loft hatch open in a deep frost so a little warmth reaches the pipes.
- Lag joints and bends too; they freeze first
- Tape the lagging seams so they cannot open
- Take the temporary clamp off and keep it for next time if you made a permanent repair
Mistake to avoid: Lagging only the burst section. The pipe next to it, in the same cold air, is the next one to go.
The mistakes that show
- Not knowing where the stopcock is until the ceiling is down
- Cutting pipe with a hacksaw instead of a pipe cutter
- Fitting push-fit or compression fittings to plastic pipe without inserts
- Over-tightening compression nuts until the olive crushes
- Leaving a temporary clamp on for good
Stop here and get a plumber
- The leaking pipe is in a wall, under a floor or above a ceiling where you cannot see it
- The stopcock will not turn, or will not stop the water
- The pipe is lead, the supply pipe outside, or part of a sealed heating system or unvented cylinder
- There is any chance the pipe is gas
| WHAT YOU SEE | WHY, AND THE FIX |
|---|---|
| New compression joint still dripping | The nut needs a quarter turn more with two spanners, or the pipe was not pushed to the fitting's stop, or the copper end is oval. Turn the water off and remake it with a new olive if the first was crushed. |
| Push-fit joint leaking | The pipe is not fully home, its insert is missing, or the end is scratched where the O-ring sits. Release it, cut back a little, fit an insert and push it home past the depth mark. |
| Water still coming from the ceiling with the stopcock off | The leak is on the hot side, fed by the cylinder or a loft tank, not the mains. Turn off the gate valve on the tank outlet or drain the hot taps. |
| Stopcock will not turn off | It is seized. Do not force it. Use the outside stopcock in the pavement chamber, or call the water supplier. |
| Taps spitting air after the repair | Air trapped in the pipes from draining down. Run each tap fully until the flow is steady. |
| Pipe frozen but not split | Turn the stopcock off, open the tap it feeds, and warm the pipe gently from the tap end back with a hairdryer or hot towels — never a flame. |
| Damp patch spreading after the repair | Another split on the same run, or water already in the ceiling drying out. Check every exposed pipe nearby with a dry tissue. |
| Low pressure after the repair | Debris dislodged into a tap aerator or a valve. Unscrew the aerators and rinse them; check any isolating valve is fully open. |
WHAT YOU SAVE
What it costs to do it yourself
| Emergency pipe repair clamp | £16–£22 |
|---|---|
| Push-fit couplers, pack | £2–£6 |
| Pipe cutter | £6–£12 |
| Foam pipe lagging, per metre | £2–£5 |
| Total, clamp only | £16–£22 |
| DIY total | £16–£22 |
Guide prices compiled by the Locufy team from published Irish and UK provider price lists and 2026/27 cost guides. Updated 2026.
Against a plumber's guide price for a burst pipe, the clamp and coupler are a few pounds; the expensive part of a burst is the damage, which is why turning off the water first matters most.
RATHER NOT?
Burst pipe plumbers near you, with prices shown
The ones who cover your area, nearest first, with one score from every review. No account needed to look.
Or post the job free and let them come to you.
Open windows and run heating once the electrics are confirmed safe. Lift wet rugs and move furniture off wet carpet. Call your insurer early; they may send a drying service.
If water reached lights, sockets or the consumer unit, have an electrician test them before you rely on them again.
Cut copper pipe and old fittings go to the metals container at your council's household waste recycling centre. Soaked plasterboard from a ceiling goes in the plasterboard area at the same centre; many centres keep it separate from general rubble. Do not dispose of lagging you suspect contains asbestos yourself. Find your centre on the council website or the recycling pages for your nation.
Tie a tag to the stopcock, check it turns twice a year, and make sure everyone in the house knows where it is.
Stopping a burst pipe and repairing an exposed section: questions people ask
Turn off the stopcock, then open the cold taps to drain the pipes, and the hot taps if a hot pipe burst. Turn off the boiler or immersion heater. If water is near electrics, switch off at the consumer unit if you can reach it safely.
Usually under the kitchen sink, or where the supply pipe enters the house — sometimes in a downstairs toilet, a cellar or a garage. There is often a second one outside in a small chamber in the pavement, turned with a long key.
On an exposed copper or plastic pipe you can reach, yes: a clamp to stop it now, then cut out the split and fit a coupler. A pipe inside a wall or floor, the supply pipe, a sealed heating system and any gas pipe are a plumber's job.
Long enough to get you through to a proper repair. The ones we checked are rated for leaks under pressure up to 10 bar, but the seal is rubber and the clamp is a temporary fix, not a permanent joint.
Lag every exposed pipe in lofts, garages and on outside walls, keep the heating on low in a deep frost, and fix dripping taps, because a slow drip in a cold pipe freezes first.
Locufy's UK price guide puts burst pipe repair at £100–£500 per job, typically £300 — the same three figures as the strip at the top of this page.
MORE GUIDES
More DIY guides
Sources — checked October 2026
- Flowflex — compression fittings technical data and installation instructions: cutting, deburring, tightening turns
- HSE — electrical safety: frequently asked questions
- HSE — asbestos: frequently asked questions (pipe lagging, buildings before 2000)
- HSE — domestic gas safety: frequently asked questions (the gas emergency number)
- Water Supply (Water Fittings) Regulations 1999, regulation 5
- Water Supply (Water Fittings) (Scotland) Byelaws Extension Order 2024
- Water Supply (Water Fittings) Regulations (Northern Ireland) 2009
- gov.uk — Approved Document G: sanitation, hot water safety and water efficiency (England)
- Gas Safety (Installation and Use) Regulations 1998, regulation 3
- Gas Safety (Installation and Use) Regulations (Northern Ireland) 2004, regulation 3
- gov.uk — recycling collections: find your council (England and Wales)
- mygov.scot — find your council's recycling centre (Scotland)
- nidirect — recycling and reusing (Northern Ireland)
- B&Q — price check: emergency pipe repair clamps
- B&Q — price check: push-fit couplers
- B&Q — price check: pipe cutters
- B&Q — price check: pipe insulation