DIY GUIDE · GARDEN & OUTDOOR · CHECKED OCTOBER 2026
How to put up a garden shed yourself
A weekend: a day for the base, a day for the shed. €910–€980 for a 6 × 4 ft shed and its base.
The planning rules, the site, a level base, assembly in order, the roof, treatment, and power.
- Every step, start to finish
- Checked October 2026 — sources at the end
- Honest about when to call a pro
FIRST, THE HONEST ANSWER
Do it yourself, or get a fitter?
Do it yourself if…
- The shed is a flat-pack kit within the planning exemption for its size, height and position
- The site is reasonably level, well drained and behind the front wall of the house
- There are two of you for the walls and the roof
- You can use a drill, a spirit level and a stepladder
Get a pro if…
- You want electricity in the shed; that is restricted electrical work
- The shed is large, a log cabin or a garden room, or is over the planning limits
- The site slopes enough to need a raised timber frame on posts or a retaining edge
- You want a poured concrete base on a large area and have never mixed concrete
Safety first
- Use a stepladder only for short, light work. The HSA's ladder guidance is not to stand on the top two steps of a stepladder and to keep the stepladder facing the work, which matters when fixing the roof.
- Never stand on the shed roof; it is not built to take your weight. Fix the felt from a stepladder at the sides and ends.
- Wall and roof panels catch the wind and are awkward to carry. Handle them with two people and do not put the shed up on a windy day; the HSA's manual handling guidance is that awkward loads held away from the body cause injuries.
- Wear safety glasses when drilling and gloves for rough timber and felt.
- Do not run an extension lead out to the shed for permanent power. A supply to a shed is restricted electrical work that only a Registered Electrical Contractor may carry out.
- Check for buried cables, pipes and drains before you dig the base.
| MATERIAL | COVERAGE | FOR THIS JOB |
|---|---|---|
| Flat-pack shed kit | With its fixings, felt and instructions | One kit |
| Paving slabs | 400 × 400 mm concrete flags are 6.25 to the square metre | The shed footprint plus a margin on every side |
| Hardcore and sharp sand | Compacted hardcore with a sand bed under the slabs | Footprint × the depth of each layer |
| Exterior wood treatment | Compatible with the factory treatment | Enough for two coats on the outside |
| Extra screws and roofing felt nails | Exterior screws; galvanised clout nails | A spare box of each |
How many slabs for the base
Base area = (shed length + margin) × (shed width + margin). Slabs = base area × slabs per m². A 6 × 4 ft shed is about 1.83 m × 1.22 m; with a 100 mm margin all round the base is 2.03 m × 1.42 m ≈ 2.9 m², so about 18 slabs of 400 × 400 mm at 6.25 per m².
Make the base a little bigger than the shed's floor so rain does not drip onto soil at the walls, but not so big that water pools on it against the walls.
Garden sheds behind the front wall of a house are exempted development within limits on total floor area, the open space left behind the house, and height. Pick a size that keeps you within them; measure your garden before you fall in love with a shed.
A pent roof slopes one way and suits a shed against a fence. An apex roof has a ridge and more headroom in the middle. Tongue-and-groove cladding is stiffer and more weather-tight than cheaper overlap boarding, and lasts longer in Irish weather.
A shed needs a firm, level base that drains, raised a little above the surrounding ground. Paving slabs on compacted hardcore and sand are the most common DIY base. A concrete slab is the most solid. A timber frame on posts suits a sloping site. Plastic grid bases filled with gravel are quick on level ground.
Metal and plastic sheds need no treatment and do not rot, but must be fixed down firmly against the wind and need a perfectly level base for the panels to line up. Timber sheds are easier to repair and fit out with shelves.
Most flat-pack timber sheds are treated against rot in the factory, but a coat of exterior wood treatment or paint on assembly, and every year or two after, adds years to the life of the shed. Check the treatment is compatible with the factory finish.
THE PART THAT DECIDES THE FINISH
Before you start — the site and the rules
Most shed problems start with where it stands. Do these checks before you dig.
The planning rules
Every garden shed, greenhouse or store.
- Keep it behind the front wall of the house
- Keep the total floor area of all such structures to 25 m² or less, and leave at least 25 m² of private open space behind or beside the house
- Keep it under 4 m high with a tiled or slated pitched roof, or 3 m otherwise
- Use it only for purposes incidental to the house, never as somewhere to live; check for estate conditions or a protected structure first
A level lawn or soil
Grass or a bed on firm, flat ground.
- Strip the turf and topsoil from the footprint
- Check the ground is firm and level with a long level on a board
- Plan a base slightly raised above the surrounding ground so it drains
- Keep the site clear of overhanging trees and their roots
An existing patio or concrete
A paved or concrete area already in place.
- Check it is sound, level and not cracked
- Check that rain runs off it, not towards the shed
- Plan to fix the shed down with suitable fixings for a metal or plastic shed
- Raise a timber shed on bearers so its floor is not sitting in water
A sloping site
Ground that falls across the footprint.
- Measure the fall across the footprint with a string line and a level
- Cut into the slope and build up the low side with compacted hardcore for a small fall
- Use a timber frame on posts for a bigger fall
- On a steep slope, stop: the base becomes a retaining job
Against a fence or boundary
The shed will stand close to a boundary.
- Leave enough of a gap to treat and maintain the back wall
- Make sure the roof does not drain onto your neighbour's land
- Keep the shed clear of the fence so wind cannot rock it against the posts
- Tell your neighbour before it goes up
THE JOB
The steps, in order
Check the rules and set out the base
30 minStart with the checks above. Measure the shed's floor size from the instructions and add a small margin on every side. Mark the base with pegs and string, checking the corners are square by measuring the diagonals, which must be equal. Check that the door will open the way you want and that you can reach every side.
- Set the base square to the fence or the house so the shed looks right
- Leave access to the back for treating
- Check there are no services under the footprint
Mistake to avoid: Building a base that is not square, so the shed floor overhangs on one side and sits short on the other.
Dig out and lay hardcore
2–3 hoursStrip the turf and topsoil from inside the string lines down to firm ground. Spread hardcore in a layer and compact it well with a hand tamper or a hired plate compactor, checking it is level with a long level on a straight board. Top it with a thin layer of sharp sand, raked level, as a bed for the slabs.
- Compact the hardcore in thin layers
- Keep the top of the base a little above the surrounding ground
- Wet the sand slightly so it holds its shape
Mistake to avoid: Laying slabs straight onto soil, which settles unevenly and twists the shed out of square.
Lay the slabs level
1–2 hoursLay the slabs on the sand bed, starting at one corner and working across, butting them closely together. Tap each slab down with a rubber mallet and check it with the level in both directions, and across neighbouring slabs. The base must be level, not sloped; a shed on a sloping base will not go together square. Check the diagonals of the finished base.
- Lift and add or remove sand under any slab that rocks
- Check level across the whole base, not just slab by slab
- Brush sand into the joints when you are done
Mistake to avoid: Leaving one slab a few millimetres high, so the floor rocks and the door never closes.
Unpack and check the kit
30 minOpen the kit and lay the parts out by type, checking them off against the parts list. Read the instructions from start to finish before you begin, so you know the order and which parts go where. Sort the screws and fixings into separate containers. Call the supplier now about any missing or damaged part, not halfway through.
- Keep panels flat and out of the rain until you use them
- Identify left and right panels before you start
- Keep the instructions dry in a plastic sleeve
Mistake to avoid: Starting to build, then finding a missing roof panel at the end of the day.
Lay the floor and its bearers
30–60 minLay the floor bearers, the timber runners under the floor, across the base at right angles to the floorboards, as the instructions show, so air can move under the shed. Set the floor panel on the bearers and fix it. Check the floor is level and square by measuring the diagonals. The rest of the shed depends on this floor being right.
- Treat the bearers and the underside of the floor before you lay it
- Keep the bearers within the base, not overhanging soil
- Fix the floor to the bearers with the screws supplied
Mistake to avoid: Setting the floor directly on the slabs with no bearers, so it stays wet and rots from below.
Stand and fix the walls
1–2 hoursWith a helper, stand the back wall on the floor, flush with the edge, and hold it upright while you fix a side wall to it at the corner. Then add the other side and the front. Drill pilot holes and screw the panels together at the corners, then screw each panel down through its bottom rail into the floor. Check every wall is plumb with the level as you go.
- Never put up walls alone in any wind
- Check the door opening is square before you fix the front
- Leave the screws slightly loose until all four walls are up, then tighten
Mistake to avoid: Fixing the walls out of plumb, so the roof panels will not sit and the door sticks.
Fit the roof and the felt
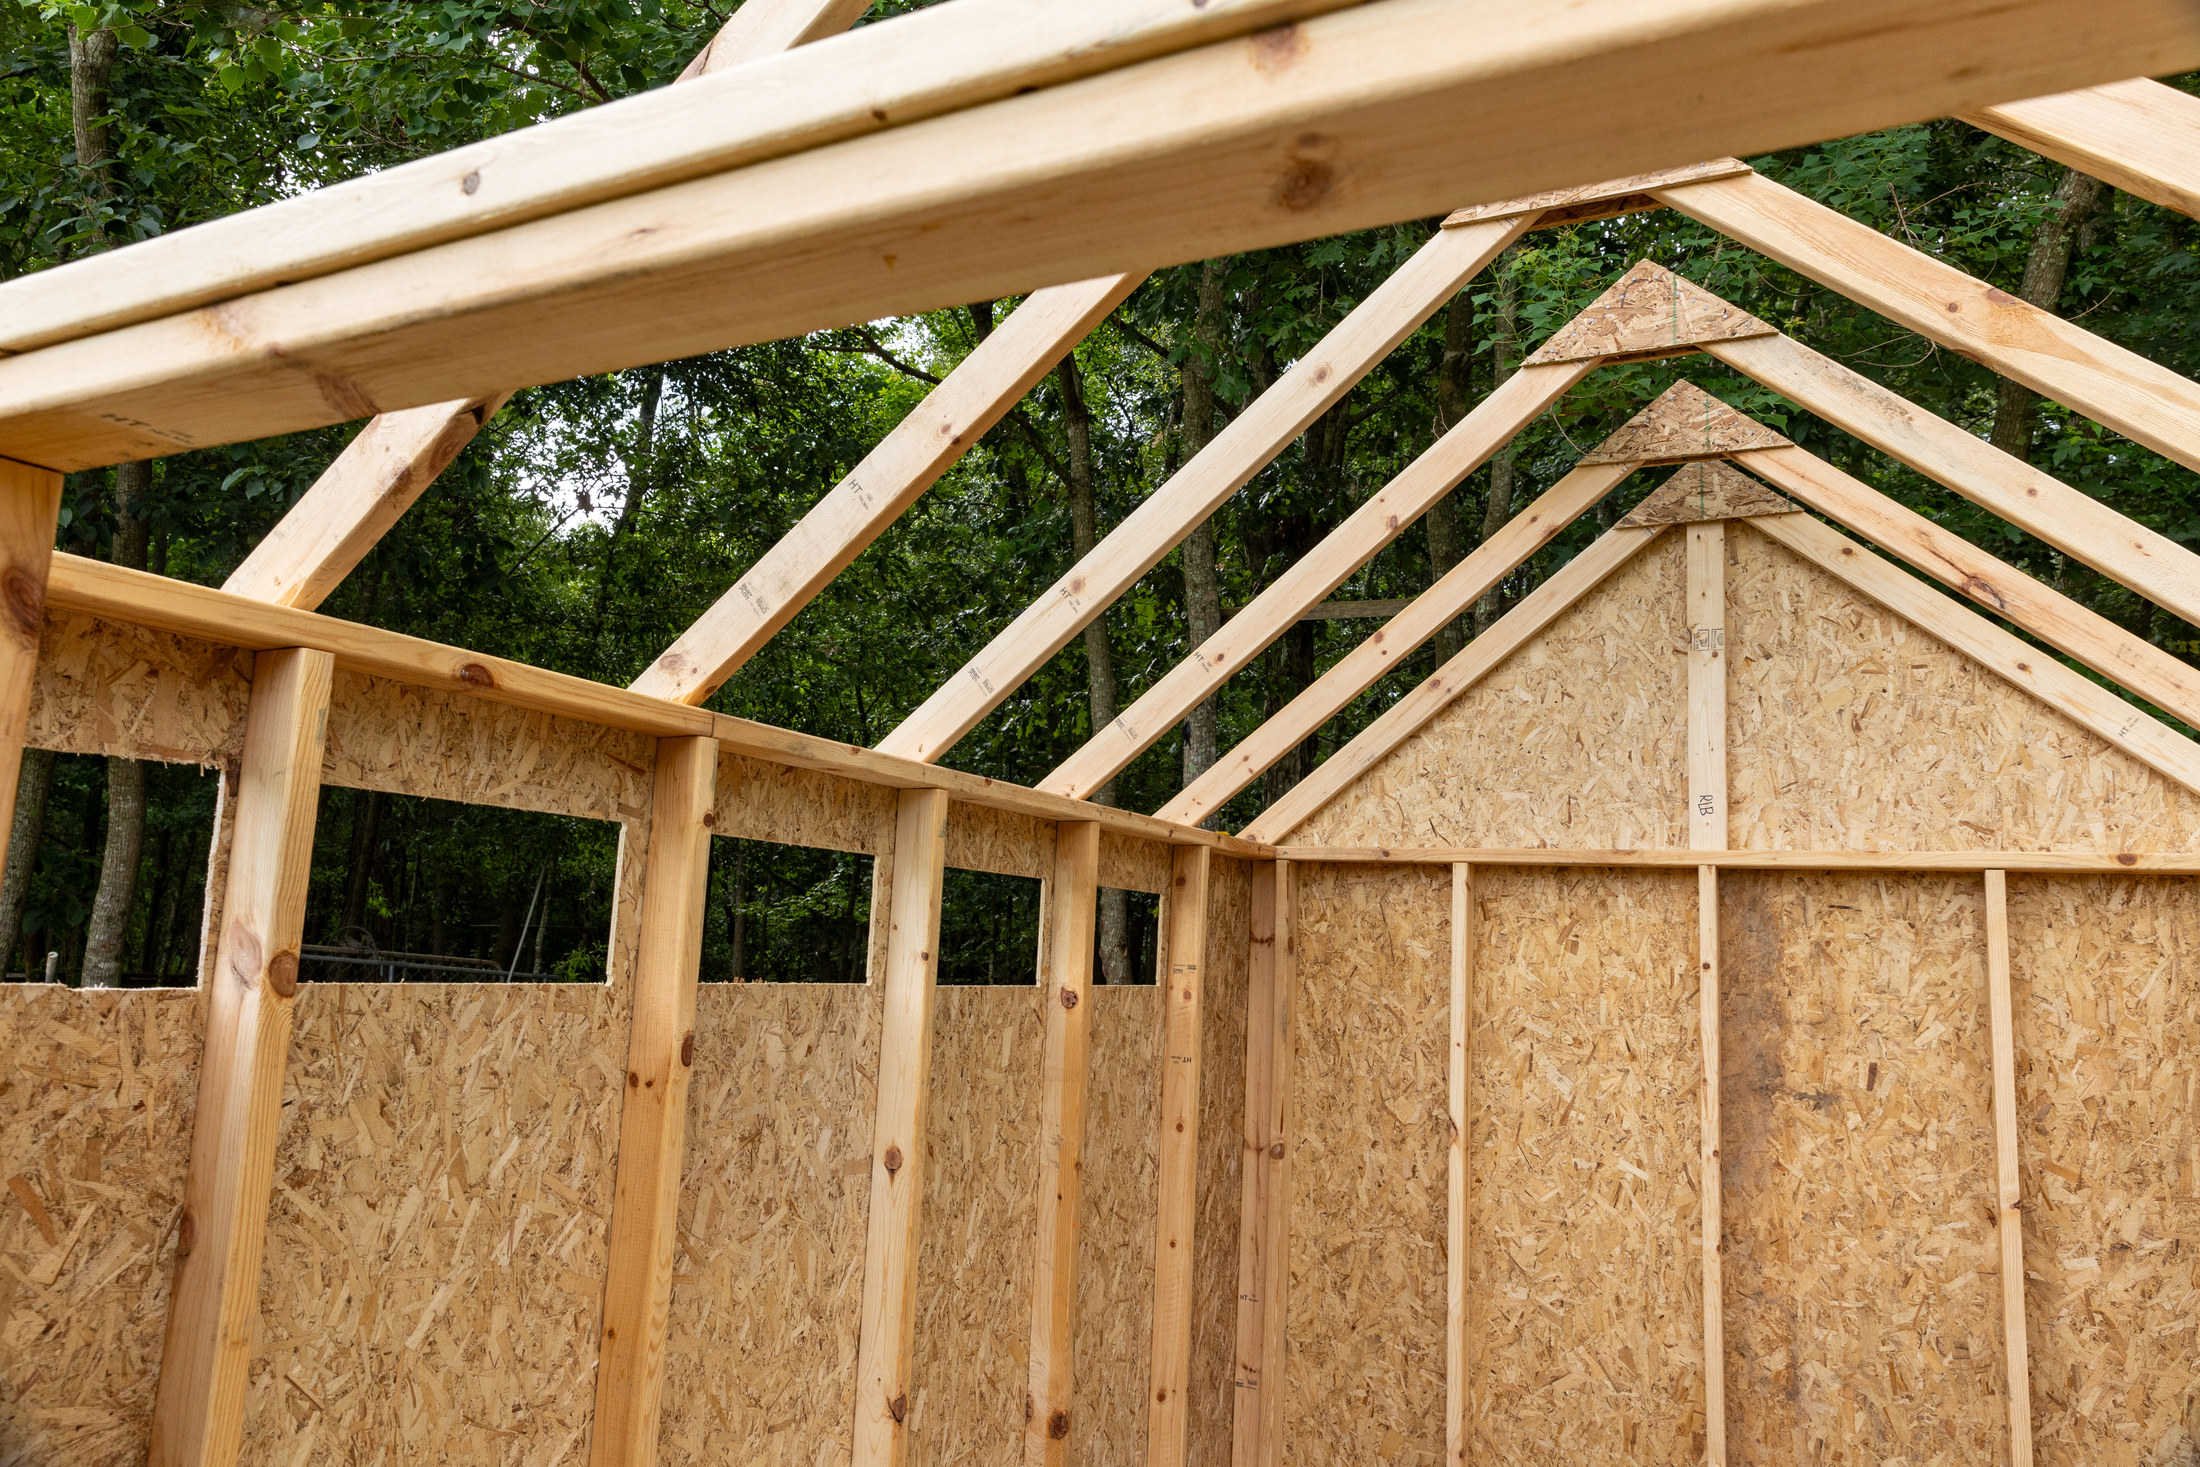
1–2 hoursLift the roof panels into place from stepladders, one person at each end, and fix them to the walls and to each other as the instructions show. Roll out the felt along the roof with an overlap at the eaves and the gables. On an apex roof, lay the lower sheets first and lap the upper sheet over them, so water runs over each joint, not into it. Fix the felt with galvanised clout nails, close together along the edges, then fit the fascia boards.
- Lay felt on a dry, mild day; cold felt cracks
- Let the felt relax in the sun before nailing
- Fold the corners neatly and nail them down
Mistake to avoid: Lapping the felt the wrong way so rain runs under every joint.
Fit the door, windows and trims
30–60 minHang the door on its hinges and adjust it so it swings freely and closes against its stop. Fit any windows, glazing and trim boards as the instructions show. Fit the lock or hasp. Check every screw and nail once more, and seal any gaps where light shows through at the corners.
- Hang the door before fitting the trim around it
- Keep spare hinges and screws in the shed
- Lubricate the hinges and lock
Mistake to avoid: Forcing a sticking door instead of checking the walls for plumb.
Treat the timber
1–2 hoursOn a dry day, brush exterior wood treatment onto every outside surface, including the ends of boards and the bottom edges where water sits. Two thin coats are better than one thick one. Pay particular attention to the bottom rail and the corners. Let the first coat dry before applying the second.
- Treat before you fill the shed, while you can reach every face
- Do the back before it goes against the fence
- Re-treat every year or two
Mistake to avoid: Leaving an untreated shed to weather, so the bottom boards rot within a few winters.
Anchor it and fit it out
30 minFix the shed down to the base with suitable fixings or anchor brackets, especially a metal or plastic shed or one in an exposed spot. Fit shelves and hooks to the frame, not to the cladding alone. Keep heavy items low and off the floor if it is a lightweight floor.
- Store fuel and chemicals locked away and off the floor
- Put a mat inside the door to keep the floor dry
- Leave a gap between stored items and the walls for air
Mistake to avoid: Leaving a lightweight shed unanchored in an exposed garden until the first storm moves it.
The mistakes that cost the most
- A base that is not level, so the shed goes together out of square
- No bearers under the floor, so it stays wet and rots
- Felt lapped the wrong way, so the roof leaks at every joint
- Running a cable out to the shed instead of having a proper supply installed
Stop here and get a shed installer
- You want electricity in the shed
- The shed or garden room is over the planning limits, or is meant to be lived or slept in
- The site needs a raised frame on posts or a retaining edge
- The kit is a large log cabin or garden room beyond a two-person job
| WHAT YOU SEE | WHY, AND THE FIX |
|---|---|
| Door sticks or will not close | The base or walls are out of level or plumb. Check the base, pack under the low corner, and loosen and reset the walls. |
| Roof leaking at the joints | Felt lapped the wrong way, or not nailed closely. Relay the felt with the upper sheet lapping over the lower one. |
| Floor soft or spongy | Rot from the floor sitting on wet ground with no bearers. Lift the shed onto treated bearers on a proper base. |
| Water pooling around the shed | The base is lower than the ground or too big. Lower the surrounding soil, or trim the base back so rain drips onto gravel. |
| Gaps of light between boards | Timber shrinking in dry weather, or panels not pulled tight. Tighten the screws and seal small gaps with an exterior sealant. |
| Green mould on the timber | Damp and shade. Clean it off, improve air flow around the shed, and re-treat. |
| Condensation inside | No ventilation, and damp stored items. Open the vents or windows on dry days and keep wet tools out. |
WHAT YOU SAVE
What it costs to do it yourself
| Flat-pack timber shed, 6 × 4 ft | €699–€769 |
|---|---|
| Concrete paving slabs, 18 at 400 × 400 mm | €107.82 |
| Hardcore, 8 bags of 25 kg | €39.92 |
| Sharp sand, 4 bags of 25 kg | €19.96 |
| Exterior wood treatment, 2.5 L | €41.99 |
| Total, shed, base and treatment | €909–€979 |
| DIY total | €910–€980 |
Guide prices compiled by the Locufy team from published Irish and UK provider price lists and 2026/27 cost guides. Updated 2026.
The base is a small share of the cost but most of the work. Many suppliers offer assembly for an extra fee; doing it yourself saves that, and a well-built base adds years to the shed.
RATHER NOT?
Shed installers near you, with prices shown
The ones who cover your area, nearest first, with one score from every review. No account needed to look.
Or post the job free and let them come to you.
Give the outside a fresh coat of treatment every year or two, and check the felt each autumn for tears and lifted nails.
Cardboard goes in the recycling bin. An old timber shed, offcuts and rotten boards go to a civic amenity site, which mywaste.ie lists for wood and timber; do not burn them.
Open the door or window on dry days so stored items and the timber do not stay damp.
Look for slabs that have sunk or a floor that has started to rock after the first winter, and pack them level again.
Putting up a garden shed: questions people ask
Not usually, if it is behind the front wall of the house, the total area of sheds and similar structures is 25 m² or less, at least 25 m² of private open space is left, and it is under 4 m high with a tiled or slated pitched roof or 3 m otherwise. Check first for estate conditions or a protected structure.
A level, raised, free-draining base: paving slabs on compacted hardcore and sand for most garden sheds, or a concrete slab. Never straight onto soil or grass.
A day for the base and a day for a small flat-pack shed, with two people. Larger sheds and log cabins take longer.
No. Running a supply to a shed is restricted electrical work that only a Registered Electrical Contractor registered with Safe Electric may carry out and certify.
Most are treated in the factory, but a coat of exterior treatment on assembly and every year or two after adds years to its life.
The Locufy Irish price guide puts shed installation at €300–€2,500 per install, typically €900. The size of the shed and the base it needs make most of the difference.
MORE GUIDES
More DIY guides
Sources — checked October 2026
- Keter — how to build a shed: site, base options, tools and assembly
- Bradstone — laying a patio: setting slabs with a rubber mallet and checking level
- HSA — using ladders safely information sheet
- HSA — manual handling of loads, guide to the General Application Regulations
- Planning and Development Regulations 2001, Schedule 2 — exempted development, Class 3
- Safe Electric — restricted electrical works
- mywaste.ie — wood and timber
- Woodie's — price check: wooden sheds
- Woodie's — price check: paving slabs
- Woodie's — price check: hardcore and sand
- Woodie's — price check: exterior wood treatment