DIY GUIDE · PLUMBING & HEATING · CHECKED OCTOBER 2026
How to fix a running or slow-filling toilet yourself
Two hours. £9–£26 for a fill valve or a flush valve.
Hissing, trickling or slow to refill is a part inside the cistern. Find which one, swap it, set the level.
- Every step, start to finish
- Checked October 2026 — sources at the end
- Honest about when to call a pro
FIRST, THE HONEST ANSWER
Do it yourself, or get a fitter?
Do it yourself if…
- Water trickles into the pan after the cistern has filled, or the cistern never stops filling
- The cistern refills slowly, or the fill valve hisses, knocks or squeals
- There is an isolating valve on the pipe to the cistern, or you can turn off the stopcock
- The cistern is plastic or ceramic and its lid lifts off
Get a pro if…
- The pan is cracked, rocks on the floor, or leaks where it meets the soil pipe
- The toilet is moving, or a new toilet is going where there was none
- The cistern is an old black high-level type that could contain asbestos
- The supply pipe itself is corroded, or the isolating valve or stopcock will not shut off
Safety first
- Turn the water off at the isolating valve or stopcock and flush to empty the cistern before you put your hands in. A fill valve undone under pressure floods the bathroom floor.
- Some old cisterns, particularly black composite ones from older houses, may contain asbestos: HSE lists toilet cisterns among the places it can be found in buildings put up or refurbished before 2000. Do not drill, break or sand one. Leave it for a specialist.
- Ceramic cisterns and pans are heavy and break with sharp edges. Lift a cistern with two hands, set it on a towel, and wear gloves if a part is chipped.
- Cistern water is clean, but the pan is not. Wear rubber gloves and wash your hands after any work below the seat.
- If a toilet has an electric macerator or a pump behind it, unplug it at the switched spur before you touch the cistern or the pipes.
Stop here: Stop here: new plumbing, the soil pipe and an old cistern
A cistern fill valve is a water fitting, so a new installation must meet the water fittings rules where you live — the 1999 Water Fittings Regulations in England and Wales, the Scottish Water byelaws in Scotland, and Northern Ireland's 2009 Water Fittings Regulations — including the backflow air gap. In England a like-for-like replacement toilet is not notifiable building work, but a new bathroom, or one where plumbing is added or altered, is notifiable unless a registered installer does it; new drainage connections fall under the drainage requirements of the building regulations in each nation. HSE lists toilet cisterns among the places asbestos can be found in buildings from before 2000, and asbestos is not something to drill, break or remove yourself. How to hire a toilet fitter →
| MATERIAL | COVERAGE | FOR THIS JOB |
|---|---|---|
| Fill valve | Bottom or side entry to match; height range to suit | One |
| Dual flush valve or replacement seal | Outlet size and button type to match | One, or a seal if your make sells it |
| Fibre or rubber tap washer | For the supply connection to the fill valve | One, if the old one is hard or flattened |
| Doughnut washer | Only if the cistern comes off the pan | One, matched to the outlet |
Is it worth fixing — how much the leak costs
Water wasted = the trickle per minute × minutes in a day. A trickle that fills a 250 ml cup in a minute is 0.25 L × 1,440 minutes = 360 litres a day.
On a water meter that is money on every bill; on an unmetered supply it is still water the supplier has to treat. A trickle you can see down the back of the pan is worth fixing the same week.
Lift the lid and watch. If the water level rises until it pours into the overflow, the fill valve is not shutting off. If the level stays below the overflow but water still trickles down the back of the pan, the flush valve's seal is letting it past. If the cistern takes ages to fill, the fill valve is partly blocked or worn. Each symptom points at one part; buy that part, not both.
Look where the water pipe meets the cistern. A pipe coming up from below into the base means a bottom-entry fill valve. A pipe arriving through the side near the top means a side-entry valve. They are not interchangeable without moving the pipe, so match what you have.
Modern fill valves have adjustable bodies. The data sheet we checked gives an adjustable height range and an operating pressure range of 0.2 bar up to over 15 bar, which covers both tank-fed and mains-fed cisterns. Measure from the floor of the cistern to the overflow before you buy, and check the valve's range includes it.
A siphon is the old type, worked by a lever. A drop valve, which most modern cisterns have, lifts a seal off the outlet and is worked by a button. Note whether your button is a single or dual flush, whether it is on the lid or the front, and the diameter of the hole in the bottom of the cistern. Universal dual flush valves suit the common outlet size and come with cable or rod links for different button positions.
On a drop valve, the commonest cause of a trickling pan is the rubber seal at its base, hardened or nicked or with limescale under it. Many valves let you twist the body off its base and fit a new seal without removing anything else. Check whether your make sells the seal on its own before replacing the whole valve.
A fill valve is a water fitting connected to the supply, and it has to meet the water fittings rules in your nation, including the air gap that stops cistern water being drawn back into the mains. Buy a valve with a recognised water approval on the box rather than an unbranded one.
THE PART THAT DECIDES THE FINISH
Before you start — which kind of toilet you have
How the cistern is built decides how much comes apart. Find yours before you buy anything.
Close-coupled, cistern sitting on the pan
The usual modern toilet. The cistern bolts down onto the back of the pan.
- A fill valve can usually be changed with the cistern in place, from inside and from underneath
- A flush valve that cannot be twisted off its base means the cistern has to come off the pan: two bolts underneath and the supply
- Have a new doughnut washer ready, the large seal between cistern and pan, if the cistern is coming off
- Clear the floor and lay a towel; there is always water left in the bottom
Back-to-wall or concealed cistern
The cistern is hidden behind a panel or in furniture.
- Find the access: usually the flush plate lifts or unclips and the panel behind it comes away
- Most concealed cisterns let the fill and flush valves come out through the button opening
- Buy parts from the cistern's own maker where you can; concealed frames vary
- If there is no access panel at all, the job means removing boxing, and that is a bigger job
Low or high-level cistern on the wall
The cistern is fixed to the wall, with a flush pipe down to the pan.
- Check what the cistern is made of before you touch it; old black composite cisterns may contain asbestos
- On a high-level cistern, work from a stable step-ladder and do not lean out
- Lever-operated siphons in old cisterns can often be refitted with a new diaphragm washer rather than replaced
- Check the wall fixings are sound before you put weight on the cistern
Water still trickling with the water turned off
A leak, not a valve fault.
- Look at the joint between cistern and pan, the supply connection and the overflow pipe
- Water on the floor round the base of the pan with the cistern dry points to the pan seal on the soil pipe
- Put a few drops of food colouring in the cistern and see where it appears
- A leak at the soil pipe connection or a cracked pan is beyond this guide
THE JOB
How to fix the cistern
Set up: water off, cistern empty
15 minFind your toilet type in the cards above. Turn the isolating valve on the supply pipe a quarter turn with a flat screwdriver so the slot sits across the pipe; if there is none, turn the stopcock off. Hold the flush down until the cistern empties, then sponge out what is left into a bowl. Lay towels on the floor and photograph the inside of the cistern.
- Flush again after a minute; if the cistern refills, the water is not off
- Put the cistern lid somewhere flat and soft — they crack if they slide off a seat
- If a concealed flush plate is in the way, unclip it now
Mistake to avoid: Working on a cistern that is still under pressure because the isolating valve was half closed. The fill valve comes loose and the supply sprays at full force.
Diagnose the fault
15 minThis is the check from the first choosing card, done before you empty the cistern if you can. With the lid off and the water on, flush and watch. Water rising into the overflow tube means the fill valve. Level steady but trickle in the pan means the flush valve seal. A slow refill means the fill valve's filter or diaphragm. Put a few drops of food colouring in the full cistern and wait half an hour without flushing; colour in the pan proves a flush valve leak.
- Lift the float of the fill valve by hand; if the water stops, adjusting the level may be all it needs
- A hiss with no change of level is usually a worn fill valve diaphragm
- Note what shape and colour the old parts are before you buy
Mistake to avoid: Replacing the fill valve when it was the flush valve leaking. The fill valve only keeps topping up the water the flush seal lets through.
Try the adjustment first
10 minMost modern fill valves set the water level with a screw or a sliding clip on the float. Lowering the float lowers the level. If water was running into the overflow, lower the level so it shuts off below the overflow and below any water line marked inside the cistern. Turn the water back on, flush, and watch it stop.
- Make small changes; a turn or two on the adjuster moves the level noticeably
- The level should be well below the top of the overflow, not touching it
- If adjusting does nothing, the valve is worn or blocked and needs replacing
Mistake to avoid: Setting the level as high as it will go to get a bigger flush. The water then sits at the overflow and trickles into the pan permanently.
Remove the old fill valve
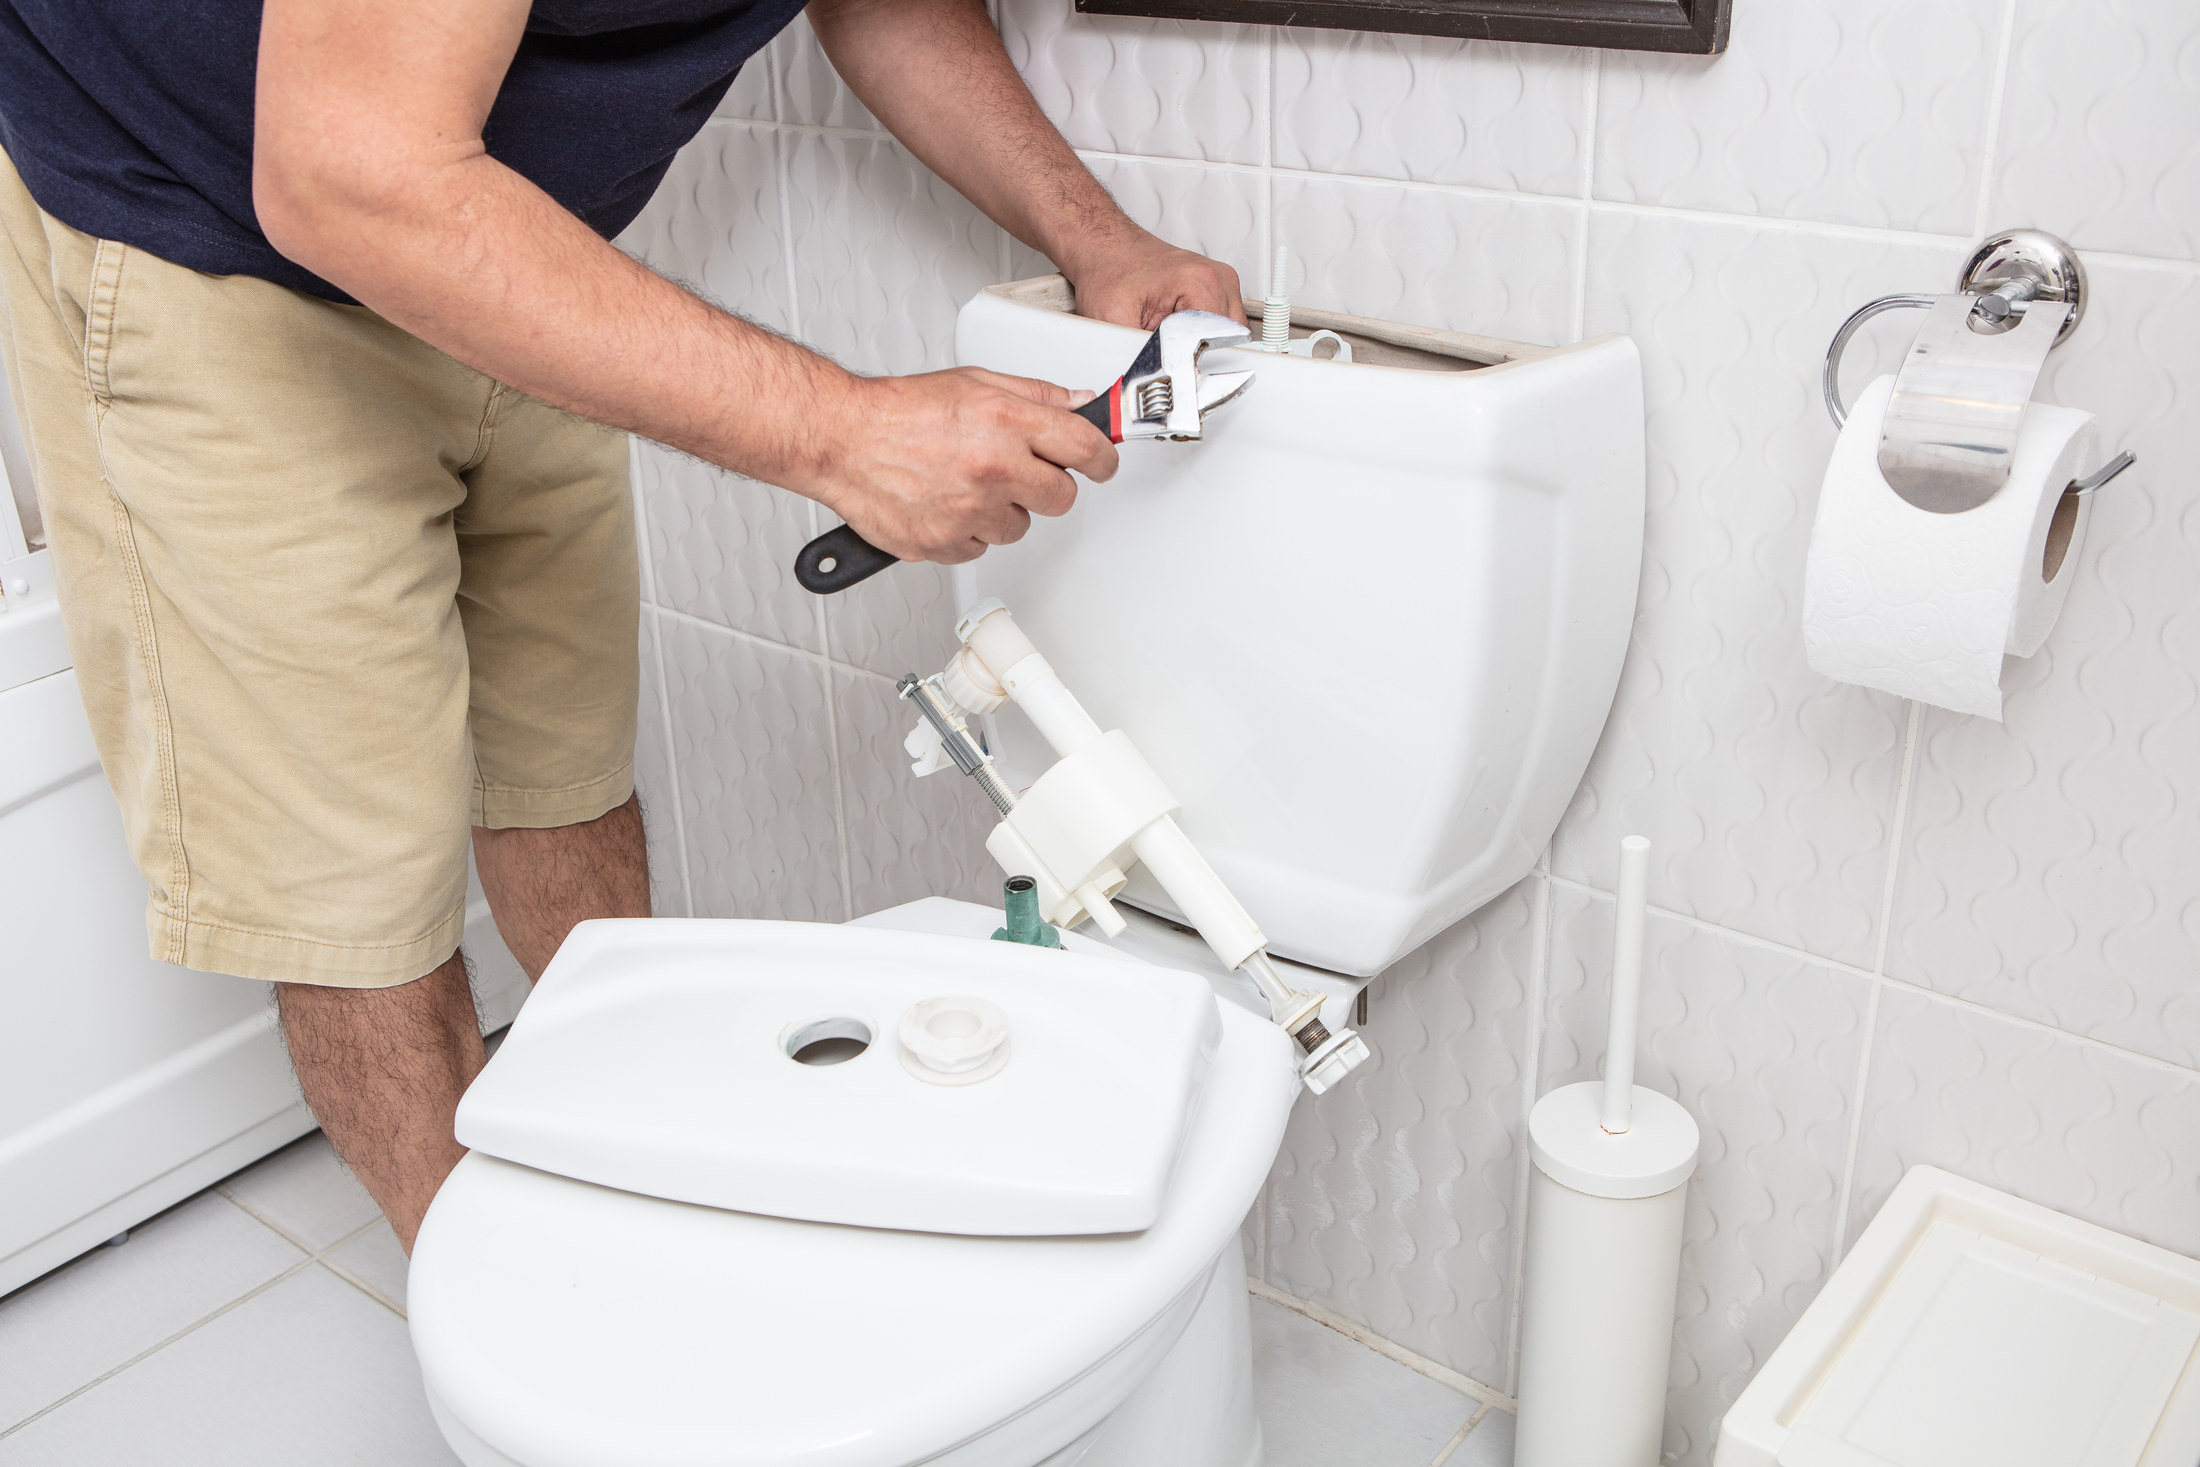
20 minWith the water off and the cistern empty, undo the supply connector under the cistern, or at the side, with a spanner while holding the valve's tail with grips so it does not spin. Then undo the plastic back nut that holds the valve to the cistern, and lift the old valve out from inside. Keep the old washers to compare with the new ones.
- A bowl under the connection catches the water left in the pipe
- Plastic back nuts usually unscrew by hand once started
- Wipe away limescale and old sealant around the hole so the new washer sits flat
Mistake to avoid: Turning the valve body inside the cistern while undoing the supply nut. On a ceramic cistern that strain can crack the base round the hole.
Fit the new fill valve and set its height
20 minAdjust the new valve's height to suit your cistern before fitting it, following its instructions. Put the sealing washer on the shank, push it through the hole from inside, and tighten the back nut from below. The data sheet for the valve we checked gives a torque of 6 to 10 Nm, roughly hand tight plus half to three quarters of a turn. Reconnect the supply with a new fibre washer, hand tight plus a little with the spanner.
- Do not use sealing paste or plumber's putty on the cistern washer; the washer does the sealing
- Check the float moves freely and does not catch on the flush valve or the cistern wall
- The critical level mark on the valve body must sit above the overflow, as its instructions show
Mistake to avoid: Cranking the plastic back nut down with grips. Too tight cracks a ceramic cistern or distorts the valve's thread.
Replace the flush valve or its seal
30 minOn many drop valves, twist the valve body a quarter turn and lift it off its base, leaving the base bolted in. Swap the seal on the bottom of the body, clean the seat it sits on, and twist it back. If the whole valve must go and your cistern is close-coupled, undo the two bolts that hold the cistern to the pan from underneath, lift the cistern off, undo the large back nut under the cistern, and fit the new valve with its own washer.
- Clean the seat with a soft cloth; a grain of limescale lets water past a new seal
- Reconnect the button cable or rod exactly as in your photograph
- When refitting a cistern, fit a new doughnut washer and tighten the bolts evenly, a little each side
Mistake to avoid: Over-tightening the cistern bolts on one side first. The cistern rocks, cracks on the pan, or leaks at the doughnut washer.
Water on, set the level, test the flush
15 minOpen the isolating valve slowly and watch every joint under the cistern with a torch and a tissue. Let the cistern fill and check the level shuts off below the overflow. Flush on full and on half several times. Check the flush is strong enough to clear the pan, and that the pan stops running within a few seconds of each refill.
- If the flush is weak on half, adjust the flush valve's half-flush setting rather than raising the water level
- Watch the overflow for a few fills; any water going into it means the level is still too high
- Leave a tissue under the supply joint for an hour
Mistake to avoid: Fitting the lid and walking away after one flush. A slow weep at the supply joint or a level set a fraction high only shows over several fills.
Check after a day
10 minLook under the cistern, round the base of the pan and at the overflow outlet the next day. Put food colouring in the cistern again overnight and check the pan in the morning. A clear pan and a dry floor mean the job is done.
- If the overflow pipe outside is dripping, the fill valve level needs lowering a touch
- A damp patch round the pan base with dry joints above points to the pan connector, not the cistern
- Keep the leaflet and any spare washers in a bag under the basin
Mistake to avoid: Ignoring a small drip from the overflow outside. It means the cistern is running into the overflow constantly, and on a meter that is paid for.
The mistakes that show
- Replacing the fill valve when the flush valve seal was the leak
- Setting the water level up to the overflow for a stronger flush
- Over-tightening plastic nuts and cracking a ceramic cistern
- Using sealant or putty where the part has its own washer
- Uneven tightening of cistern-to-pan bolts
Stop here and get a plumber
- The pan is cracked, rocks, or leaks where it meets the soil pipe
- The toilet is being moved, added, or connected to a new waste or supply
- The cistern is an old black composite type that may contain asbestos
- The supply pipe, isolating valve or stopcock is corroded or will not shut off
| WHAT YOU SEE | WHY, AND THE FIX |
|---|---|
| Toilet keeps running into the pan | Either the water level is too high and spilling into the overflow, or the flush valve seal is letting water past. Lower the float first; if the level is already low, replace the flush valve seal. |
| Cistern takes ages to refill | The fill valve's filter or diaphragm is blocked with debris or scale, or the isolating valve is only part open. Open the valve fully, then take the cap off the fill valve and rinse its internals as its instructions show. |
| Fill valve hissing or squealing | A worn diaphragm or a valve at the top of its pressure range. Replace the diaphragm or the valve; a modern pilot-type valve is quieter. |
| Water dripping from the overflow pipe outside | The fill valve is not shutting off below the overflow. Lower the water level; if it still runs, the valve has failed. |
| Weak flush that does not clear the pan | The flush setting on the valve is low, the water level is too far down, or the button cable has slack. Adjust the flush valve setting before raising the level. |
| Water on the floor under the cistern | The supply connection, the fill valve washer or the doughnut washer between cistern and pan. Dry everything, flush, and follow the first drip to its source. |
| Flush button sticks down | The cable or rod is kinked or the button is misaligned with the valve. Reroute the cable in a gentle curve and recheck the button position. |
| Phantom refill every so often with no flush | Water is slowly leaking past the flush seal until the fill valve tops up. Clean the seat and replace the seal. |
WHAT YOU SAVE
What it costs to do it yourself
| Fill valve, bottom or side entry | £9–£18 |
|---|---|
| Dual flush valve | £12–£26 |
| Washers and food colouring | pennies |
| Total, one valve | £9–£26 |
| DIY total | £9–£26 |
Guide prices compiled by the Locufy team from published Irish and UK provider price lists and 2026/27 cost guides. Updated 2026.
Against a plumber's guide price for toilet work, a fill or flush valve is one of the clearest savings in the house: the part is cheap, the tools are basic, and the fault is easy to prove.
RATHER NOT?
Toilet fitters near you, with prices shown
The ones who cover your area, nearest first, with one score from every review. No account needed to look.
Or post the job free and let them come to you.
Turn it off and on twice a year so it will work in an emergency; a seized valve forces you back to the stopcock.
Limescale under the flush seal is the usual cause of a trickle returning. Wipe the seat when you clean the toilet and avoid tablets that sit on the seal.
Plastic valves and rubber seals go in general waste; brass parts go to the metals skip at your council's household waste recycling centre. A broken ceramic cistern or pan goes to the rubble or hardcore area at the same centre. Find yours through your council's website or the recycling pages for your nation.
Note the valve make and model inside the cistern lid with a marker. The next seal you buy will then be the right one first time.
Fixing a running or slow-filling toilet: questions people ask
Either water is spilling into the overflow because the fill valve level is too high or the valve has failed, or the flush valve seal is letting water through into the pan. Lift the lid and look at the water level to tell which.
Turn the water off at the isolating valve, lower the fill valve's float to drop the level, and if that does not stop it, replace the flush valve seal or the fill valve. Both are off-the-shelf parts.
Yes. Turn the water off, empty the cistern, undo the supply and back nut, and fit the new valve with its own washer. Set its height and level as its instructions show.
Not very. The data sheet for one widely sold valve gives 6 to 10 Nm, roughly hand tight and then half to three quarters of a turn. More than that risks cracking the cistern.
It can. HSE lists toilet cisterns among the places asbestos may be found in buildings put up or refurbished before 2000. Old black composite cisterns are the usual suspect; do not drill, break or sand one yourself.
Locufy's UK price guide puts toilet repair and installation at £150–£600 per job, typically £300 — the same three figures as the strip at the top of this page.
MORE GUIDES
More DIY guides
Sources — checked October 2026
- Fluidmaster — fill and flush valve kit technical data sheet: pressure range, back nut torque, water level range
- HSE — asbestos: frequently asked questions (toilet cisterns, buildings before 2000)
- HSE — introduction to asbestos safety
- Water Supply (Water Fittings) Regulations 1999, regulation 5
- Water Supply (Water Fittings) (Scotland) Byelaws Extension Order 2024
- Water Supply (Water Fittings) Regulations (Northern Ireland) 2009
- gov.uk — building work, replacements and repairs to your home (England)
- gov.uk — recycling collections: find your council (England and Wales)
- mygov.scot — find your council's recycling centre (Scotland)
- nidirect — recycling and reusing (Northern Ireland)
- B&Q — price check: cistern fill valves
- B&Q — price check: dual flush valves